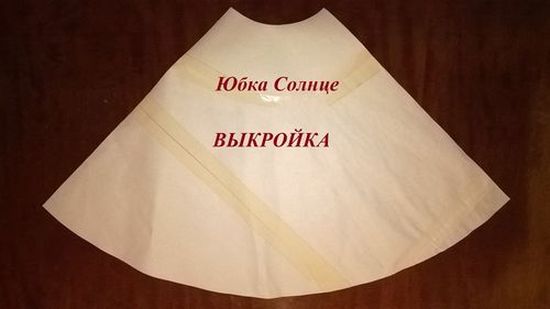
Skirt-sun, step-by-step master class. Pattern of a skirt-the sun by own hands in house conditions

Models of wide skirts from the 60s of last centuryagain at the peak of popularity. Women's skirts-the sun, in which our mothers and grandmothers adorned, are among the top favorites of this year. We suggest you arm yourself with a stylish thing and sew a fashionable skirt-sun at home.
Sun-skirt with your hands - step-by-step instruction
To create a pattern for this model you will needonly two measures: the waist circumference and the length of the product. Fabric choose a light and "flying", which can in all its glory reveal the airiness and smoothness of the lines of the model. For example, for a summer skirt, the sun will perfectly suit: silk, satin, corduroy, dense cotton.
Necessary materials:
the cloth
paper
centimeter
scissors
thread with a needle
Pattern skirt-sun
Let's start with drawing a pattern. To do this, on a large sheet of paper you need to draw a right angle with the vertex at point O. If the sheet is flat, then you can not draw the corner, but simply take the upper right corner of the point O. Now we need to calculate the length of the segments OT and OT1. This can be done by dividing the waist circumference by 2π (π ≈ 3,14). To the resulting figure, you need to add 1.5 cm and postpone this distance from point O in both directions. Further points T and T1 must be joined by a straight line, find the middle of this segment (point S) and draw through it another straight line. On this line, it is necessary to postpone the segment OT2, equal to OT and OT1. And further points T, T1 and T2 need to be connected by an arc. Now from the points T, T1 and T2 along the lines on which they are located, it is necessary to postpone the length equal to the length of the article. That is, the segments TN, T1N1 and T2N2 are equal to the length of the skirt. And then the points N, N1 and N2 need to be interconnected by an arc. If this can not be done exactly, then we need to draw additional lines from point O and postpone the length of the product from the arc TT1T2 to them. In this drawing the pattern is ready, it remains only to cut it along those lines that are indicated by the pink color in the figure.
Now the fabric needs to be ironed, folded into fourfold and fix on it a pattern with English pins. The pattern should be drawn around the contour, and taking into account the allowances for the processing of tissue sections. The allowance along the waist line is 1 cm, on the bottom of the skirt is 2-3 cm.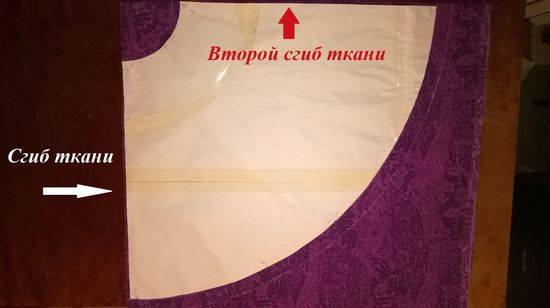
Cut the fabric along the lines of allowances, the scissors should always touch the table and stand perpendicular to the fabric.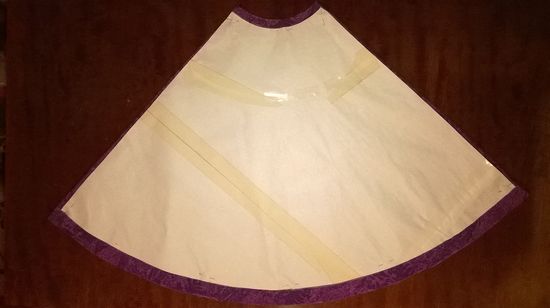
The main part of the skirt is the sun
Now you can start processing the waist line. To do this, make a pivot inward and sweep it.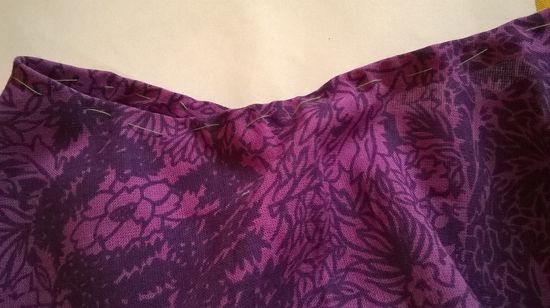
We spend the gate on the machine.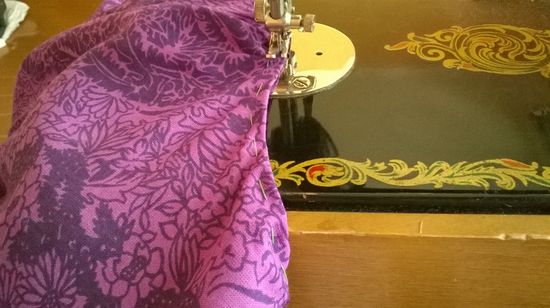
The bottom of this skirt is very large and it is difficult to sew it. Therefore, first you need to do and sweep one gateway.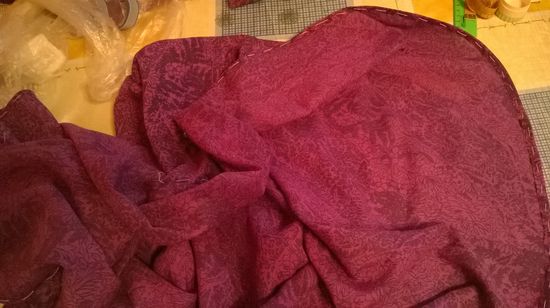
And then turn it again, pawing on the typewriter.
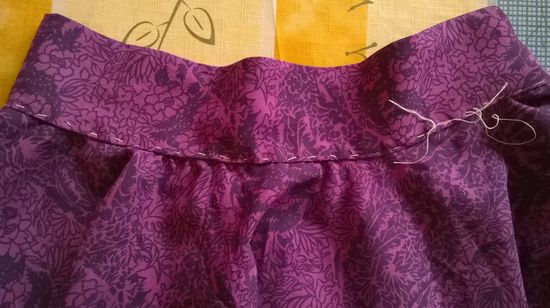
Belt of the skirt-sun
Now, from the remaining tissue, you need to cut a stripfor the belt. Its width should be equal to half the width of the finished belt plus 2 cm to the allowances. And the length should correspond to the cut for the waistline on the skirt after processing the seam plus 2 cm on the allowances.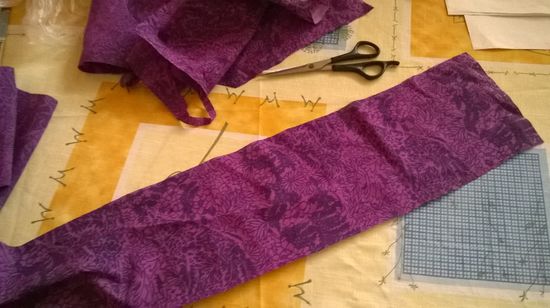
Then the belt should be stitched from the wrong side at a distance of 1 cm from the fabric sections.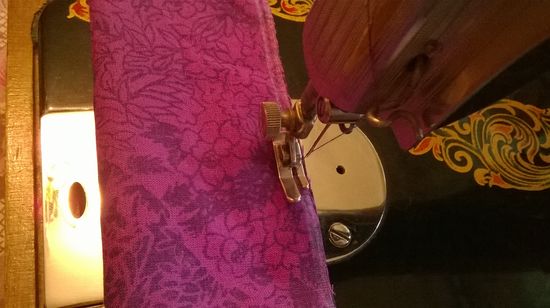
And then turn it to the front and iron it. Then sweep to the skirt on the front side and stitch on the typewriter.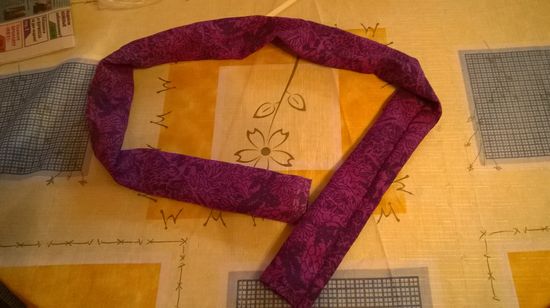

Then insert a rubber band of the desired width, sew the ends of the belt, sew the ends of the belt overlapping with a jig. Skirt-sun - ready!
Read more:

Stylish skirts 2015. Popular styles and colors of women's skirts 2015, photo

Stylish skirts 2015. Popular styles and colors of women's skirts 2015, photo

Stylish skirts 2015. Popular styles and colors of women's skirts 2015, photo

Stylish skirts 2015. Popular styles and colors of women's skirts 2015, photo

Stylish skirts 2015. Popular styles and colors of women's skirts 2015, photo

Stylish skirts 2015. Popular styles and colors of women's skirts 2015, photo

Stylish skirts for fat women 2015. Actual tendencies of skirts for fat women 2015, photo

Skirt-sun, step-by-step master class. Pattern of a skirt-the sun by own hands in house conditions
How to sew an American skirt, a master class. American skirt with their own hands step-by-step photos, pattern, video

How to sew a skirt with a half-sun with your own hands - to build a pattern and cut the skirt on the fabric, how to lengthen the skirt of a half-sun yourself

How to sew an American skirt, a master class. American skirt with their own hands step-by-step photos, pattern, video
How to sew a skirt with a half-sun with your own hands - to build a pattern and cut the skirt on the fabric, how to lengthen the skirt of a half-sun yourself
Skirt of tulle with your hands: master class with photo and video

New Year's costume ladybird