How to make a tulip from paper: a master class
 In spring nature awakens and fills the gray and sad everyday with sun, warm colors and magnificent colors. And many spring months have long been associated with handsome tulips.
But what to do when the snow and frost outside the window, and want to let in the house a drop of warmth and tenderness?
The answer is simple - you need to make a tulip of paper with your own hands, all the more so, except for the creative mood, inspiration and colored paper, nothing else is required.
In general, tulips made of paper madewith their own hands, represent an exciting activity, both for children and adults. So, Sit comfortable, we'll tell you how easy it is to make a tulip of paper or even a huge bouquet of spring flowers with his own hands.
Tulip from paper by own hands: master class
So, let's begin. For work we need the following materials:
Dense colored paper (red and green)
Pencil;
Ruler;
Scissors.
Take a regular thick colored paper sheetformat A-4 and note the dimensions - 20 by 28 cm. This is very important, because otherwise, if you just fold the finished sheet, the tulip will turn out to be very large. As for the color of the tulip ... It all depends on your personal preferences.
Although, of course, you can recall the "languages of flowers" andexpress their feelings and mood in their work. For example, red color is a symbol of love, yellow color is a symbol of sadness, separation; white color - a symbol of joy, innocence, purity; pink color is a symbol of optimism. So, choose!
After the color is selected, the sheet is minimized totriangle, and the remainder of the cut. It can be used to make a stalk. In the end, you should get a square, folded in a triangle diagonally. The square must be folded several times and unfolded along diagonals in the form of X.
This is done so that the folds aresufficiently deep. The next step is to rotate the prepared square so that its center is at the top (like a pyramid). Fold the workpiece in two, and bend the corners to a horizontal fold to make a triangle.
The same must be repeated on the other handblanks. When the folds on both sides are made, fold the triangle, aligning well its sides. Turning the workpiece angle down, turn the corners from the base of the triangle to its top.

And with the second side do the same. In the end, you should get four triangles. Take one of them and turn to the right. The second one is to the left.
Then you need to insert the vertex one into the other. Folds neatly fold and also gently smooth. The same must be done on the other side. As a result, your harvest should look like a bud of a tulip.
After that, in the bud, holding the foldedvertices, insert the stem of the flower. To make the stem, we take a cut piece of paper or a special piece of green paper, add it three times. This will become a stalk, it will be inserted into the opening of the base of the bud.
We open the petals of the flower and the handsome tulip is ready!
We recommend that you do not stop there,but to make a whole bouquet of tulips from paper with your own hands. Tulips can be of different colors and different heights. They will become a charming gift for your beloved mothers, grandmothers and girlfriends for any holiday.
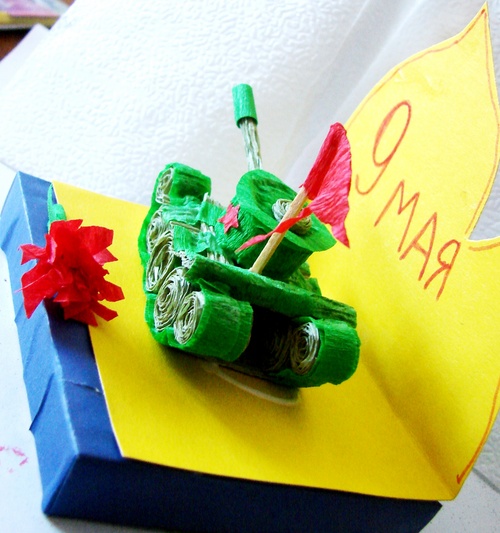
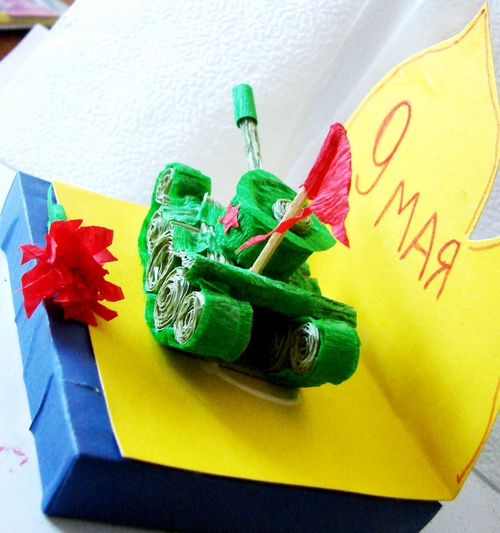
Yes, even to my grandfather on May 9, you can give a giftwonderful bouquet! Cast aside doubts that a tulip is an inappropriate flower for a presentation, it is appropriate in any setting, since it is a symbol of happiness and love.
Author: Katerina Sergeenko