How to make a card for your dad yourself
 Nobody will argue that the besta gift is one that is made by own hands. Agree, can a gift bought in an ordinary store tell the full extent to your feelings and warmth?
Naturally, no! Only a gift made with one's own hand will bring real joy to who it is intended for. Immediately need to say that there are a lot of ideas for gifts for hand-made today.
Someone prefers embroidering originalcompositions on a snow-white linen, someone makes of salty dough gorgeous figurines, and someone just makes gorgeous cards. Making postcards is not only fascinating, but also extremely beautiful.
Postcard for Dad for his birthday with his own hands
So, where to start and how to easily manufacturebirthday card for dad? Let's fantasize together. Of course, the appearance of your gift will completely depend on various factors, for example, on the nature of the event, on the age of the addressee, etc.
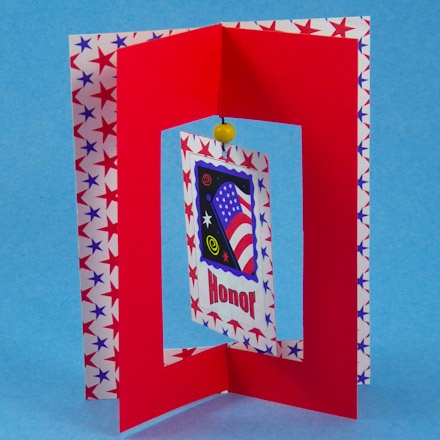
We bring to your attention a master classMaking a postcard for yourself with your dad for your birthday. Our creation will be voluminous, with images of birds, sky and airplanes. We recommend this card together with the children.
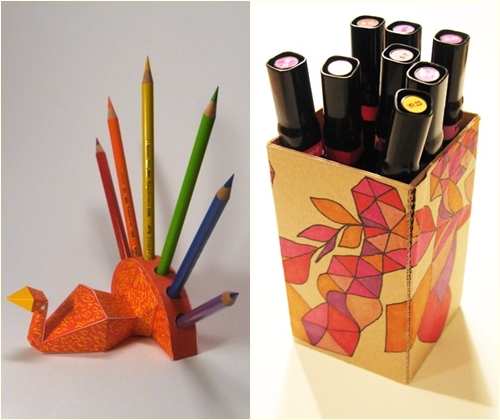
In the process of work you will need color paper, glue and scissors for cutting appliqués and figurines.
The first stage: Decoration of the face of the postcard, t.e. covers. To do this, we need to cut out the first words from the pre-prepared congratulatory text. You can write them, especially those who have a beautiful calligraphic handwriting.

The cover will serve as a folded double sheet of dense colored paper. The front part can be decorated with a bright frame, figurines, ribbons and other decorative details.
Second phase: As we have already said, our postcard for the pope with his own hands will be voluminous. This means that when exposed, it will show voluminous clouds and a beautiful spiral trail from the flying plane. From brown, silvery, bluish and white paper, you need to cut out small pieces and fold them in half.
The third stage: On the prepared pieces of colored paper draw half of the clouds, aircraft and birds next to the fold line. It should be noted that it is best if they are of different silhouettes and outlines.
Fourth stage: The pattern is carefully cut out on the contour made. On the bend, it is important not to forget to make a central incision. Turning the leaves, you should see the mirror figures with special cuts. It is with the help of notches that paper figures will be put on strips of colored cardboard, and fastened to the inside of the postcard.

Fifth stage: From a thick sheet of paper, cut out the volumetric spiral. Center its center with glue and attach to the card part from the inside, and to the second part of the postcard glue the outer side of the spiral, also pre-greased with glue.
Sixth stage: To that side of the spiral, which is already, glue the carved figurine of the plane. This will help create a track effect that comes out of the tail of the aircraft. And additionally decorate the card with birds, clouds, the sun, and, of course, do not forget about sincere congratulations.
Seventh stage: A postcard of such a plan can easily be timed to work or to your dad's hobby. The product can be decorated with applique in the form of a car, a tie or, for example, make a postcard with your own hands about hunting and fishing!
So fantasize, experiment, and most importantly, do not worry about the value of your gift, as native and loving people will certainly appreciate it in any performance!
Author: Katerina Sergeenko