Manicure for the New Year 2017 with your own hands at home - short nails and long. Photo of New Year's manicure with gel-varnish

Extravaganza of bright colors, an abundance of glitter, interestingtextural decisions and black and white classics - this is how you can briefly describe the main trends of the winter manicure of the coming 2017. Almost all of them will perfectly fit in the New Year's manicure, which, undoubtedly, is one of the key points in creating a festive image. Despite such a variety of trends, each of them, including variants with gel-lacquer and shellac, is easy to do at home with your own hands. Especially if you use a simple step-by-step master class with a photo as an assistant for the New Year's manicure. Find out what manicure for the New Year 2017 will be the most fashionable, as well as find a lot of original ideas for nail art on short and long nails, you can from our today's article.
The most fashionable ideas for a manicure for the New Year 2017 Cock, photo
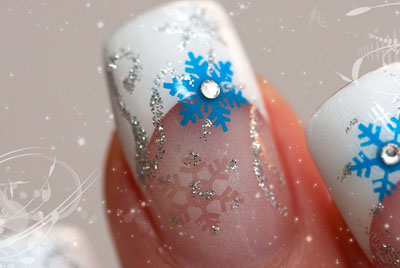
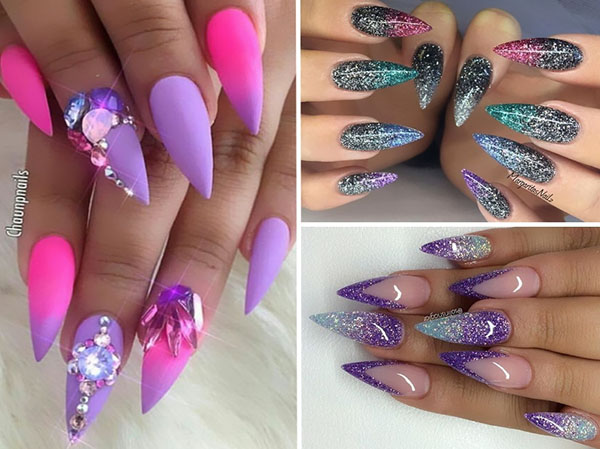
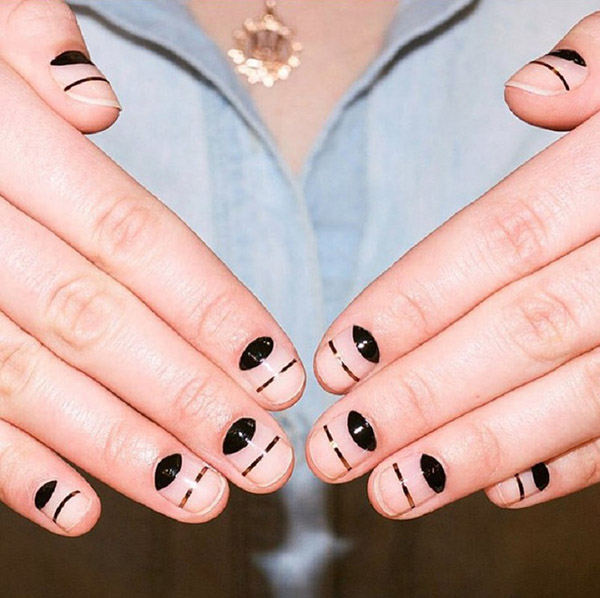
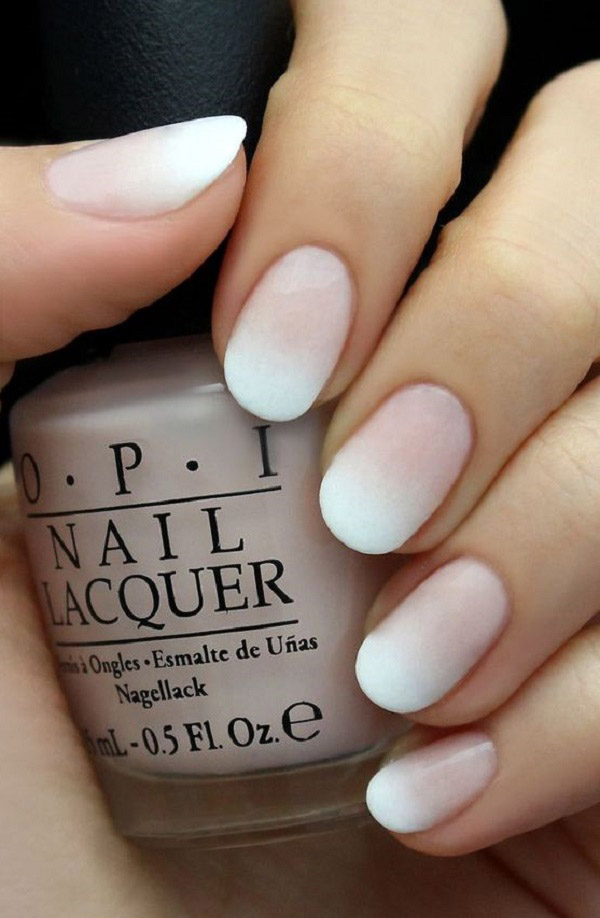
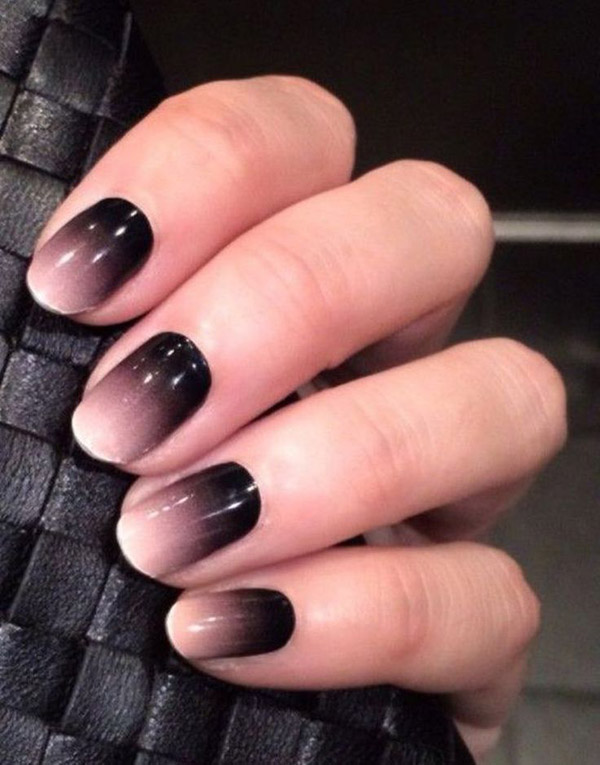
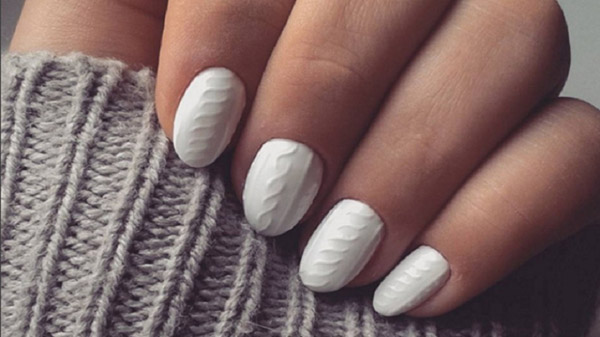
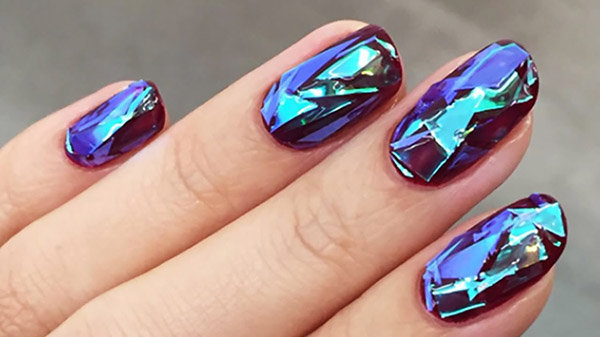
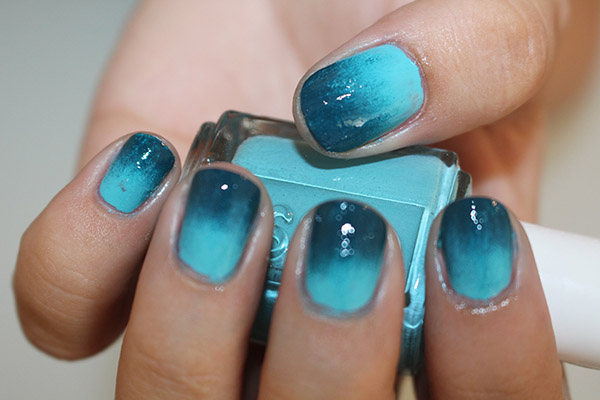
New Year is a bright holiday, in which there is no placegray and boring images. Especially in manicure, which by definition should attract attention and play the role of some "highlight" of the festive onion. The current trends of the coming winter season, as never before, easily cope with these tasks. Among the most fashionable ideas for manicure for the New Year 2017 (photo below) you can see both laconic, but bright, geometric patterns, and luxurious shiny manicures with an abundance of glitter. Among the actual options will be various invoices, which have already won the hearts of women of fashion before. We are talking about such fashionable ideas for a manicure for the New Year 2017, like "broken glass", negative space, French-ombre, "knitted" nail art. The first two options look perfect in black and white colors - another trend for the upcoming season.

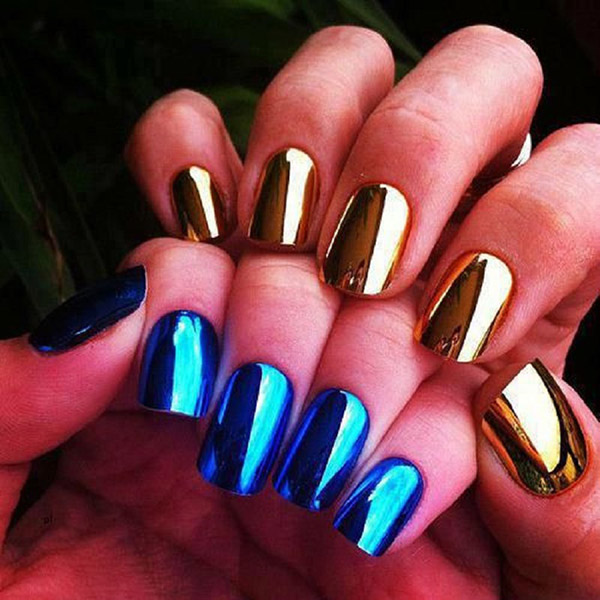
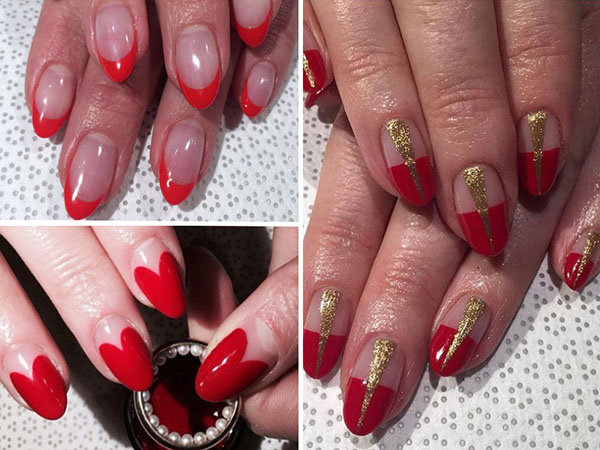
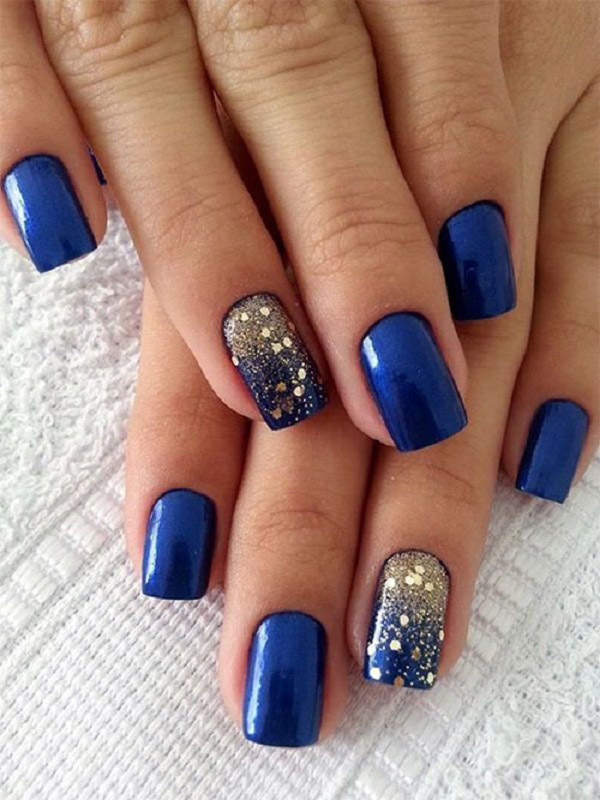
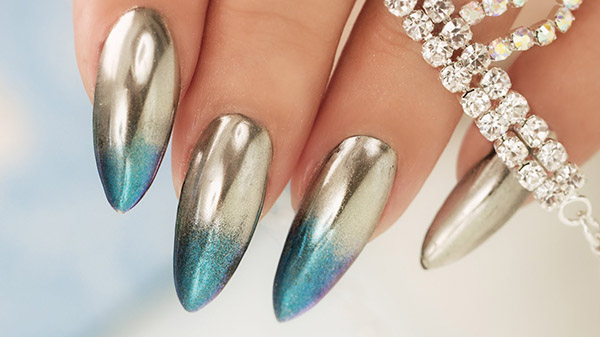
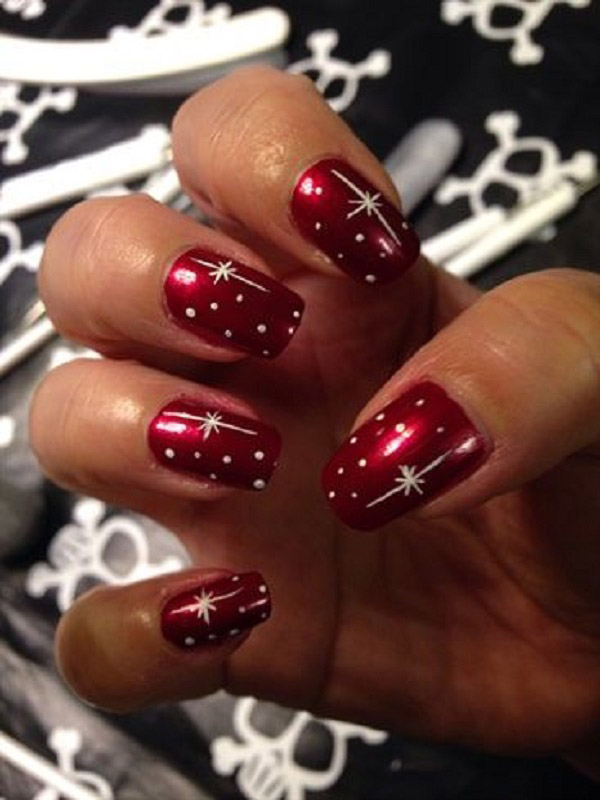
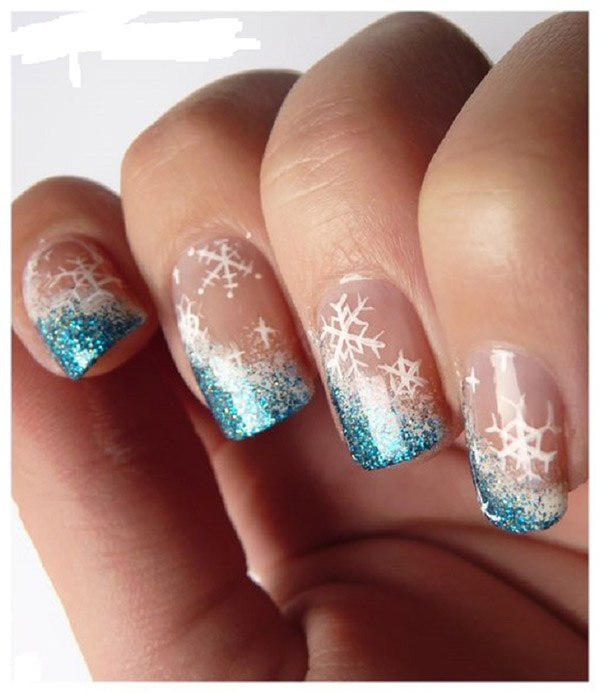
By the way, if we talk separately about fashionable colordecisions, then at the peak of the popularity of this winter, hence, the New Year holidays, there will be bright shades of the red palette. The company will make them more traditional for the cold season blue, eggplant and chocolate colors. Do not rush to call them boring for the New Year's manicure - just enough to make an accent on the one nail from the glitter so that it starts playing with holiday colors. A special attention should be paid to the mirror nyl-design with shiny powder.
Geometric version of manicure for the New Year 2017 at home, photo
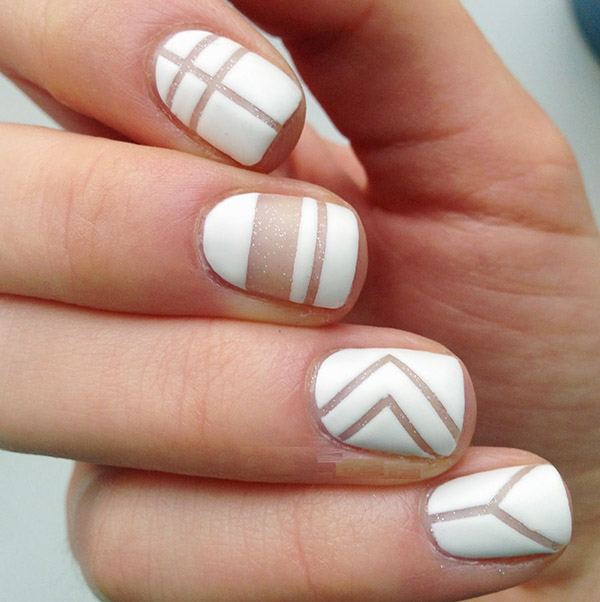
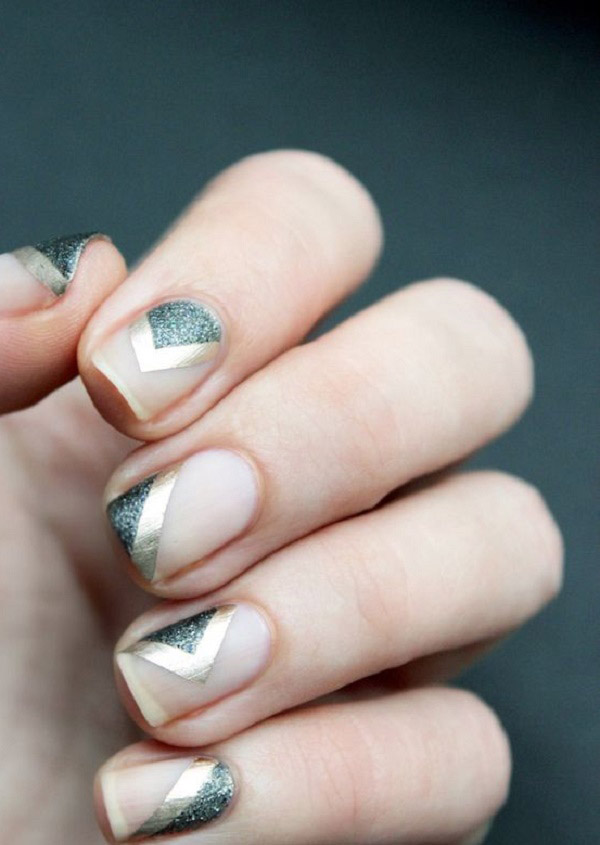
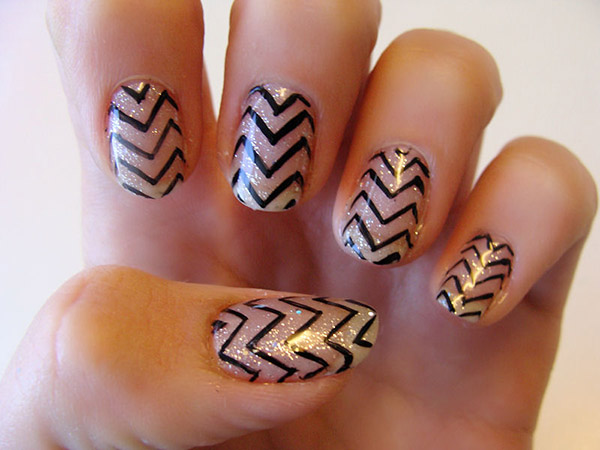
The geometric pattern in the manicure is no longer relevantthe first season and is great for the New Year's edition at home. It can be called one of the most versatile nail designs, given how varied it can be. Judge for yourself, as a basis, suitable as a matte and glossy varnish of absolutely any shade. The pattern itself can be no less diverse. For example, in the geometric version of the New Year's manicure at home, which awaits you further, the pattern will be created using the fashion trend "negative space".

Necessary materials for a geometric New Year's manicure
matte white lacquer
base for nails
Scotch tape or thin tape for nail art
scissors and tweezers
Step-by-step instruction for geometric manicure at home
First of all, we prepare our nails for manicure: cut the cuticle, shape it with a saw blade, degrease the nail plate. Then apply a transparent base coat.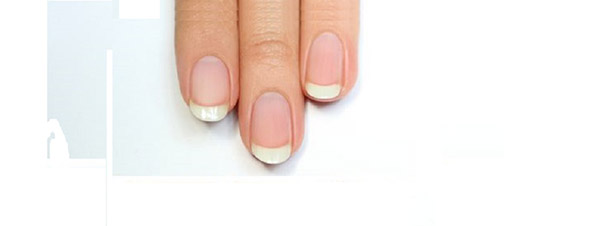
After the base is completely dry, we glue to the nail plate a thin tape for nail art, forming a future pattern. You can also use strips, cut from ordinary scotch tape.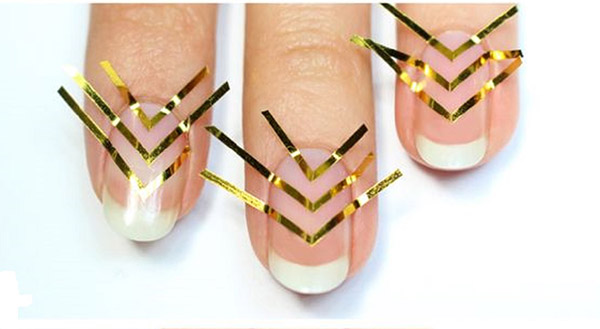
Gently apply an even layer of the main color. In our case, this will be a universal white matte shade. But it can easily be changed to a color that will harmonize with your holiday attire. We wait while the varnish slightly to seize, and we delete strips tweezers.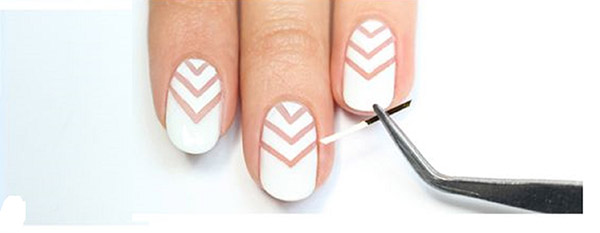
After complete drying of the varnish, we apply a topcoat.
New Year manicure with a picture for short nails, master class with photo
Want your manicure for the New Year 2017 wasthe object of attention of all present? Then be sure to take note of the idea of a New Year manicure with a pattern for short nails, a master class with a photo of which awaits you further. By the way, this stunning New Year's manicure with a pattern is suitable not only for short nails, but also for medium length. But on long nails, it will look, most likely, too provocative.
Necessary materials for the New Year's manicure with a pattern for short nails
varnishes of the following colors: milk, red, gold, green
golden glitter
basic covering
toothpick, thin brush
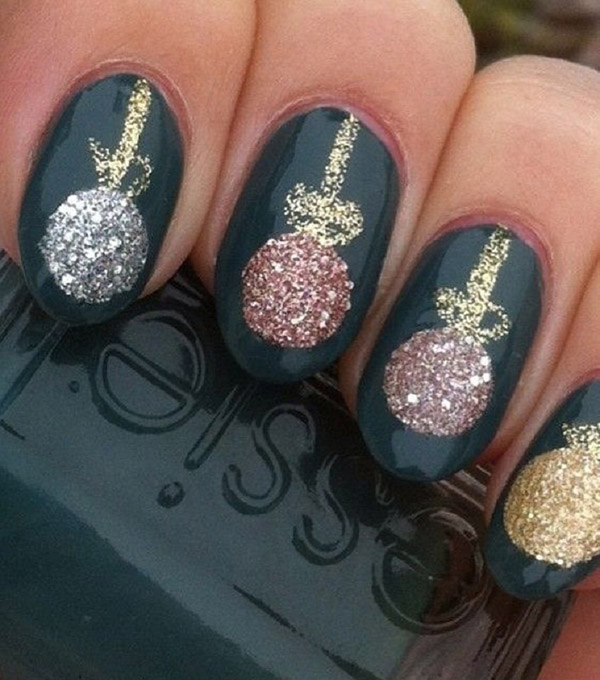
Instructions on how to make a manicure with a pattern on short nails for the New Year 2017
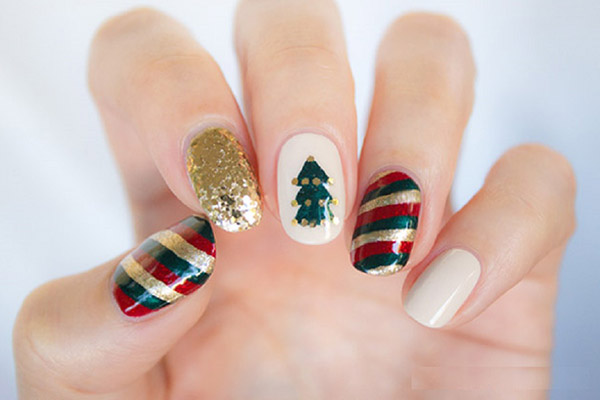
After completely drying the base, we apply varnishes to the nails in the following sequence: red, gold, milk, red, milk.
On the index finger, while the gold lacquer has not dried completely, we apply a dry glitter of the same shade.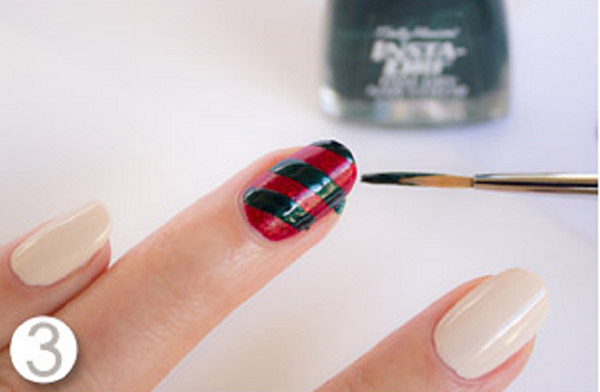
On red nails with a thin brush draw green stripes diagonally, as in the photo below.
Then draw gold stripes.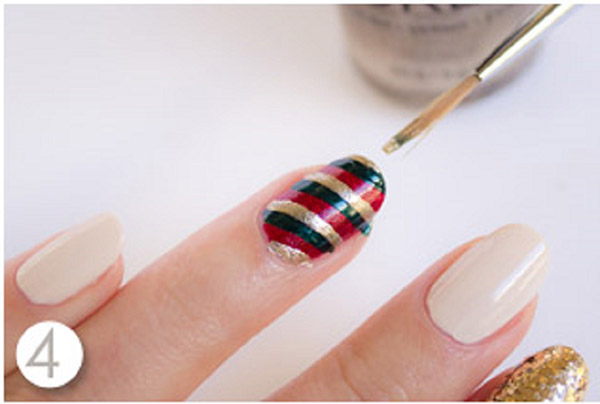
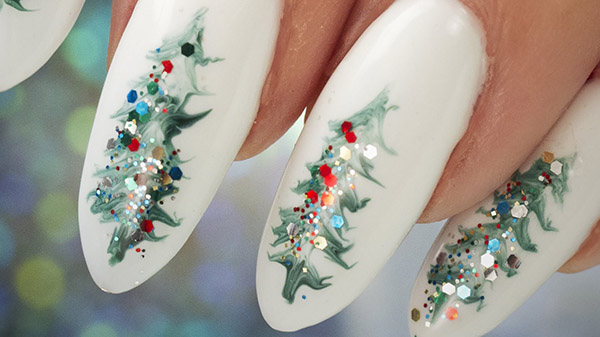
On the middle finger over the milk lacquer paint a green tint of herringbone.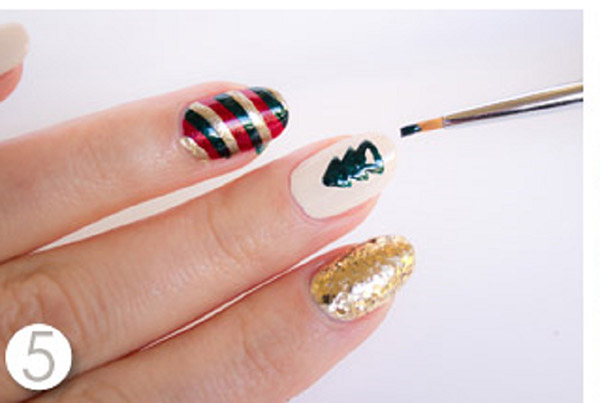
After the herringbone has dried with a toothpick, draw on it small golden balls. In the end we cover all the nails with a shiny top.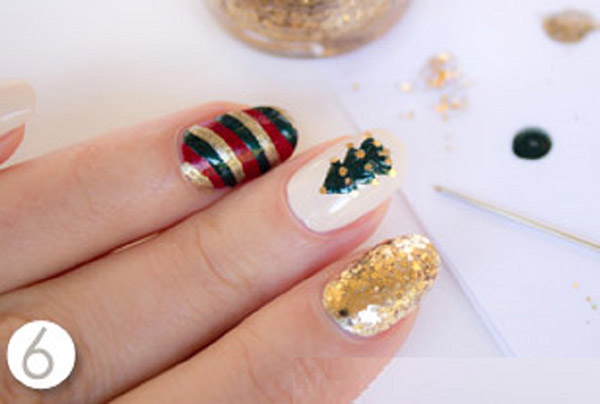
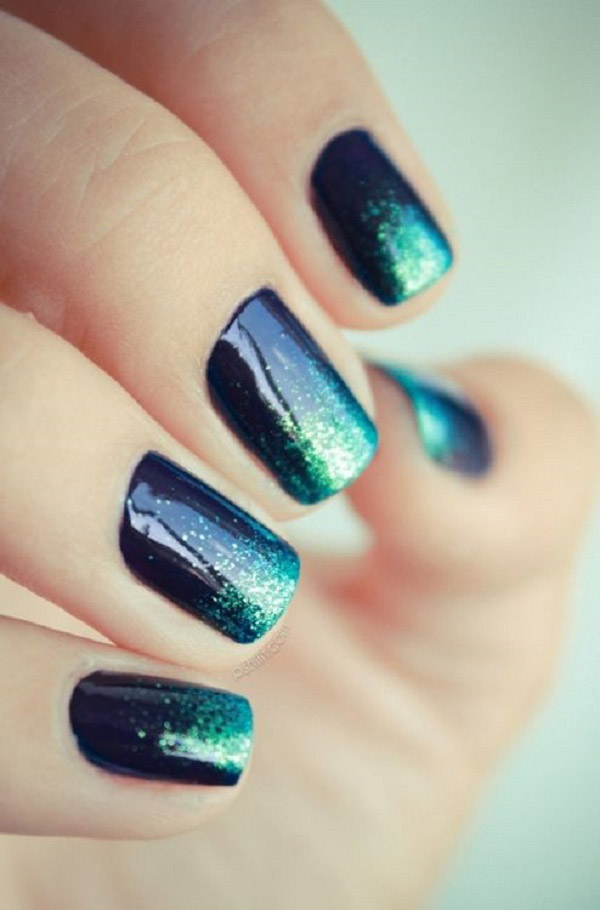
Brilliant manicure gel-varnish for the New Year 2017, master class with photo
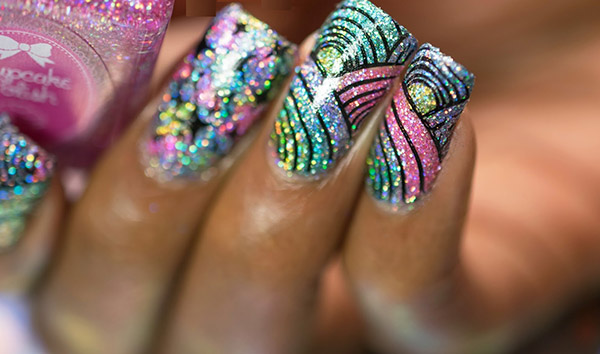
A simple, but very effective version of the brilliantmanicure with gel-varnish for the New Year is waiting for you in the next master class with a photo. Of course, to repeat this manicure for the New Year 2017 can and with the usual varnish coating. But in this case he will not be as persistent as with shellac. This version of the brilliant manicure gel-varnish for the New Year 2017 at home is suitable for both short and long nails.
Necessary materials for a brilliant New Year's manicure gel-varnish
black gel-varnish
top and base
multicolored glitter
adhesive tape or self-adhesive paper
brush
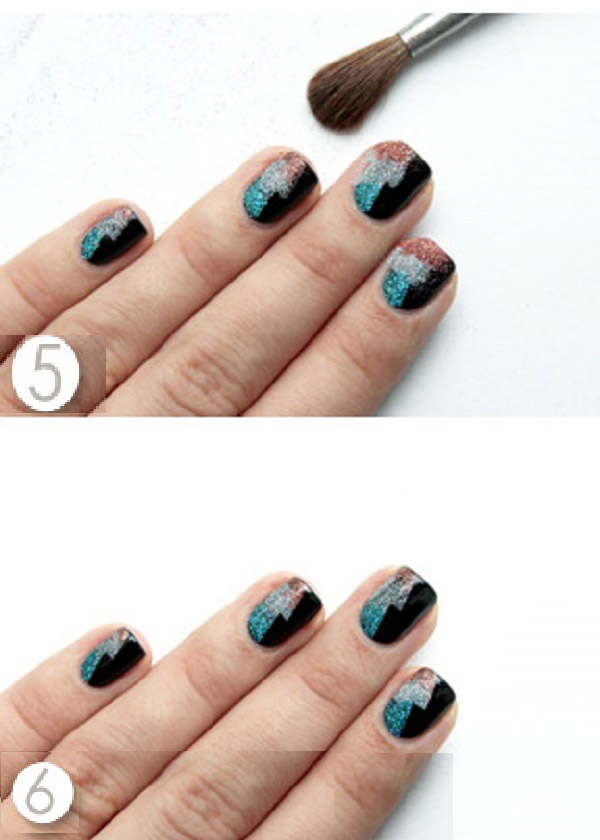
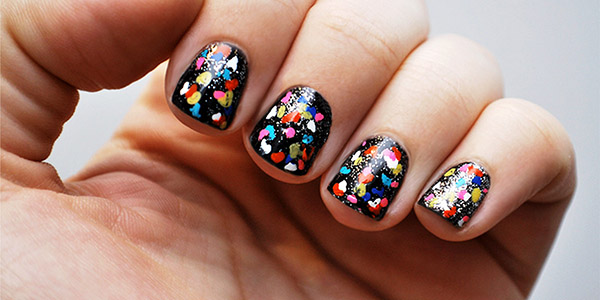
Instructions how to make a brilliant manicure for the New Year 2017 gel
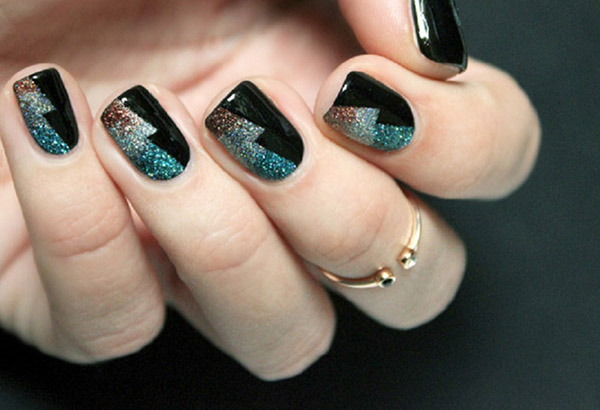
We apply the base coat and wait for the complete drying. We paint nails in black and send them to dry under a lamp.
With the help of self-adhesive strips we form the stencil, as in the photo below.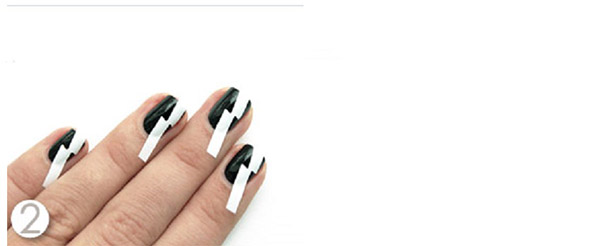
On one half of the nail we apply the base coat. Then, with a wet brush, we transfer the multicolored glitter.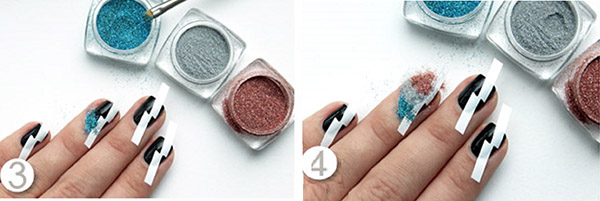
Carefully remove the strips and remove excess glitter with a fluffy brush. We put the top on the entire surface of the nail plate and wait for the complete drying of the coating, remove the sticky layer and ready!