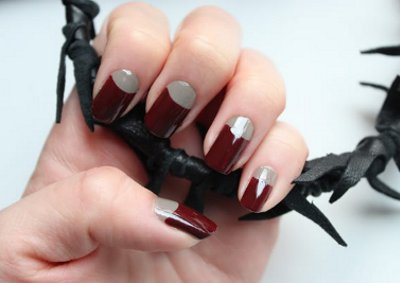
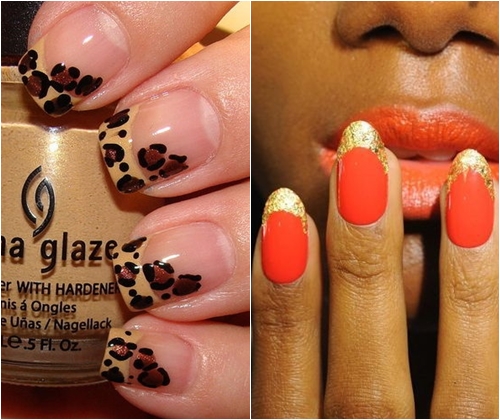
Manicure with water
 Nail design is very rich in various techniques for performing unusual manicure. Not the last place in the nail design is manicure with water. This kind of manicure is also called marble onlythanks to his extraordinary appearance, which is simply impossible to recreate, using the usual technique of applying varnish to the nail. The country of the Soviets will tell you, how to do a manicure on the water.
 It would seem, how it is possible to combine water and a varnish,to do a manicure? It turns out that this is quite real, and even quite easy. The only problem is the time you spend on your manicure with water. But on the other hand, you do not need to go to the beauty salon, so that the master has made you a water manicure, because all the tools you need are at home!
Marble manicure will always impress you with unusual patterns that you will model yourself. With a certain skill, you can learn to perform a variety of marble divorces, which will always differ from each other. And to model patterns is actually very simple.
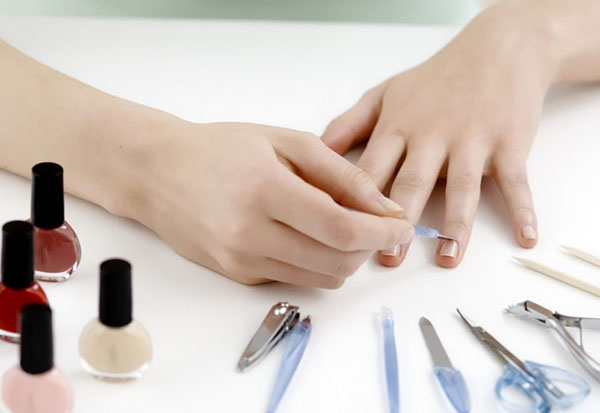
But what is required to do a manicure on the water? You will need several varnish colors that you will use. It is best to combine between 2 and 4colors. Also you will need a lacquer base, a small water tank, toothpicks, greasy hand cream, napkins, nail polish remover and cotton wool. As you can see, all of the above can be found at home with every girl.
Before you start working, should remove your old nail polish. Model the shape of the nails. Only after that you can cover the nails with a varnish-base. Allow the varnish to dry well. Now you can start a manicure.
Choose the colors of nail polish that yougoing to use. Instead of varnishes, you can use paints for nail art. If you still chose lacquers, look for them to be liquid enough. If your varnish is a bit thick, it is better not to use it and not dilute with acetone. Otherwise, the varnish will mix with water.
Prepare a container in which you will make your manicure with water. It is best to work with a small capacity, becauseWhen the varnish reaches the edges of the dishes, it can be very easy to work with. So, pour warm water into your container. The temperature of the water is very important: it should not be above 40 ° C, so that the varnish does not curl up, and not very cold, otherwise the varnish will not lie on the nails.
Before you start modeling the pattern with varnish, you need to lubricate the skin around the nail with a fat cream or petroleum jelly. Also do not forget to spread cream on the cuticle. If the cream gets on the nail plate, remove it with a napkin, otherwise the varnish will not stick to the nail, and your manicure will be spoiled.
Now you can proceed directly to the manicure with water. In a container of water, drip a drop of lacquer. The first color will be the main one. Let the lacquer slightly spread out in the water, then drip on the top a second lacquer of a different color. Again, allow the varnish to fade slightly. From above you can add a couple more drops of varnish. Finally, you can start modeling. Take a toothpick or any thin stick and make it a stain on the surface of the lacquer the way your imagination tells you. Mix the varnishes until you have an original abstraction. But do not be too zealous. The entire modeling process should last no more than 30 seconds, otherwise the surface of the varnish will be covered with a film, and you will have to start all the work from the beginning.
When you already see the finished drawing, gently place a finger on it, so that your nail plate is placed on the water"Layer". Choose the place where your pattern seems most beautiful to you. While you are holding your finger in the water, remove the leftover varnish from the surface with a toothpick. When the water surface is clean, you can remove the finger from the water. Now you can remove the leftover varnish from the skin around the nail. Lacquer is very easy to remove, because the skin is smeared with fat cream.
Wait until the varnish is completely dry before proceeding to the marble manicure for the second nail. At will, while the nail polish is not dry, its can be decorated with various sequins and rhinestones.