Beaded crochet with your hands. Bezel crocheted, step by step instruction
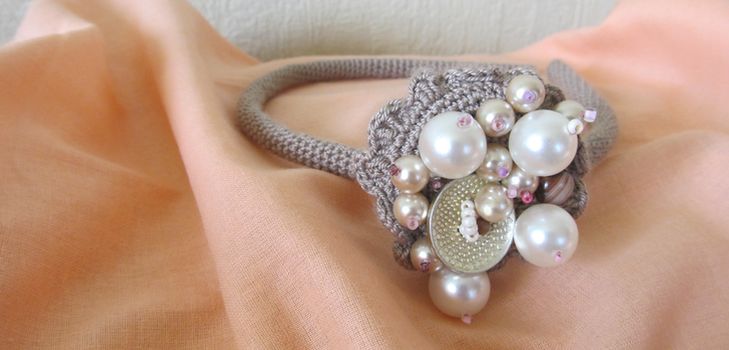
There was a stereotype that crocheted thingsold-fashioned and unattractive. The knitted bezel that we offer to you in this master class is very stylish and completely refutes this opinion. Moreover, making it yourself at home is not difficult.
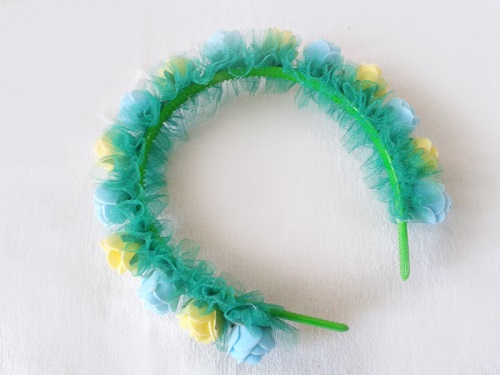
Elegant bezel crochet - step by step instruction
On sale, these handmade bezels cost about10-15 dollars. But you can make it at home for less than $ 2. The most expensive is the beads for decor, which, by the way, can be used from old ornaments.
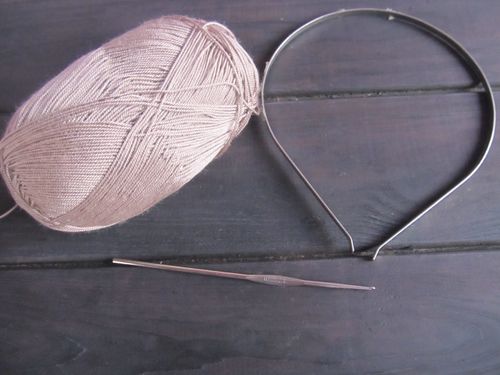
Necessary materials:
thread (in this product used merinized acrylic "Alize") - 20 gr.
second size hook
metal bezel-base
large flat button
thread for stitching parts and fixing the decor
needle with a narrow ear
glue strong elastic or super-glue
large beads, medium beads, beads
Main stages:
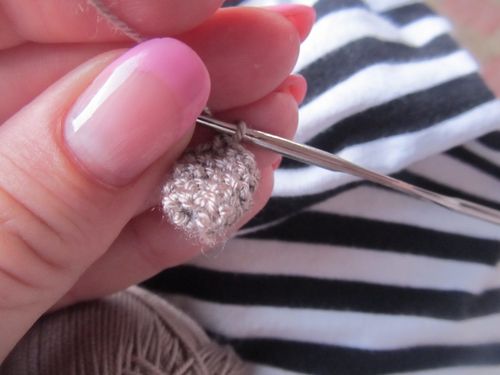
We knit a chain of 5-6 loops, depending on the width of the base-rim.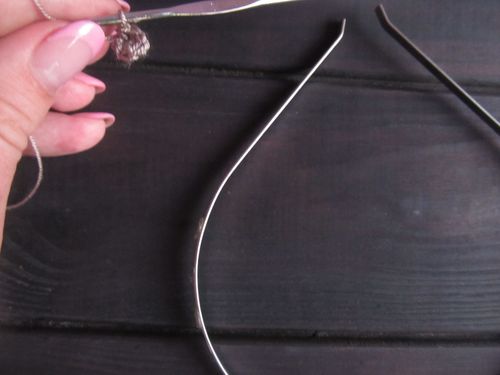
We join the chain in a circle. From each loop we knit on a column without a crochet. Now we'll just move around in circles, tying such stakes again and again. Begins to turn the harness hook.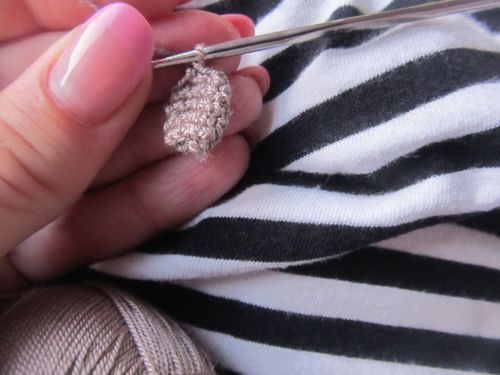
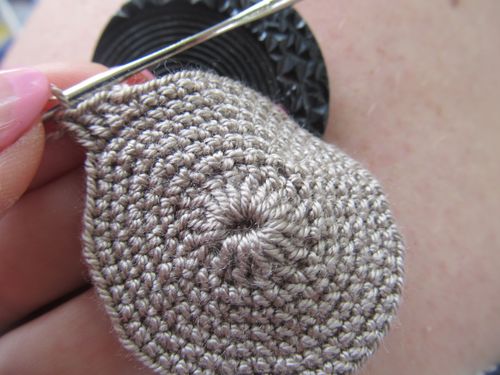
When the tourniquet becomes the length necessary for us, the thread should be fixed. We put the basis in the knitted harness.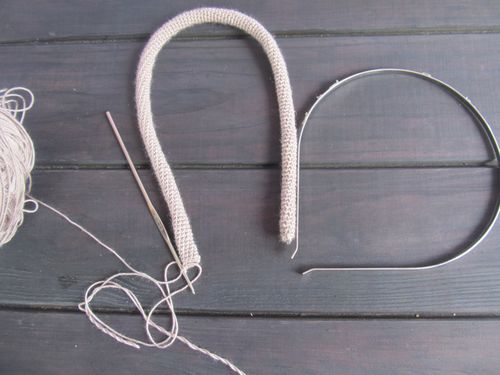
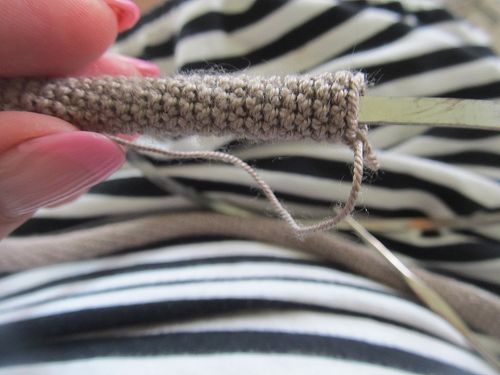
Gently sew together with unseen stitches using the thread of the edge of this harness, so that the bezel is completely inside.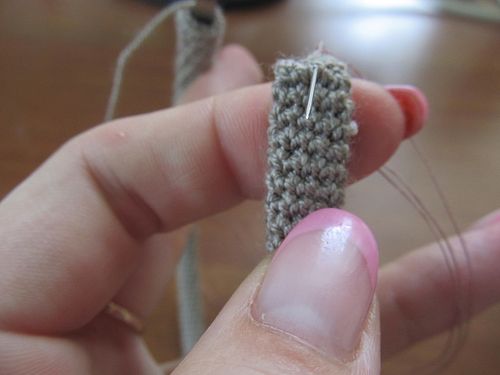
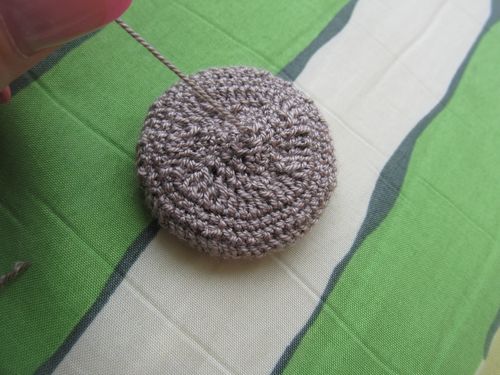
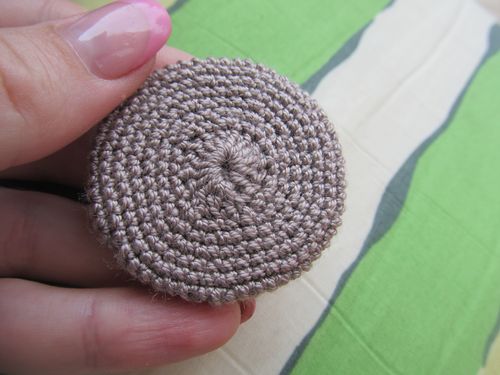
Now you need to untie the base for the decor. For this, a chain of 4 loops is made. Then a circle of loops is formed from it. In the next row there are 7 columns without a crochet. Gradually, expanding the circle, you should knit a circle of this size, so that it corresponds to the button that was originally taken. After reaching the diameter of the button, you should start cutting the loops.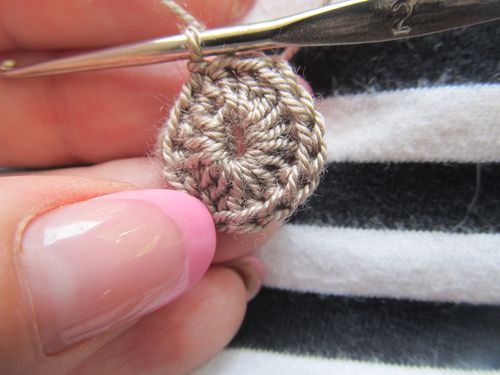
At the edge of the binding of the petals with the help of sticksdifferent sizes. To form one petal, we first knit two columns without a crochet, then two stitches with a crochet, and then again the elements without crochets. It turned out a knitted flower.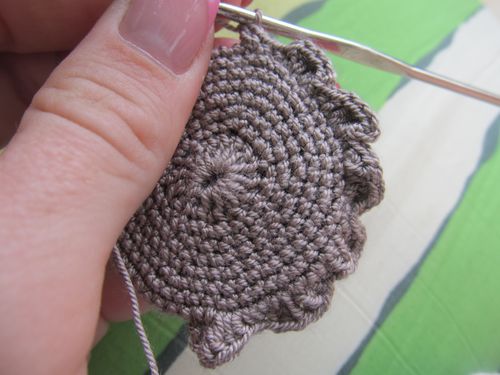
A circle is the basis-glue and we sew it to the base.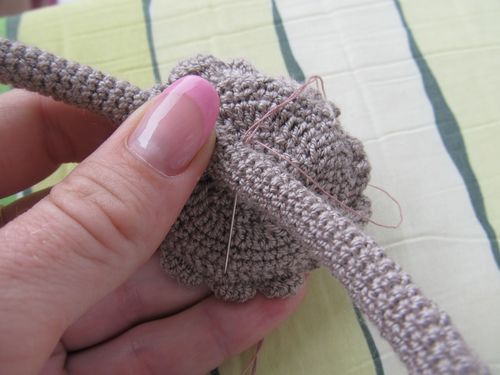
Sewing beads of different sizes, but harmonious in color to our fantastic flower.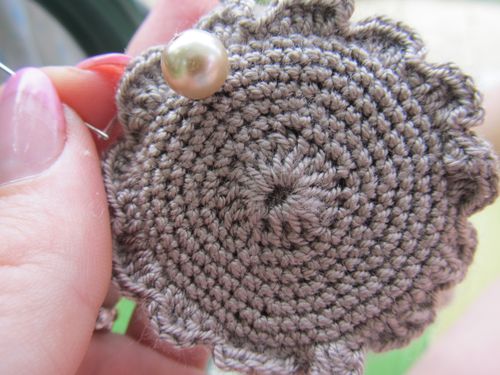
A great accessory for hair - ready!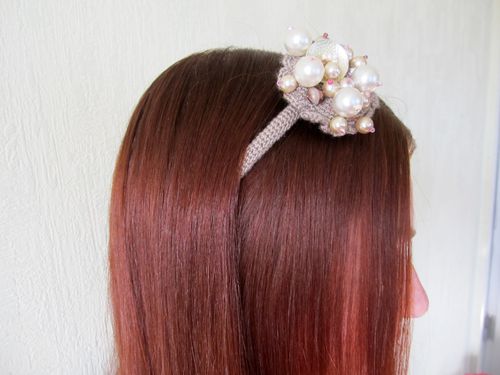

Read more:

How to make a bezel with your own hands, master class. Bright, spring rim decorated with flowers, step-by-step photos, video

Beaded crochet with your hands. Bezel crocheted, step by step instruction

Summer blouse for full crochet - master class. Step-by-step instruction for knitting a summer blouse for complete

How to knit crochet flowers for beginners, master class. Flowers, crocheted for beginners, step-by-step photos, video

Summer booties crochet: diagram, photo, video. Step-by-step instruction for knitting cymbals

How to tie a summer baby cap crochet. Master class on knitting of children's summer hats
Female summer Panama crochet: photo, video. How to connect the women's summer panama - step by step instruction

How to knit crochet flowers for beginners, master class. Flowers, crocheted for beginners, step-by-step photos, video
How to make a bezel with your own hands, master class. Bright, spring rim decorated with flowers, step-by-step photos, video
How to tie a summer baby cap crochet. Master class on knitting of children's summer hats

Summer booties crochet: diagram, photo, video. Step-by-step instruction for knitting cymbals

Summer bag crochet: master class with photo and video. Step by step instruction on knitting a summer bag
Female summer Panama crochet: photo, video. How to connect the women's summer panama - step by step instruction

Summer blouse for full crochet - master class. Step-by-step instruction for knitting a summer blouse for complete