How to make a hero's helmet
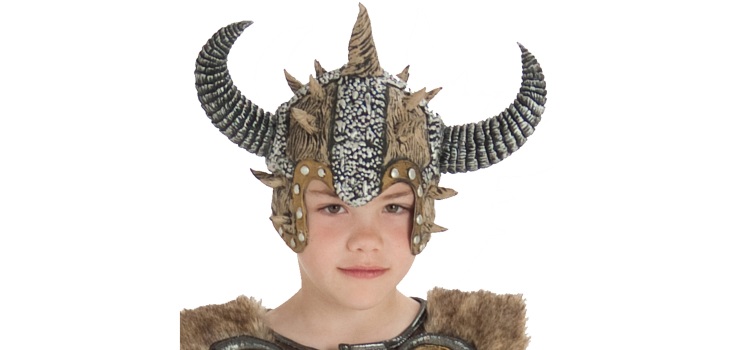
New Year's Eve - it's time for entertainment for children andcares for parents. At this time in kindergartens and junior classes of schools festive morning performances are held, on which the child will necessarily want to be some kind of character. Many parents prefer to save money, not buying a New Year's costume, and making it with their own hands. This article is designed to help them in this. Today we offer you some tips on how to make a hero's helmet.
Helmet made of plastic bottle
To create such a thing you will need the following:
large plastic bottle with capacity of 6 liters
disposable plastic cup with a capacity of 0.5 liters
a laundry bag (such a thing can be purchased at the store)
double sided tape
scissors
ball of silver paint
Stages of work
Cut off the top of the bottle. The edge can be made even, and you can leave on one side a small ledge, which will serve as a forehead.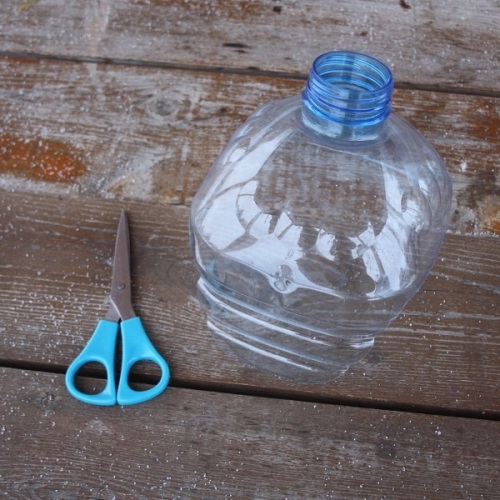
Then take a plastic cup and remove the top rim and bottom on it. Cut the glass from one side and roll it up so that the cone has turned out. Fix the figure with a double-sided tape.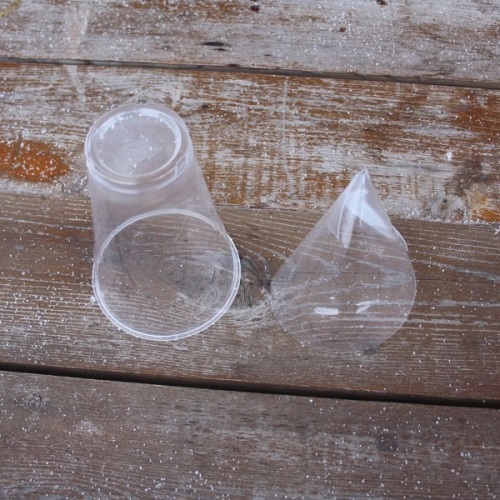
The resulting cone is fixed on the bottle neck with the help of an adhesive tape.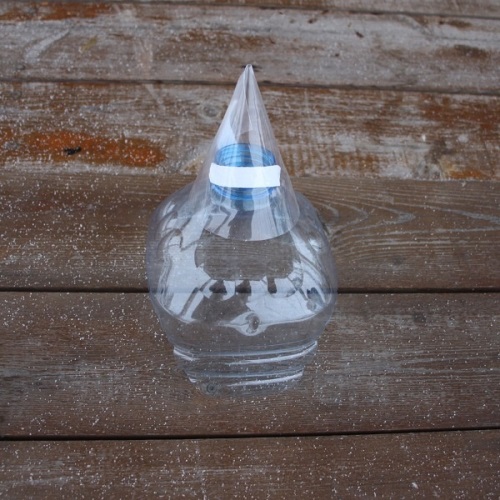
From the laundry bag, cut off the mesh fragment and paint it with silver paint - you will get a "chain mail".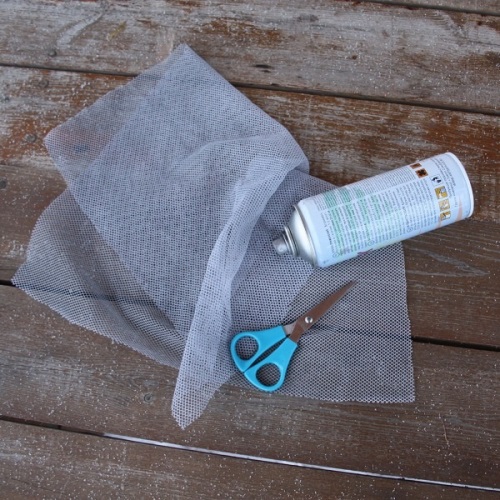
The future helmet must be covered with the same paint in several layers. Allow the workpiece to dry thoroughly.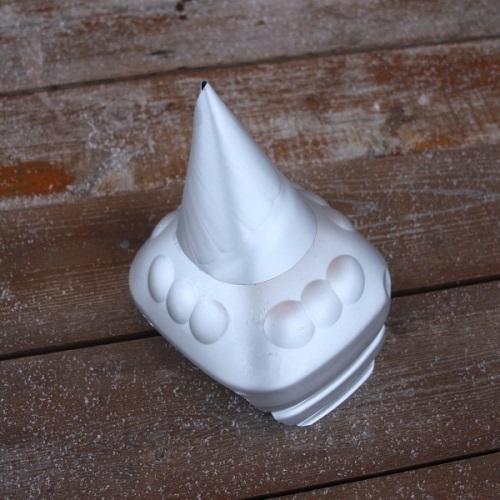
Attach the grid to the helmet and mark the places where it will be connected to the plastic.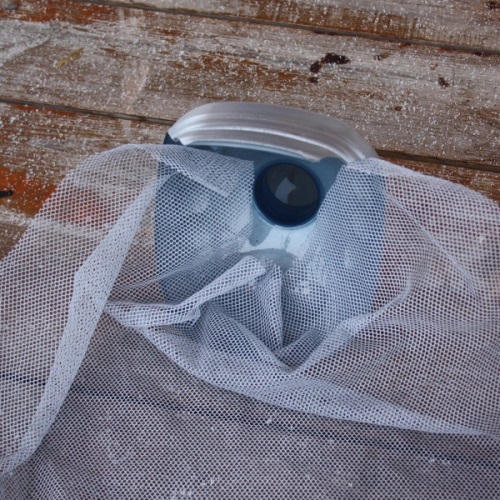
Glue the double-sided adhesive tape to the places where the "chain mail" should be attached to the helmet. Then fix the grid. The helmet is ready.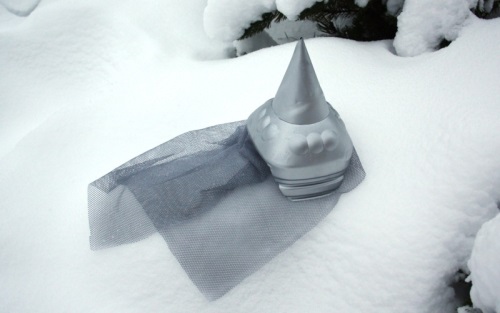
Helm of the hero in the papier-mache technique
For work you will need the following:
Balloon
plasticine
PVA glue
soft paper
paint of silver and golden colors
mesh fabric
The process of creating a helmet:
Remove all necessary measurements from the child's head.
Inflate the balloon so that its circumferenceit turned out to be a couple of centimeters more than the circumference of the head. Well tie a ball so it does not let out air. Then mark with a pen or a felt pen the line where the edge of the helmet will pass.
Place the bowl in a comfortable bowl with the knotted side up. On this tail, mold a cone from the plasticine - it will serve as the tip of the helmet.
Tear off the prepared paper into small pieces. Cover the surface of the ball thoroughly with PVA glue and glue it with paper scraps until the line is drawn. In this way, apply 8-10 layers of material and leave the workpiece to dry completely.
As paper, you can usecardboard packaging from eggs. In this case, they need to be crushed and soaked in water. Then wring out and transfer to a container filled with glue. The impregnated mass should exactly cover the ball and leave for 3-5 days until the helmet is dry.
When all the moisture from the preform has evaporated, the balloon needs to be pierced with a needle and blown off. The plastic tip should also be removed from the helmet.
After that, the edges of the workpiece are leveled with an acute knife, the headpiece is covered with silver or gold paint. The inner part can be painted black.
If there is a desire, you can use a cord or a different ornament as an ornament.
From the mesh fabric, you can cut out a suitable fragment, paint it with the same paint as the helmet, and then fix it in the occipital part of the workpiece.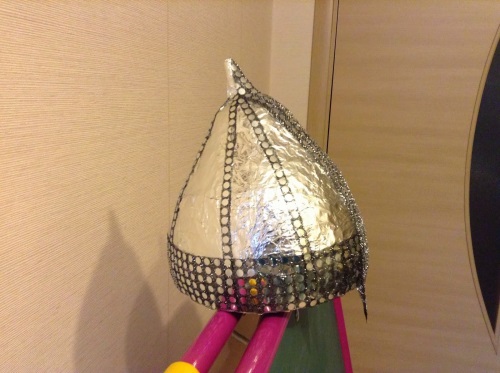
More details of the technique of papier mache can be found on the video:
We described two different ways of creating a hero's helmet for a New Year's party. As you can see, this work does not present any complexity. We hope, our recommendations will be useful to you.


