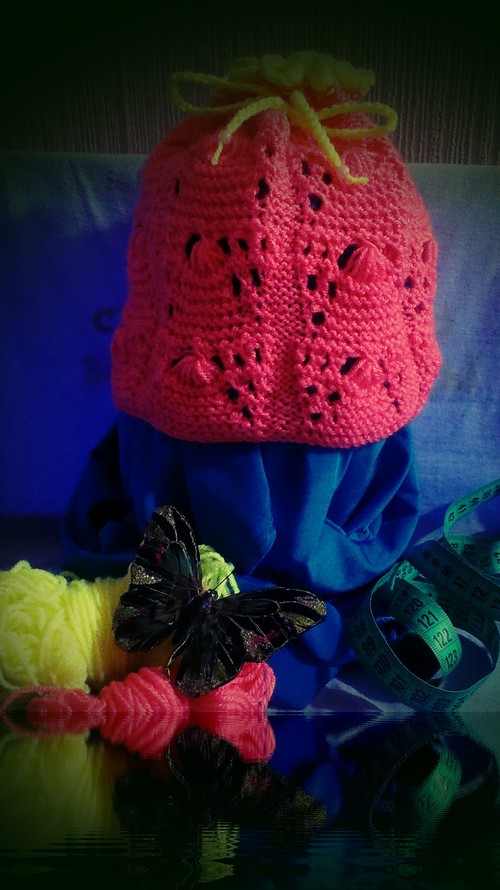
We knit a fashionable women's hat, a master class
 Gray autumn and white winter can also be bright, beautiful and original. In this master class we will show how to tie a bright female hat that will make your image brighter in the cold season.
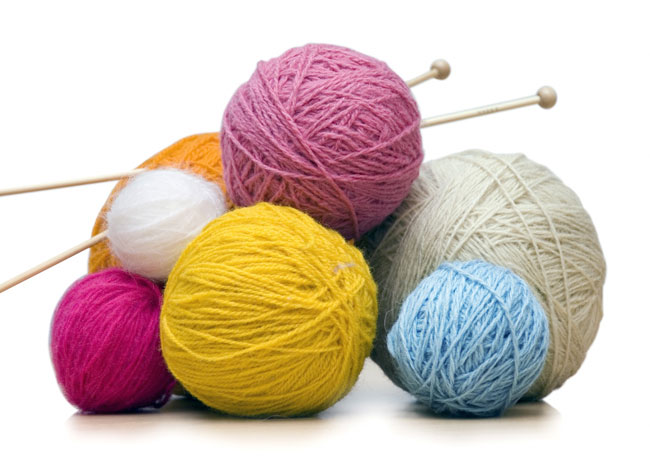
We need:
Yarn 100 g.
Knitting needles 4,5 - 5
Stocking knitting needles (set of 5 pieces) or circular on the line
Hook No. 5
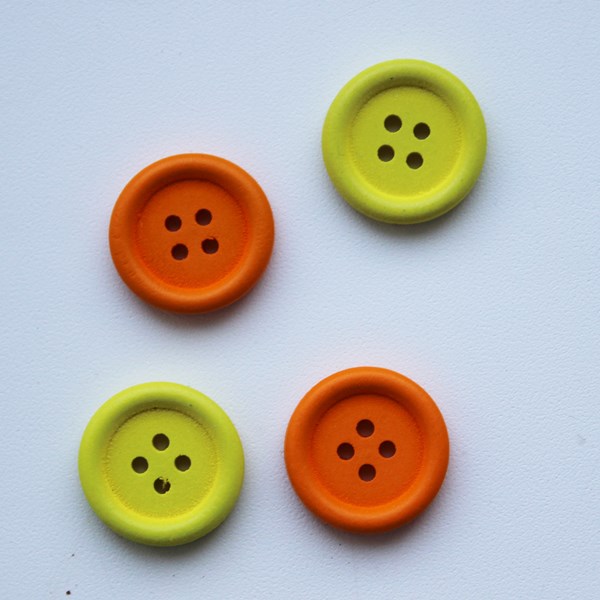
Openwork buttons (they can be purchased at any sewing accessories store)


If you want the hat to be warmer, thenChoose threads where the percentage of wool is higher than the rest. In our case, it's 100% acrylic, but we'll knit in two strands to make the cap bigger.
Patterns, patterns:
Garter stitching - all hinges are knitted with facial
Hosiery: 1 row - facial loops, 2 rows - purl loops; 3 row - front, 4 rows - purl, etc.)
Knitting density (hosiery): 17 p. X 22 p. = 10 x 10 cm
Hat with knitting needles, step by step instruction:
We first understand the density of the pattern. This is necessary in order to get the right amount of loops on the needles. When you buy yarn, you usually write on the label a pattern density when knitting and crocheting, but sometimes this information is not. Well, maybe you just want to back away from these norms, for example, take the spokes thicker or knit in 2, 3 threads, etc. Then you need to link your sample, on which you will measure the length and height of the pattern. For the sample, you need to associate a square with a size of 10 x 10 cm. Then attach a centimeter, ruler or counting frame and calculate the number of loops and rows that are in this square. In my case, the pattern density of 10 x 10 cm is 17 loops and 22 rows.
Next, we measure the circumference of the head. It is better and more convenient to do this with a centimeter tape. When measuring, it is necessary to arrange the tape so that it fits snugly, but without tension. The centimeter should be located above the eyebrows at 1.5-2 cm, just above the ear aperture and so that it passes through the most protruding point on the nape. At me these measurements have made 53 centimeters.
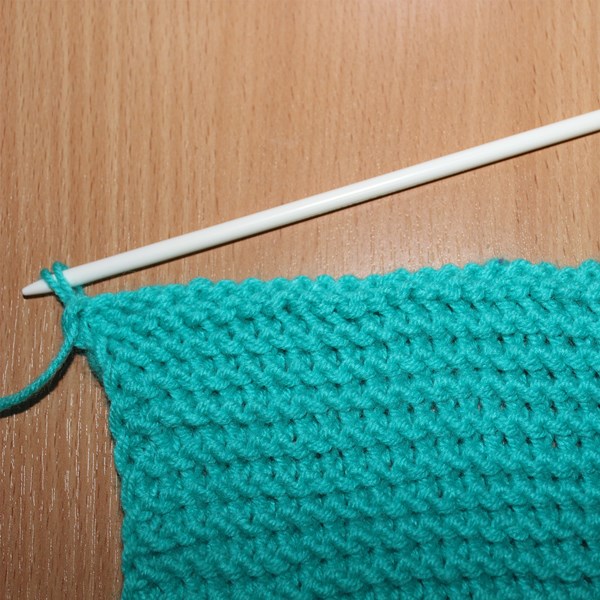
When the preparatory work is done, you canembark on knitting hats. We take the knitting needles and dial 26 loops (15 centimeters). We knit garter stitching length equal to the girth of the head minus 3 cm. So it is necessary to do, because garter stitch is very good stretches.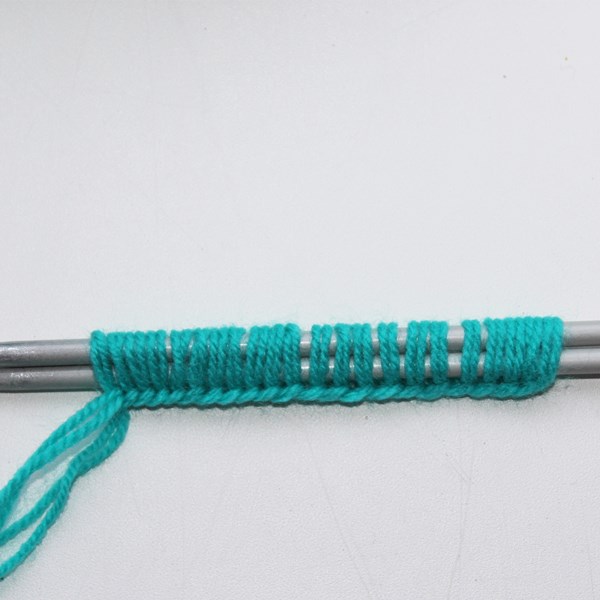

After 50 centimeters are connected, wewe pin the edge of the pin, thereby marking the circumference of our head. And we continue to knit another 4-5 centimeters. When collecting caps, this will be an overlap, where we will sew decorative buttons.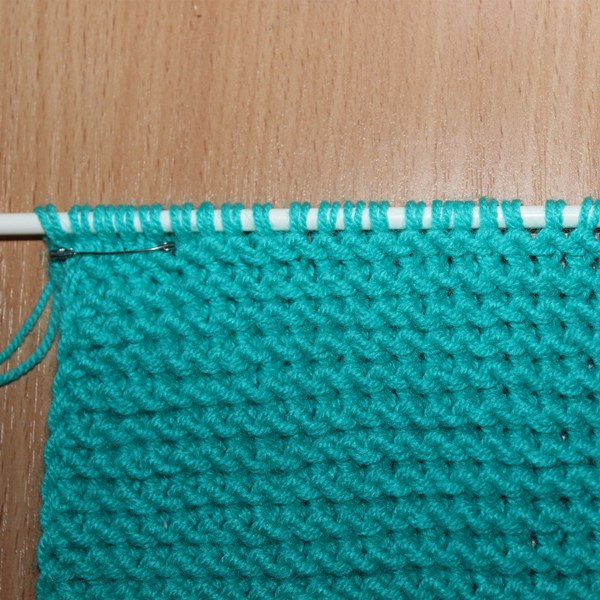


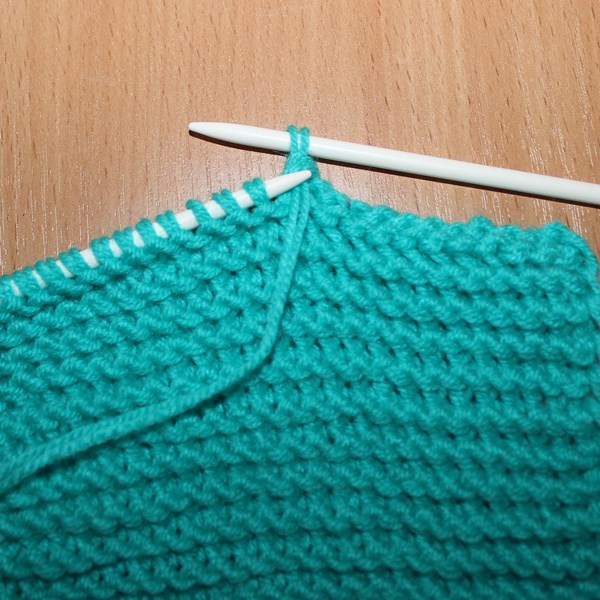


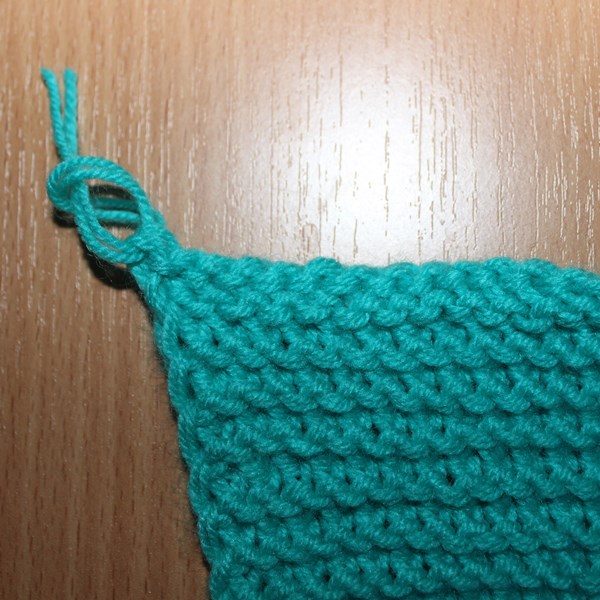
The next step is a set of loops along the edge of our knitting. We type on the hook (so it's easier to hook the thread) and immediately drop these loops on the spoke. So do the whole length.


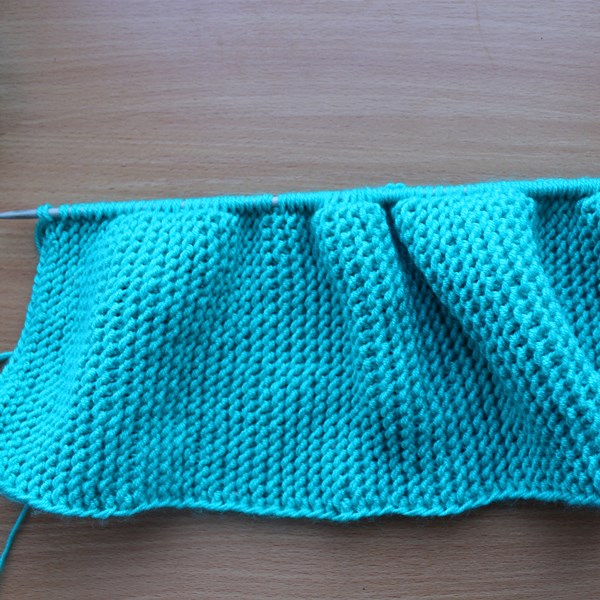
Next, we distribute all our loops to 4 spokes. And we knit in a circle two rows of usual facial loops (hosiery viscous). 3 row will go to decrease. Since I've got 66 loops, it's easier for me to split all the loops into 6 parts and reduce every 11th loop (I'll loop the 10th and 11th loops together). 4th row I will already reduce every 10th loop, etc.


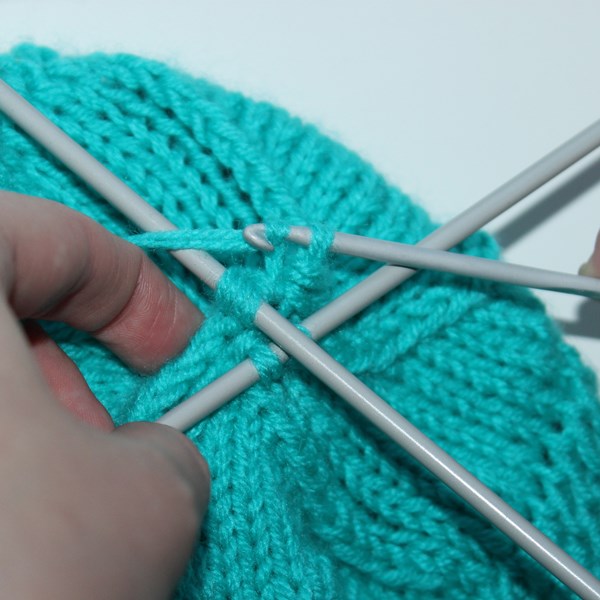
When there are 6 loops left, take the hook and pull the thread through these 6 loops in order to close the cap.


We take the buttons and just sew them at regular intervals, and you can and in the overlap, as you like.
 After completion of the work, the cap should be soaked inslightly warm water with conditioner for wool for 10-15 minutes. Then squeeze and hang, for example, on the jar. So the knitted cap will take shape.
Read more:

Knitted socks for girls and boys with a pattern of their own hands. White knitted socks: how to bind for beginners, photo

Knitting with knitting needles

We knit a fashionable women's hat, a master class

How to knit knobs with knitting needles: detailed master-class

Children's summer cap knitting: a diagram, photo, video. Master class on knitting of children's summer hats

Female summer blouse with knitting needles: photo, video. Master class on knitting an openwork summer blouse
Summer cap with knitting needles: photo, diagrams, video
Knitting with knitting needles
How to knit knobs with knitting needles: detailed master-class
Children's summer cap knitting: a diagram, photo, video. Master class on knitting of children's summer hats

Vest with knitting needles: diagram, photo, video. Master-class on knitting a vest knitting

Female summer blouse with knitting needles: photo, video. Master class on knitting an openwork summer blouse
Summer cap with knitting needles: photo, diagrams, video

Knitted socks for girls and boys with a pattern of their own hands. White knitted socks: how to bind for beginners, photo