Crafts for Easter: decorated with paper egg
 Usually in preparation for the Easter holidayThe whole family is involved. Of course, most of the pre-holiday hassle falls on the shoulders of the older generation. But children can help create a festive mood - for example, make Crafts for Easter.
The most common crafts for Easter - these are Easter eggs and stands for them, baskets and boxes for Easter eggs, toys in the form of animals (chickens, chickens, rabbits), appliqués and postcards.
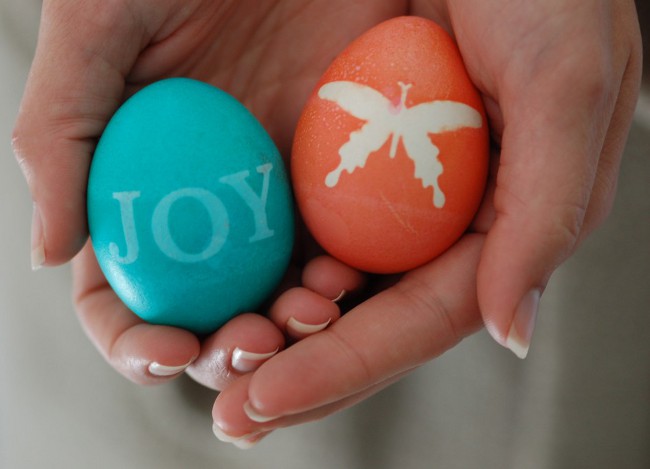
Perhaps, it is the Easter eggs that beat all the recordspopularity among Easter handicrafts. But the usual chicken eggs, painted by hand, "live" not for long: they are eaten during a meal. But after all, I want so much to make crafts for Easter as long as possible pleasing to the eye! Can I make more "durable" eggs?
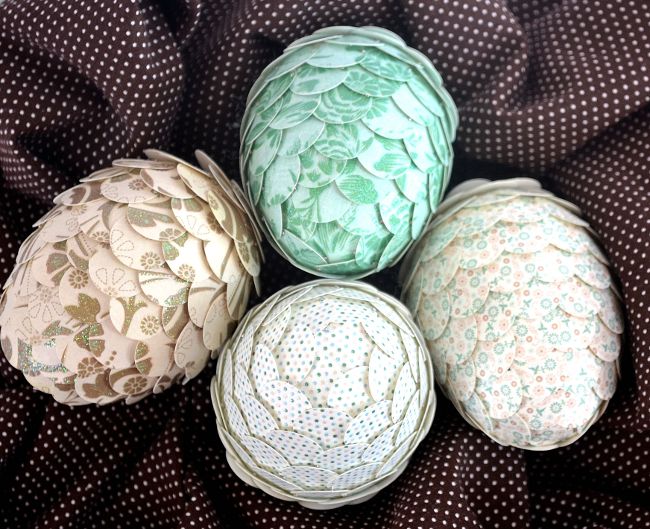
Of course, you can! Often in the additions of ordinary Easter eggs and Easter eggs make Easter eggs from improvised materials and decorate them - painted, papered or even braided with beads. We suggest you learn how to do Easter eggs made of foam rubber, decorated with paper "scales".
Make such crafts for Easter is very simple, and even a child can cope with the task. You will need only a few minutes of time and very few materials, and the result will be quite worthy. Sometimes the simplest crafts are the most beautiful.
To do this, you will need:
foam egg
dense color, or rather decorative paper
hole punch with a cutting of 1.5 cm
pins (not English!)
glue
Large punch punches and decorative paper are sold in shops for scrapbooking, they can also be ordered online. But if you do not have a hole punch, you can cut the paper circles manually - then the crafting will take a little longer.
So, make circles of paper with a punch or cut out by hand, and then start decorating our egg. First Circle pin four pins to the very top of the foam rubber egg.
Next circle It is necessary to attach an overlap, one pin (itsit is necessary to stick at the very edge of the mug). It should not overlap much the previous one - it is necessary to impose it so that it just closes one of the pins to which the first circle was attached.


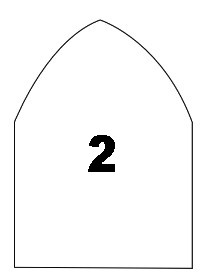
Third Circle You need to pin to the right of the first, so that itslightly overlapped the first two circles. Pin it with one pin at the point where it intersects with the second circle. Three circles should be arranged as shown by the diagram on the left.
Continue pinning the circles around the first so that each of them slightly overlapped the previous and the very first circle. It turns out that each circle pinned two pins, right and left, at the intersection with the neighboring circles.
Having finished making the first row, "go down" andContinue to pin the circles in rows, as shown in the photo to the right. Each next row is lapped over the previous one so as to overlap the pins that pinned the previous mugs. Number of circles in each row until the middle of the egg will increase, and then - decrease.
The last circle of paper You need to glue to the bottom of the egg to close the pins with which you have attached the last row. All! Easter puzzle is ready!