Wood Carving for Beginners

Woodcarving - one of the oldest arts, but today it remains very popular. Products decorated with wood carvings, become magnificent interior decorations, excellent gifts. And by the way, wood carving for beginners - The occupation is not so difficult.
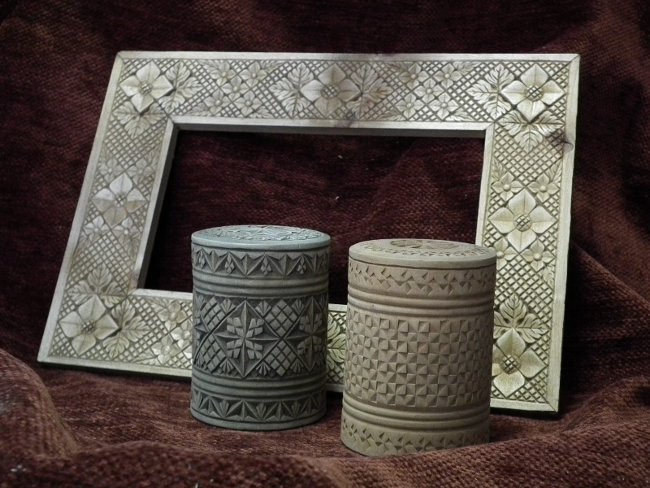
Wood carving can be through, embossed,planimetric, sculptural. In turn, the through thread can be slotted and propyl, plano-viumous - contour, crooked, geometric, black-lacquered, relief - flat-relief, Kudrin. Also known is the technique of wood carving "Tatyanka"- the author's patented technique, which appeared in the 90s of last century.
Wood carving for beginners is a great way to spend leisure time, accessible to almost everyone. Beginners will need to practice carving ona small set of tools (at first it will be enough to have a knife with an angle cut at an angle of 30-40 degrees), simple pencils and paper for sketching, various measuring instruments (ruler, compasses, protractor), and, of course, wood blanks for future products.
The wood carving for beginners is gradually mastered. It is preferable to start learning with the technique of a flat geometric thread on wood. The simplest geometric thread is triangular. In this thread, there are several basic figures: prongs, diamonds, vityakes, asterisks, rosettes, squares, pyramids.
The basic methods of working in the technique of geometric triangular-carving woodcarving are undercutting and stitching. Beginners can master only 2 of these simplereception to start making their first carvings. The simplest way is to start studying the basic techniques of geometric carving with such simple figures as the pricking (the pattern of the prong and the knife needed for the carving are shown in the figures).


Sticking of the pruning is performed in this way. The knife is taken in the working hand (right-handed, right-handed,left-handed - left) so that the thumb falls on the sloping part of the handle. The cutting edge of the knife should be pointed exactly on the right side of the chip, and then press the knife with such force that its toe is deepened into a tree by 2-3 mm. The heel of the blade of the knife should be lowered to the intersection with the lateral line of the claw with a line of horizontal marking.
Knife after the first "cut"is removed, and then it is necessary to successively make the stitching on the right side of the remaining pegs. In the same way, the left side of all the prongs is pierced.
The operation of pruning (trimming) for the pruning is performed as follows. The cutting edge of the knife is applied to the rightside of the bevel so that the knife sock is at the top of the knife. Next, you need to move the hand with the knife back, while making sure that the cutting edge of the knife and the side of the knife are parallel. Now you need to press on the knife, returning the brush to its original position. As a result, the cropped triangle will break away and you can delete it.


After training on the clicks and other simple figures you can proceed with the implementation of the "real" geometric thread on the tree, the patterns of which are made up of numeroussimple figures in a variety of combinations. To do this, the conceived drawing is first applied to paper, and then the finished drawing with the help of carbon paper can be transferred to a wooden workpiece. In the technique of triangular-geometric carving, the cutting boards, for example, will look good, for example.