Postcard in the technique of scrapbooking with your hands - photo master-class

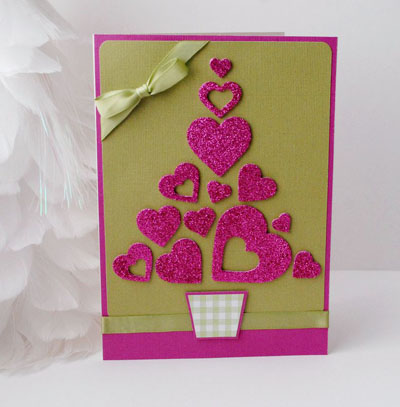
Scrapbooking - making and filling with your ownhands of beautiful paper things, small books, notebooks and postcards. Scrapbooking postcards are very popular now and, of course, are appreciated all over the world more than replicated postcards from counters. They are given for weddings and birthdays. Do not be a master to please yourself or loved ones - simple beginners can make simple versions of such cards. In this master class you will learn how to make a postcard in the style of scrapbooking with beautiful geometric patterns in just 7 steps.
In order to make such a postcard, you will need:
- 2 square sheets of checkered paper (10 x 10 cm. It is not necessary to take a special sheet, a piece of paper from a notebook will fit into the cage);
- sheet of thin and flexible two-sided colorcardboard (in this photo the master class is brown, but you can take any color.) In general, as a cardboard, you can use pastel paper - it has the necessary texture and density, it is two-sided and it is sold one sheet in a variety of colors) ;
- Paper for origami with different patterns (optimally - 3 different kinds of paper);
- glue;
- knife for cutting paper;
- pencil;
- sewing machine.
Postcard in the technique of scrapbooking with your own hands - step by step instruction
Step 1.
Draw a sheet of checkered paper on the squares,crossed by diagonal lines (as in the photo). This is a sketch of the future postcard: the pattern will consist of squares and triangles with different patterns. You can copy the one on the photo, but you can make your own.

Step 2.
Mark paper of different colors / paper with differentpatterns in different letters on this outline. In the photo there are three types of paper ("yellow" (Y), "red" (R) and "blue" (B) - although this, of course, symbols, each paper is not just one color, although it dominates the pattern) .

Step 3.
Postpone the sketch of the postcard - on it you willorient at the "assembly" of all the details. Take the second sheet of checkered paper and copy the sketch. Then cut the sheet, cutting out all the squares and triangles - the way they would look if they were already ready for the postcard.

Step 4.
Using the cut out details as a template, cut the origami paper with the desired pattern.
There are many ways to cut such paper;The fastest is to carefully fold the origami sheet over the template, and then cut the folds: you will get many small triangles or squares. But you can choose any other way; remember, if you mark the paper in pencil and do not erase them from the cut parts, the side marked should be "purl" hidden from the eyes on the finished postcard.

Step 5.
Take a sheet of colored cardboard, fold it up,so that you have a square card with a side of about 15 cm (you can do more or slightly less - the main thing is that it is bigger than your sketch, the more the sheet, the wider will be the one-color fields near the paper pattern). Cut the sheet over the fold.

Step 6.
Take one of the halves and draw according to yoursketch, and then gently paste on it all the cooked pieces of paper. Start with a central, large square. Do not worry, if the details are not exactly aligned - the beauty of scrapbooking is that the well-made thing is still not factory-ideal.
Step 7.
Fold the squares of colored cardboard together and stitchthem on one side of the sewing machine (using a contrasting color thread, for example, here - white). The distance from the edge should be about 5 mm. At the end, tie a string with a knot so that the knot is above the sheets, as if connecting the strings on both sides and additionally fixing the postcard.
Read more:

Postcard in the technique of scrapbooking with your hands - photo master-class
Christmas card with scrapbooking style for New Year 2015 with own hands
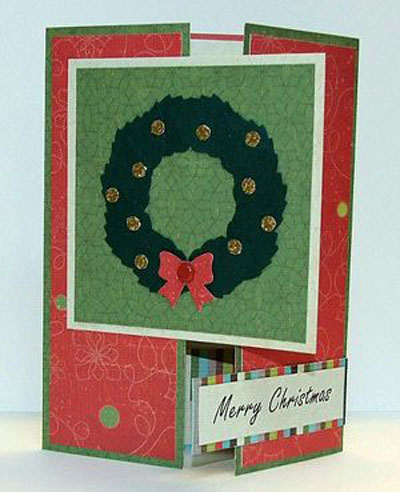
New Year greeting card in the style of scrapbooking: how to make a card with your own hands
Postcards from paper with your hands: a master class

Handy on May 9, their own hands at school. Collage to the Victory Day with step by step instructions. Master class creating crafts with photos and videos

Scrapbooking: New Year cards with own hands
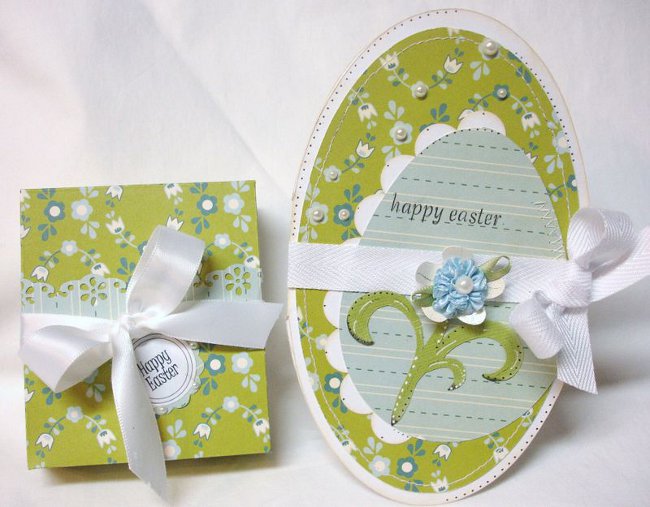
Easter cards from paper - how to make a shoe, scrapbooking with your own hands

Scrapbooking: New Year cards with own hands

Easter cards from paper - how to make a shoe, scrapbooking with your own hands
How to make a postcard to a friend with your hands - photo master-class

New Year greeting card in the style of scrapbooking: how to make a card with your own hands

Christmas card with scrapbooking style for New Year 2015 with own hands

Postcards from paper with your hands: a master class

Handy on May 9, their own hands at school. Collage to the Victory Day with step by step instructions. Master class creating crafts with photos and videos