How to make a postcard to a friend with your hands - photo master-class
 In order to please the best girlfriend with a nice postcard and elegant gift packing, it is not necessary to buy a package and a postcard in the store.
There are many wonderful options for making postcards in the technique of scrapbooking with your own hands, when the result is not stamped, but unique.
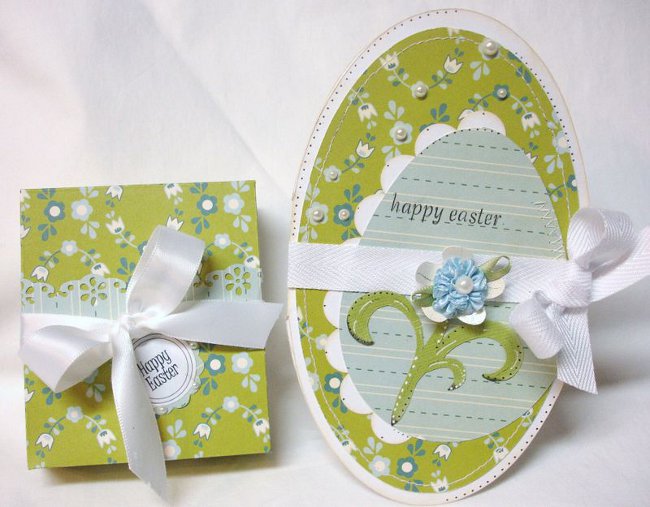
In this master class we will tell you how to make both a postcard and a small handbag for a gift from cardboard, paper and accessories for scrapbooking in one style.
Master-class cards with their own hands
You will need:
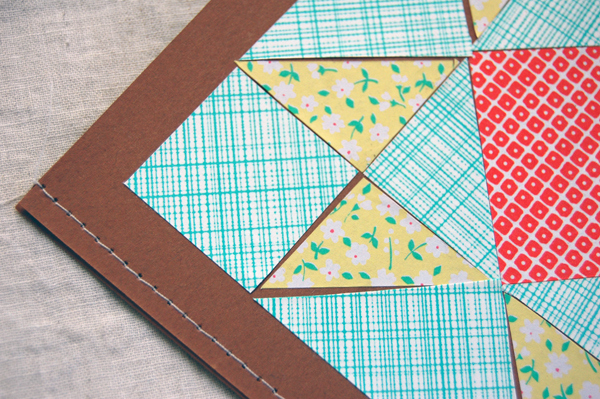
- leaf patterned (with a volumetric texture of the pattern) of colored scrapbooking paper measuring 30.5 x 30.5 cm;
- 2-3 sheets of thick double-sided color cardboard;
- foil;
- well-lit work place;
- ruler;
- stencil made of brass with a convex pattern;
- "Pattern" for the handbag;
- Compasses with a knife (you can use a knife for paper and a compass separately);
- wax paper;
- lightbox;
- stilus- "trowel";
- brads;
- sticky tape for scrapbooking;
- soft bulk pop-up material for scrapbooking;
- textile fastener (so-called "velcro").
How to make a postcard for a friend - step by step instruction
1. Draw a pattern for a paper handbag (two trapezes with allowances for paper seams-gluing, as in the photo), and cut out the workpiece for a handbag made of cardboard.

2. Cut out the decorative elements: - strip of patterned scrapbook paper 10 cm long; - a strip of thick cardboard 5 cm long; - a strip of dense cardboard (another color) 2.5 cm long; - a strip of cardboard 1.5 cm for the handle of the handbag.
3. Cut a rectangle of cardboard 10 x 20 cm and bend it in half to make a square with a side of 10 cm. Using a compass with a knife on the leg, draw and cut out:
- circle with a diameter of 9 cm from this cardboard square for the liner - should be an insert of two circles connected on one side;
- 2 circles of the same size - made of foil and cardboard;
- 2 small mugs of 2.5 cm diameter each for decorating the handbag and liner and two small mugs made of pop-up material.

4. Cut the strips to 10, 5 and 2.5 cm in length (for the front and back sides of the handbag).
5. Transfer the pattern from the brass stencil to the cardboard circle for the liner with a lightbox and stylus (although you can initially cut it from patterned cardboard). For ease of transfer, put waxed paper on the cardboard. Connect the elements for the liner (the result should look like on the photo), decorate with a small soft mug of pop-up material and fasten with brads.

6. Assemble the handbag: fold the notch by joining its edges, attach a strip of pen paper with the help of brads. Cover the unprocessed edges with a circle of cardboard folded in half, fasten with the ribbon for scrapbooking the part that is on the back side of the bag.
At the front, attach a small circle for decoration, supporting it from below with a pop-up mug, and fix it all with brads, - the circle turned out to be part of the fastener, only so long without the fastener itself.

7. Glue all the decorative stripes that you cut out to decorate the purse, on your purse. Be sure to first attach the widest bands, and others are superimposed on them!
8. Glue the textile fastener on the back of the semicircle on the purse. Now it can be opened and closed.

9. Sign the e-card and put it in your purse, you can together with a small gift, although such a bag can act and just like an envelope for a postcard.
Only better to give it into the hands or put it in the box yourself - the mail will not miss the "envelope" without the necessary stamps and stamps. If you want, put the whole construction in another, ordinary envelope.

Author: Katerina Sergeenko