Mirror Tiles
 Mirror Tiles - This is an excellent element of the interior decor. It not only visually expands the room, but also helps to mask minor defects of repair. On the mirror tile tells the Land of Soviets.
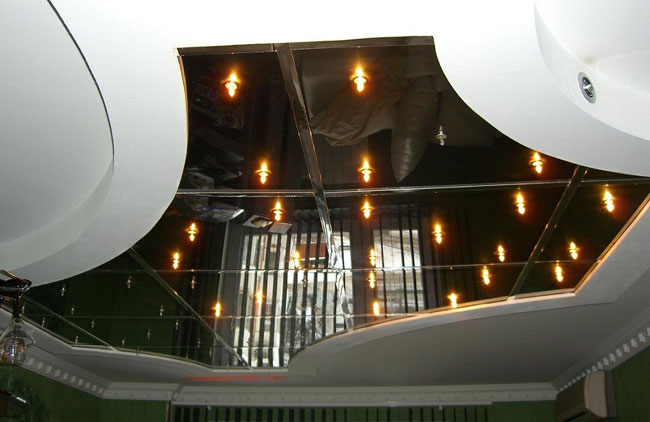
Many people think that the mirror tile is suitable only for the bathroom interior. In fact, it can be successfully used in design of the living room, hallway or hall. Most often, mirror tiles are used wheninstallation of mirrored ceilings. But this does not mean that you can not use it for another purpose. Very beautifully looks a panel on the wall, laid out from such a tile.
What are the Advantages of mirror tiles? First, mirror tiles possess good reflective ability (about 92%). Due to this, it visually expands the room, making it lighter. Therefore, this tile is good for use in small rooms and rooms where there is not enough natural light. In addition, the mirror tiles are great for rooms with a low ceiling: the mirror ceiling visually seems higher.
Secondly, the mirror tile resistant to external influences: high humidity, chemical exposuresubstances that can be contained in detergents or cosmetic sprays. That is why mirror tiles are often used in interior design of bathrooms.
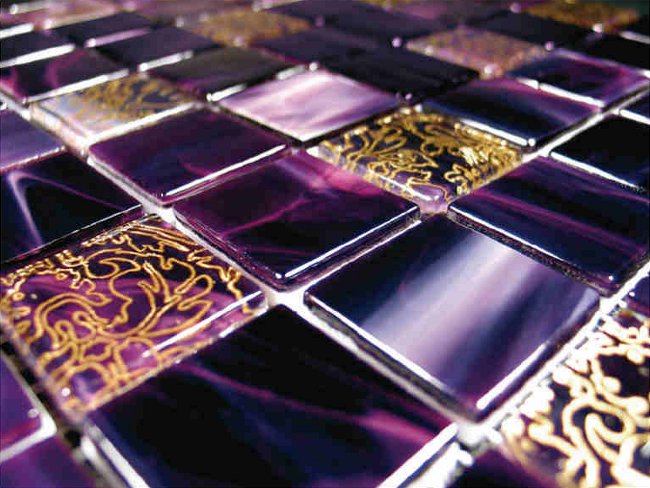
Third, the mirror tile universal and very beautiful. The assortment of mirror tiles is wide enough: there are different shapes, colors and sizes. For example, for a panel you can order not square tiles, but rectangular or even tiles with beveled facets - facets. Multicolored mirror tiles will help create not just a panel, but a whole picture. The sizes of tiles are different, the smallest is 292x295 mm, and the largest is 1195х1995 mm.
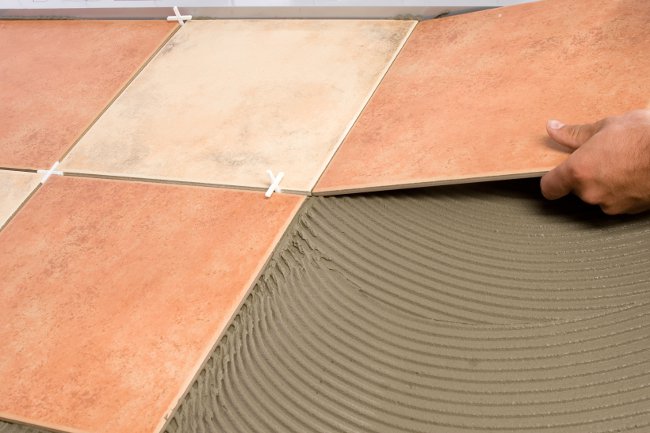
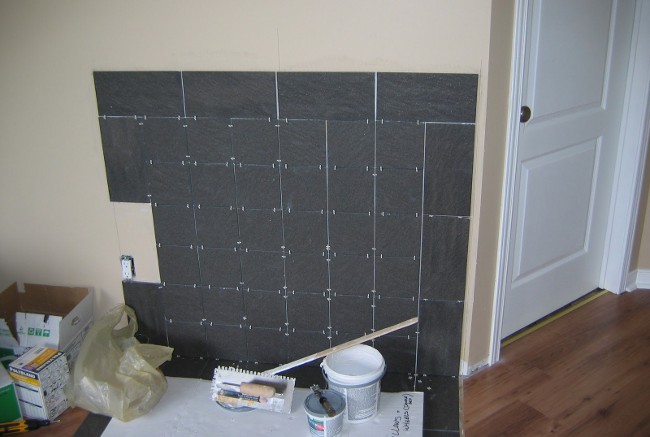
How to lay a mirror tile? First of all you need to prepare the surface. The surface on which the mirrortile, whether it be a wall or a ceiling, should be absolutely equal. Therefore, you need to completely clean the surface of the old plaster (if the house is concrete, the plaster is removed to concrete, if the brick - to the brick). After cleaning the wall from the old plaster, you need to re-align it and primed it.
But right after that, glue the tile is not worth it. Mirror tiles, laid "by eye", will not look beautiful. Before gluing the tiles make a markup on the wall for rows of tiles;on the ideal size of the tiles, and on the real. Even in one batch, the dimensions of the tiles may differ from each other - maybe only a couple of millimeters, but with marking it needs to be taken into account. If you decide to make a tile panel, you first need pick up and lay out the future of the panel on the floor, deciding how the tile will be located, and only then transfer the panel to the wall.
Having made the markup, you can proceed to gluing tiles. It is best to start with a horizontal rowtiles. Take a mirror tile, smeared with a special adhesive composition, applied to the surface and pressed down for a few seconds. After this, you need to establish a cross on the border of the tile, which corresponds to the thickness of the supposed seam. After that, put the next mirror tile, and so on - until the very end. It is worth remembering the famous proverb: "Hurry up - people make fun of it," and do not try to lay out all the panels at a time. It is better to break the work into several stages.
When all the mirror tiles are laid out, you need to let it dry out for a couple of days, and after that you can start grouting. For grout use transparentneutral silicone. It is squeezed into the seam with a special gun. The surplus silicone that has fallen on the tile is wiped off with a damp soft cloth. When the grout dries, you need to give the finished panel a common gloss.
As you can see, laying a mirror tile is not so difficult. Mirror Tiles - great interior element, especially suitable for small and dark rooms.