Laying tiles with your own hands

Order the services of a master in the laying of ceramictiles are a rather expensive treat that not everyone can afford. Therefore, a little effort and patience and with the help of our recommendations you can lay the tile at home no worse than the most handsome master.
Ceramic tiles can be laid on a concrete, brick surface, on a gypsum base. The first and most important rule - The surface of the tile should be flat! Therefore, if the walls are already plastered and smooth, thenthe surface can only be primed, and if the old tiles remain on the walls, then it must be removed and aligned with the wall surface. Minor unevenness of the wall can be eliminated by increasing or decreasing the number of tile adhesives.
Before you start laying the tiles, you need to make a wall markup. Using a plumb and horizontal leveldraw straight vertical and horizontal lines, which will serve as a guide for laying. Professionals recommend placing one row of tiles on the wall before starting laying, in order to choose the best way of laying, as often the tile needs to be cut at the end of the row. If the last in the row of tiles should be left too narrow a strip, it is probably better to slightly cut the first, so that the edges of the row look more evenly.
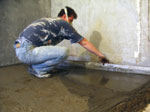
It is recommended to prepare the glue for tiles shortlybefore use. Since the tile adhesive quickly sets, it is not recommended to immediately treat the surface of the wall with an area of more than 1 square meter. The glue is applied to the surface with the help of notched trowel.
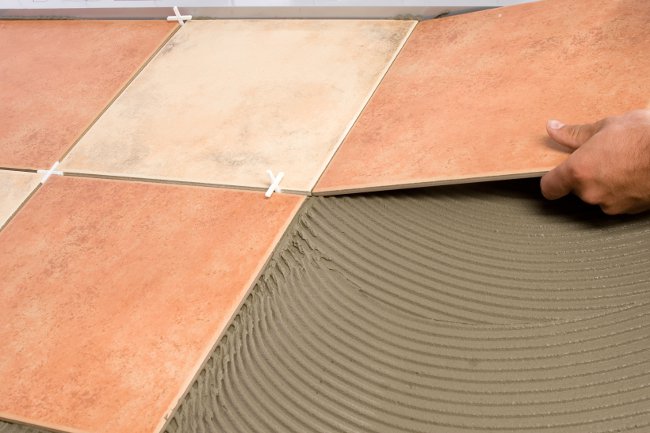
The first tile is stacked along the previously planned lines, the second - at a distance of 2-3 mm from the first. To adjust the joint distance it is recommended to use special plastic crosses, pressing them so that they are covered with glue. Thanks to these crosses, the seams are even.
Do not forget that the glue should evenlydistribute under the tile, so for a better fit the tile can be slightly moved. Surplus of glue, which appeared on the tile, it is better to remove before glue to seize. For this, it is good to have a bucket of water and a sponge at hand. Wet, well pressed, sponge off the tiles carefully so as not to dislodge it, wash the glue.
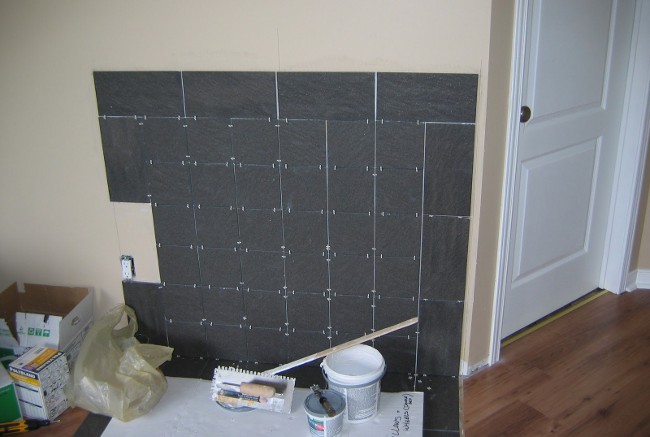
Having completed a small section of the masonry, it is necessary check the correctness vertical and horizontal lines with the help of a plumb and level. Then, in case of detection of incorrectly laid tiles, their location is easier to adjust.
As already mentioned, for laying tiles around the edgesWalls need smaller sizes than all the others. For this, the tile is cut. On the tile a cutting line is drawn and cut with a special tool - catheter. The blade of such a tool has a diamond spraying and helps to get a smooth cut of the tile.
When the entire required surface is filled with tiles, you need to proceed grouting. Grout is a special mixture thatcover joints between tiles, which has decorative and water-repellent properties. When applying the grout, use a narrow stool, which is kept approximately at an angle of 45 ° C to the surface of the tile. Excess grout, which remained on the surface of the tile should be washed off. To do this, wipe the surface of the tile with a damp sponge. In order not to accidentally remove the grout from the seams, the sponge is held at an angle to the surface.
When the tiles and the grout are completely dry, the lined surface need to wash soapy solution.
That's it! It took quite a bit of effort and patience and the ceramic tiles in your bathroom, kitchen or hallway were laid, and the family budget was saved!