How to make a snowman from paper: master classes with photos. Snowman from paper with his hands - video.

How to make a snowman from paper? Today we will study several master classes on the creation of this cute fairy-tale character in various techniques. So, we stock up with patience, paper and other necessary materials.
Snowman from crumpled paper, master class with photo
In this master class will gladly acceptparticipation even the smallest handicraftsmen. After all, crumpling paper with your hands is your favorite children's play! So let's combine business with pleasure and make a wonderful "crumpled" snowman.
Materials for work:
white paper (A4 format) - 1 whole sheet and 1 cut in half
white paper (A3 format) - 3 pcs.
orange paper in the form of a square - 8 by 8 cm
red paper in the form of a rectangle - 4 by 15 cm
blue paper in the form of a strip - 1 by 18 cm
PVA glue
markers
cloth napkin
Step-by-step instruction
First, take a sheet of paper (A3 format) and crumple your hands - this is the largest part of the torso of a future snowman.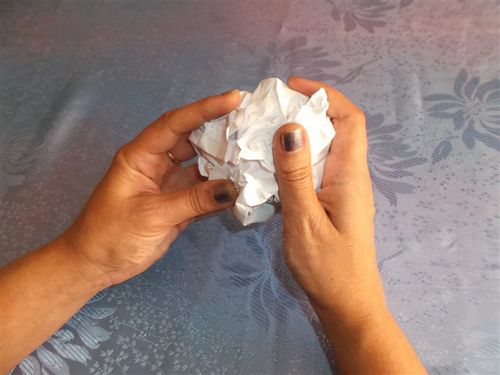
When the sheet "turned" into a paper lump, you needTurn it around and smooth it to the original shape. After that, we again crumple the paper, squeezing the clump in the fist with force. Then repeat the procedure several times until the paper becomes completely soft. The same is done with the second sheet of the A3 format. These "lumps" will become the basis of our snowman from paper - the largest lower lump.
We form from the prepared sheets "snow"Balls, filling all the corners inside. First, in this way, we make a lump from one sheet, which is then wrapped in a second sheet. Carefully hide the corners of the sheets and all together crumble. It turns out a tight round paper ball.
In the same way, you need to make a middle ball of snowman paper - in a few minutes it is quite possible to cope.
From a sheet of A4 format we form the head of a snowman.
The pens of our fairy-tale character will be halves of the sheet (A4 format), from which you need to make two balls.
Next on the carrot - a "highlight" of a snowman. Fold the orange paper and form the cone.
It's time to "sculpt" a snowman from paper balls. True, instead of snow and frost, we will use glue, which reliably secures parts of the product. Do not forget to stick the carrot to the head of the snowman.


Now we make a bucket for the snowman made of paper, folding the strip in the form of a cylinder.
The finishing touch is the blue scarf around the neck. With a felt-tip pen we draw eyes, hair and ruddy cheeks. Our paper "crumpled" snowman is ready! Such a New Year's craft will look great near a small artificial Christmas tree.

How to cut a snowman from paper: a master class
Openwork carving is an ancient sightDecorative and applied art, extremely popular in many countries. Figures cut from white or colored paper are then pasted onto a sheet of contrasting color. With the technique of cutting out of paper snowflakes are every sign from childhood. Today we will try to cut out a snowman from paper.
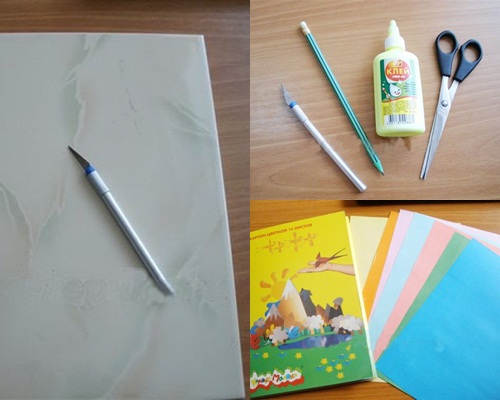
Necessary materials:
paper of different colors
colored cardboard
ceramic tiles
pencil
scissors and clerical knife
PVA glue
Step-by-step instruction
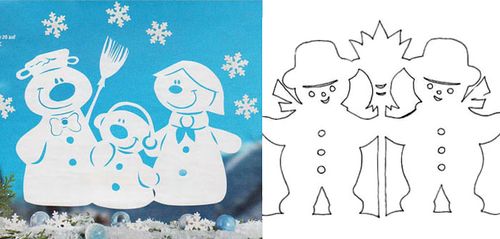
First you need to make a workpiece openwork "cuttings". For this, on a cardboard sheet, we paint in detail the future snowman. As a scheme, you can choose a child's coloring.
The next step is to cut out the figure of the snowman along the contour, as well as the cutting of all internal lines with a stationery knife.
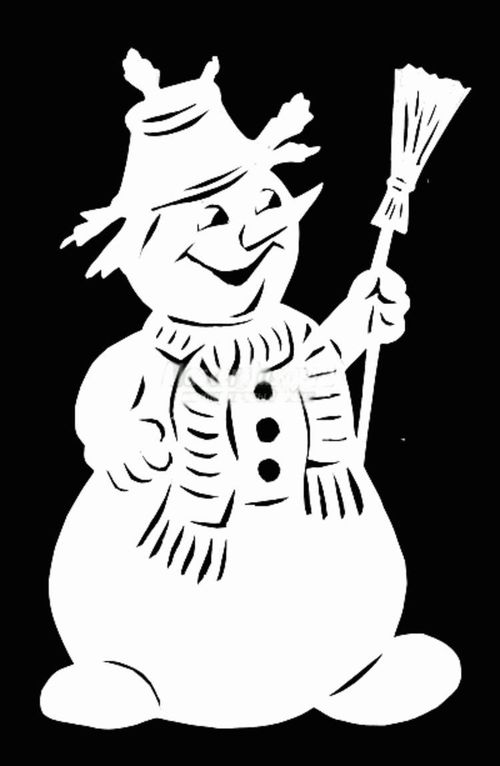
Now with the help of the obtained blank-"Stencil" it is possible to cut out a snowman from a paper of the chosen color. For example, from white. It is enough to attach a template, circle the silhouette and all the details with a pencil, and then cut it. The resulting figure of a snowman is pasted onto a sheet of colored paper.
Where to place such a cut out snowman frompaper? On the window, a Christmas card or a gift wrapper. The amusing figure of a fairy-tale character will certainly raise the mood and remind you of upcoming holidays.

Photo-ideas of cute snowmen cut from paper

How to make a snowman from paper in quilling technique
Quilling - the production of compositions from twisted into a spiral of paper strips. This kind of needlework today is fashionable, and most importantly, does not require significant material costs.
Necessary materials and tools
paper for quilling (you can take the usual)
sheet of cardboard
tweezers
wadding
glue
Step-by-step instruction
White paper sheets should be cut into stripsabout 5 mm wide. From the strips obtained, we twist two large spirals, which will become the head and body of the snowman. If the length of one strip is not enough, it is necessary to glue together a few pieces. Ready-made paper "spirals" are glued to each other by the sides.


We make for the snowman a cap made of colored paper. Blue, pink, yellow stripes are twisted and stacked "pyramid". We fasten the structure with glue, and from above we can glue a pomponchik from a cut-out fringed paper strip. It turns out that such a nice hat for a paper snowman:
Here is such a snowy New Year's guest - other examples of works in the quilling technique are also presented in the photo:


How to make a snowman from paper, video
A fake snowman made of paper can becomean original New Year gift or just a touching home decoration. This video presents a master class on creating such a small paper "miracle" - look and create!
