How to make patterns on copper with your own hands
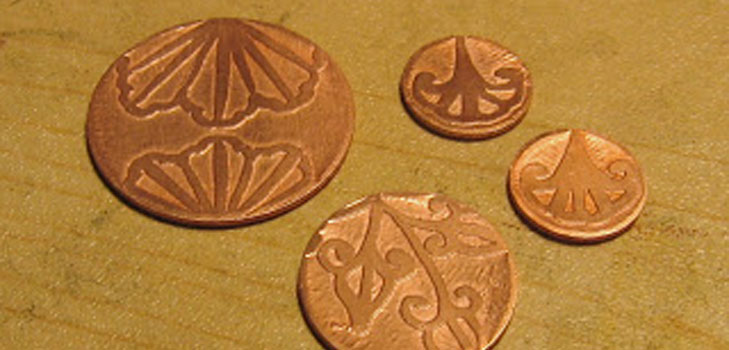
Not all ornaments fit scratched orengraved patterns - sometimes you want to make them protruding, convex on a generally smooth background. This can be done with the help of chemistry. This process of making patterns on copper is called etching. Of course, you can etch any patterns - "deepened", like engraving, including - and there are several ways for this, but this first class is shown in this master class.
Necessary materials
In order to etch a pattern on copper, you will need:
- a copper detail on which you will apply a pattern;
- thin steel shavings for cleaning utensils (in the form of a sponge, only with shavings as small as possible);
- Painting tape;
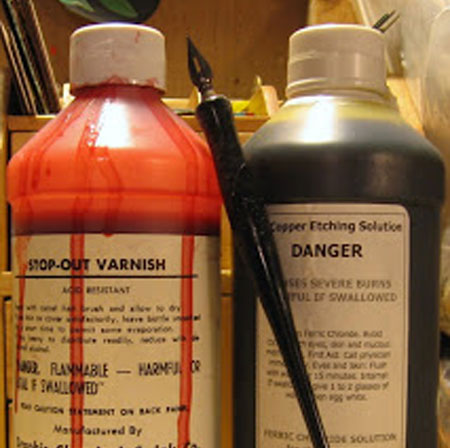
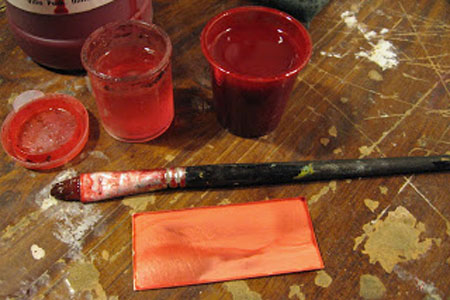
- protective layer (it must be applied in order todivide into copper the space that you want to leave, the drawing itself, from everything else. As a shellac, nail polish, acrylic paint - but whatever you choose, it must be liquid);
- something that can be applied to the drawing (remember thatthe drawing is applied exactly with the material that you have chosen as the protective layer). A pen with a metal pen for drawing with ink is very suitable; brushes of different sizes are also an excellent choice.
- solvent (alcohol, white spirit, acetone);
- Ferric chloride (III);
- plastic bath (NOT tin or iron, only plastic);
- rags;
- latex gloves;
- cotton wool or cotton wool.
Step-by-step instruction
Despite the fact that this is a chemical process,a real laboratory for etching is not needed, but caution and adherence to safety rules will not interfere. Iron (III) chloride is a salt, not an acid, and it only etches brass and copper, but getting it on the skin is still unpleasant. Be sure to wear rubber gloves. And iron chloride (and it's red color) is almost not washed and washed - if you spill it on the floor, table or clothes, it will be very difficult to get rid of stains.
- Wear gloves.
- Prepare a copper part on which you want to put a pattern. The protective layer is best placed on a slightly uneven surface, so treat the part with a metal wire.
- Glue everything except the surface with which youwill work, painting tape (usually the patterns are etched on flat parts, so you need to glue the reverse side). If you are worried about its safety and want to be safe, apply a protective mixture before applying a thin coat.
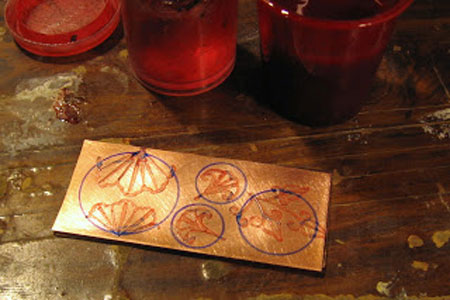
- Now you need to put a pattern on copper. Pour the protective mixture into a jar, dip the brush or pen-pen into this mixture and draw on the copper the images you need. Typically, whatever material you take, it will be thicker than mascara, so if you chose a pen pen, be prepared for it. Keep solvent under your hand - if something goes wrong, remove excess lines with the cotton wool soaked in it.
- Pour the chloride into a plastic tub and put the part inside, the side with the pattern down.
- After etching, rinse the part thoroughly with cold water, and then wipe with a swab dipped in a solvent, removing the protective layer.
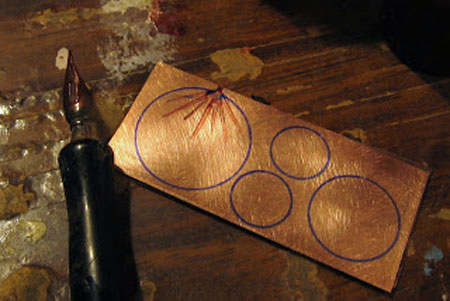
All areas on copper, "closed" pattern, will act on a general, more "recessed" background. Draw, consistent with this.
As soon as you finish drawing, leave the copper to dry and clean the handle or brush with solvent from the remnants of the mixture. Varnishes and acrylic wither very quickly and can ruin both the feather and bristles.
Etching lasts from half an hour to 4 hours, independing on how deep you want to make patterns. To check this, glue a long strip of paint tape to the back of the part before loading it into the chloride and take it out from time to time.

Once again, wipe and rinse the entire piece with soap and metal shavings - sometimes the chloride can remain on the surface layer of the metal and continue to etch it.
Done - now on the copper there is a pattern.


