Phone case for handset: video, photo
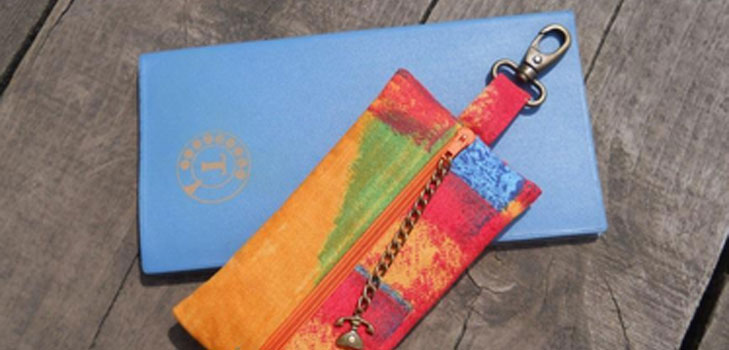
Duration of mobile phone service directlydepends on how carefully you handle it. To protect your favorite phone from damage, we often buy a cover. But is it difficult to make this stylish accessory yourself? Not at all. In order to sew it, we need a few shreds of bright fabric, zipper, sewing machine and a bit of free time. More about this in our step-by-step master class with photos and videos.
Step-by-step instruction for making a cover for your phone with your own hands
Self-sewn accessories for mobile phonesphone is an opportunity to express your individuality, to do something unique with your own hands. Our step-by-step instruction with a photo will help even a novice seamstress to easily cope with this task.
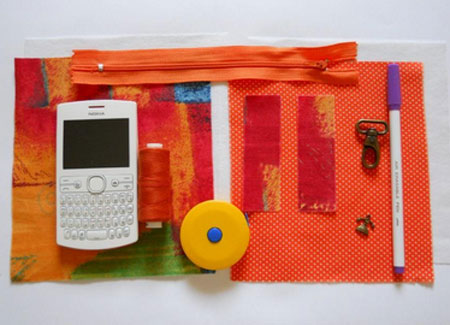
In order to sew the case for the phone with your own hands, we will need the following materials:
fabric for the outer and inner part of the cover (in our case, American cotton)
Threads in tone of fabrics
flizelin or doublerin for tissue sealing
zipper
carbine
Sewing accessories, meter, marker, scissors and so on.
decoration for the cover (optional)
We make a pattern
Before you begin to sew a cover, you needcalculate how much tissue we need. For this, we measure the dimensions of the phone. In our case, 6 cm by 11 cm. In the diagram below, these are rectangles of yellow color. Add 1.5 cm to the width and height (0.75 cm on each side), so that the cover is not close to the phone. Do not forget that the phone also has a certain thickness. So, we get rectangles of 7.5 cm by 12.5 cm. This is the size of the finished cover. On the diagram this is a large rectangle of green color. It remains to add by centimeter to the width and height for the allowances. The diagram shows a gray rectangle.
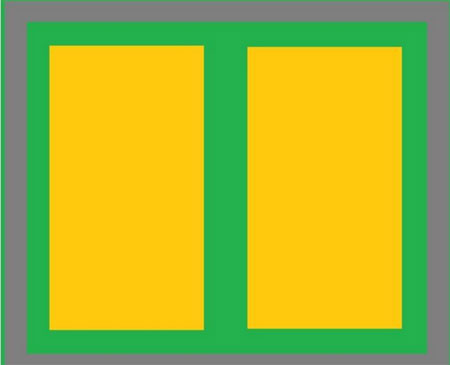
So, the final size of the pattern for our phone is 17 cm by 14.5 cm. It consists of the width of the phone multiplied by 2 and the height of the phone with all the above-described allowances.
Width: 6 + 1.5 + 6 + 1.5 + 1 + 1 = 17 cm
Height: 11 + 1.5 + 1 + 1 = 14.5 cm
For the outer part of the product we chose a brightmulti-colored cotton, for the inner - orange in polka dots. We cut out rectangles of the size we need from them. Cut the fabric better along the share and transverse threads (if you tear the fabric, it will easily break along these threads).
The outer and inner parts of the cover are sealed from the inside by glue fleece, which is easily glued with a hot iron.
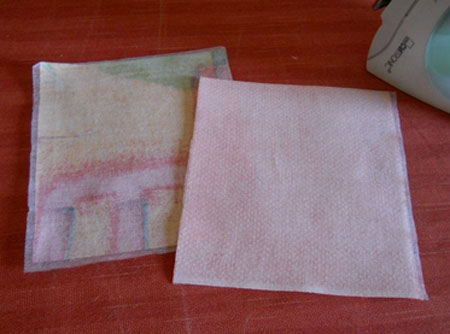
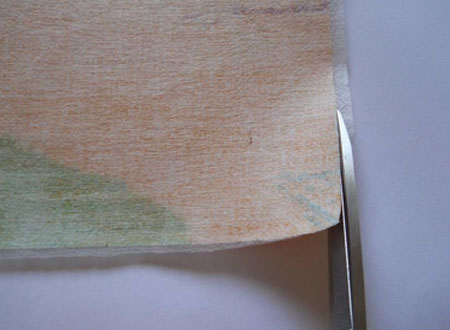
With sharp scissors, carefully trim off the extra fleece.
Sew a lock
Fold the fabric and lock "sandwich" - the fabric face to each other and between them place the zipper face (where the dog) to the outer part of the cover.
Pins with pins. You can sweep for sure.
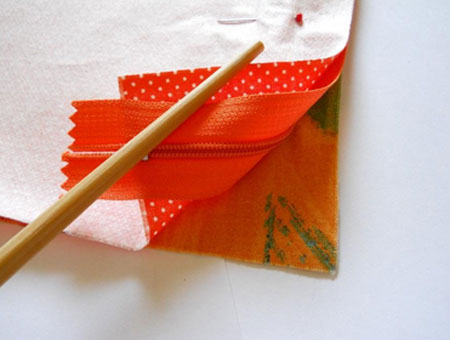
Having installed a paw on the machine for sewing a zipper, we make a stitch, sewing the outer and inner parts of the cover and the lock, which remains with us to the left of the foot.
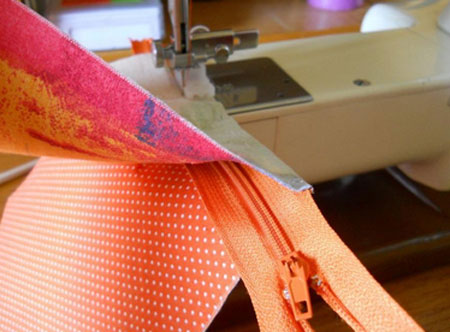
That's what we got in the end. On the one hand, the castle is sewn.
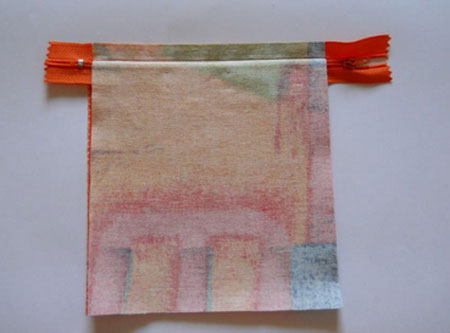
We turn the cloth to the front side, smooth it.
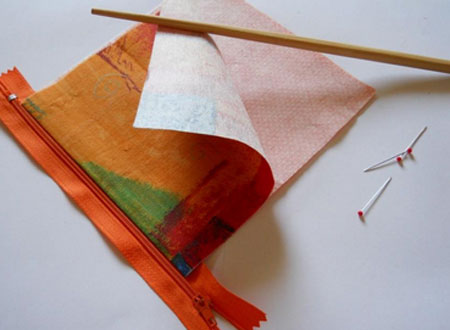
We continue sewing the lock. For this we combine the second side of the zipper, the outer and inner parts of the cover. We wrap and combine with the lock the front part of the cover.
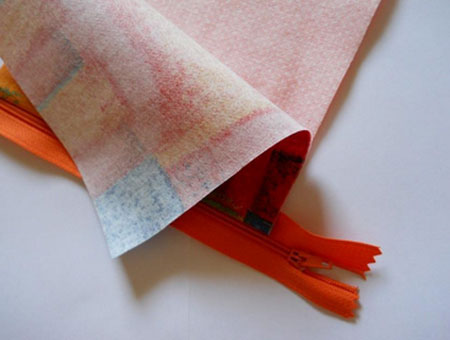
We turn on the back side of the lock, wrap and combine the back of the cover with the lock.
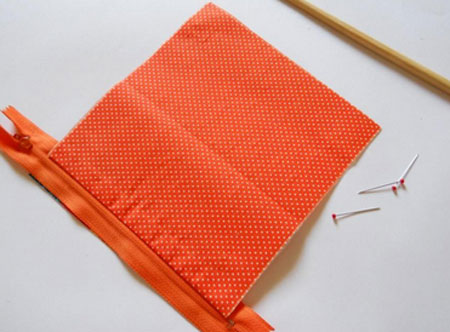
Here is a "sandwich" should be in the end.
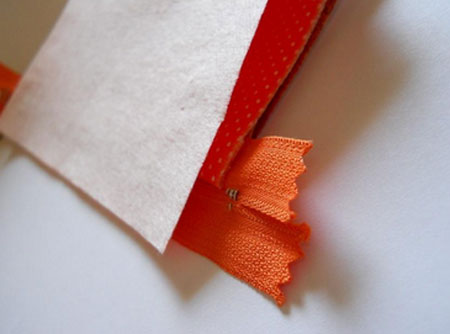
Puncture our "sandwich".
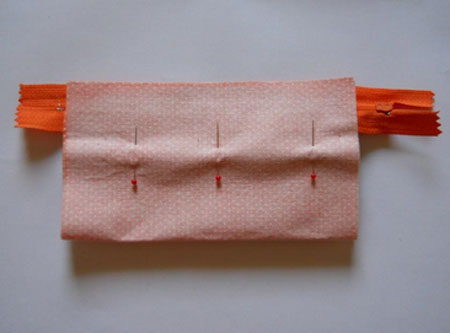
We lay a line on the machine with the help of a foot for sewing a zipper, making sure that the lightning itself remains to the left of the foot.
In the photo view from two sides.
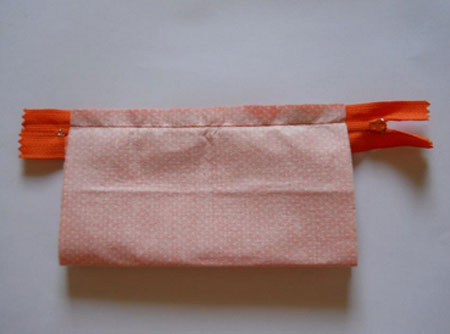
The castle is sewn!
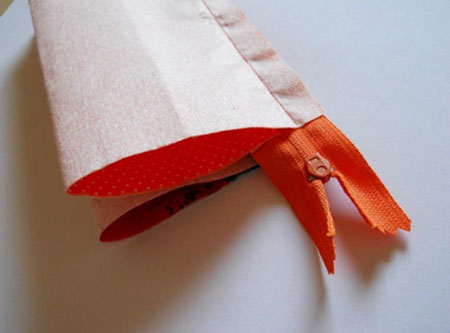
The photo clearly shows that the outer part of the product is located on the front part of the lock, where the dog is, and the inside part from the back part is purl.
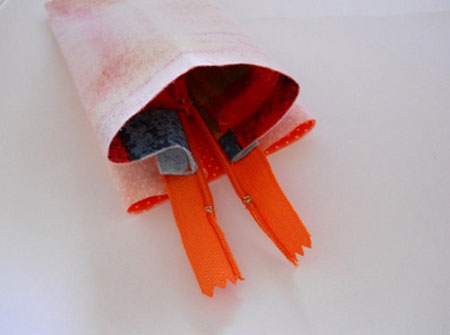
Now we need to unscrew our cover. To do this, carefully unfasten the lock.
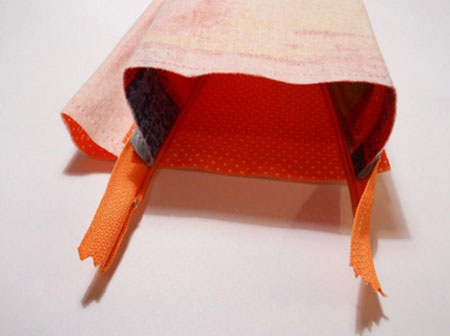
And we turn the cover on the front side.
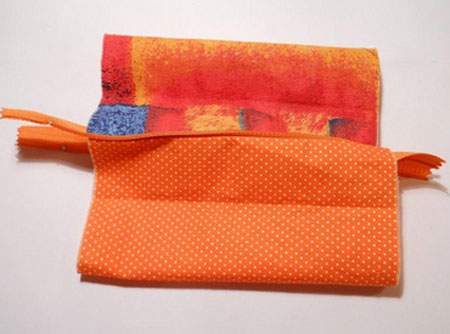
We fill the outer part of the case, in our case, with a bright multi-colored fabric, inside the open lock, and thus we turn the product onto the wrong side. We put it aside.
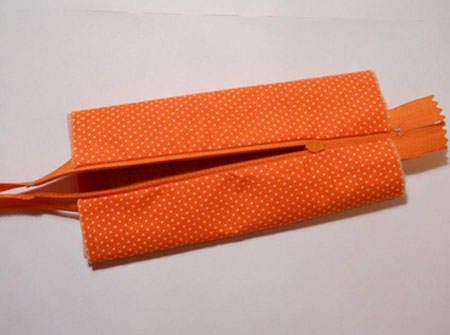
Making a loop
To make a loop made of the same fabric that we used for the outer part of the case, we cut out two rectangles.
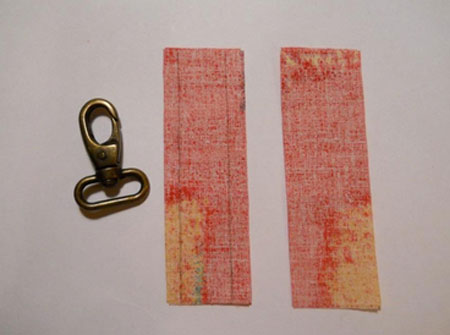
In our case, the width of the rectangles was setcarabiner, which is very convenient to fix the phone in the bag, then to not search for it for a long time. The width of the loop for our cover in the finished form will be 1.7 cm. Add 0.5 cm on each side for the allowance, in total, the width of the loop is 2.7 cm. The length is 7 cm, but it can also be varied - to make it shorter or longer. Sew together two rectangles, folding them together with their faces. We cut off the allowances for the seams with scissors-zigzag.
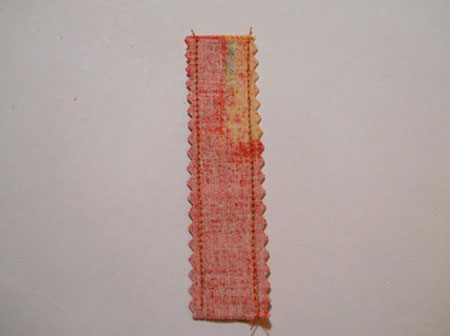
We turn out the loop.
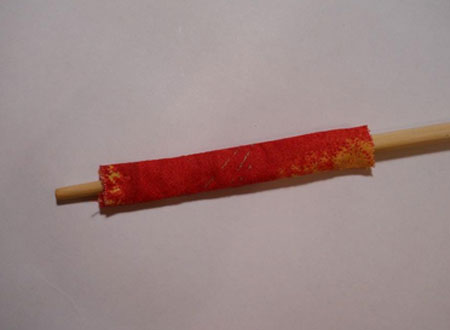
We smooth it well and steam it off.
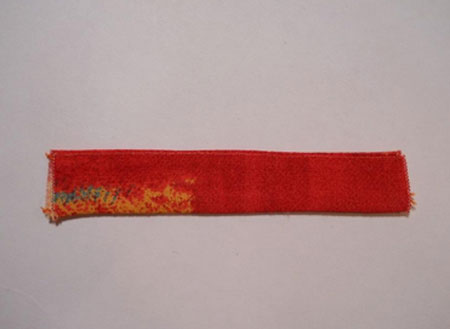
We put on it a carbine (at will).
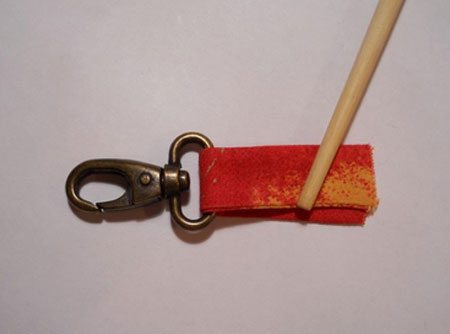
Now a very important point! We put an eyelet inside our cover from the side of the castle, where the dog is located with the lock closed, that is, on top of the cover. We try to fix it so that it is exactly in the center.
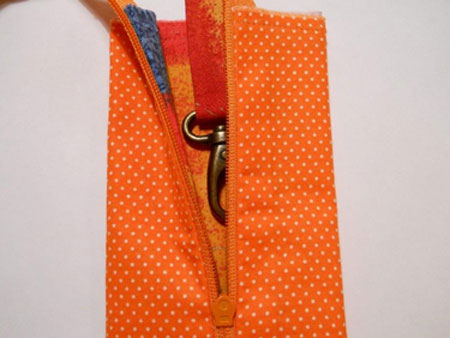
It remains to sew the bottom and top of our cover for the phone.
IMPORTANT!!! The lock must be unfastened, otherwise you will not unscrew the cover.
We process the edges with a zigzag line and cut off the excess with sharp scissors.
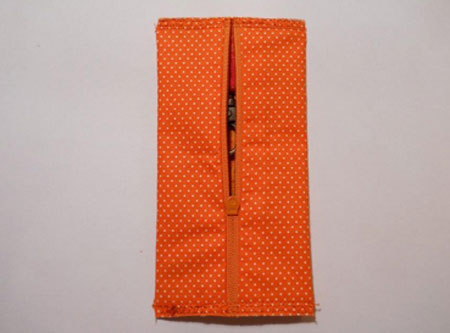
We turn out !!! Carefully straighten the corners. And we admire our work!
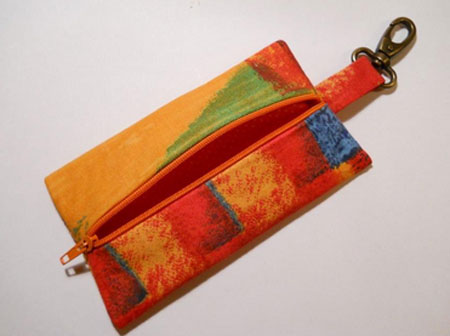
This is how our cover looks from the back side.
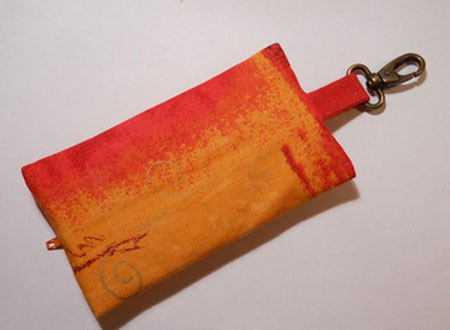
We measure on the phone. I sat perfectly!
We decorate according to personal preferences and enjoy it!

It should be noted that this beautiful case on the photo,universal and suitable not only for the phone, but also, for example, for keys, pens or glasses. We hope you liked our master class, and you will at your leisure work on needlework. I wish you every success and inspiration!
Video: how to make a cover for your phone with your own hands
For clarity, we recommend that you watch the video with step-by-step master classes. There you will find various ideas!


