Master-class: painting Easter eggs with your own hands, photo
 Painting Easter eggs is a tradition in many countries where Christians celebrate the bright holiday of Christ's Resurrection.
One way of painting Easter eggs is hand painting with a brush and paints.
Painting Easter eggs, step by step instruction
In order to make decorative Easter eggs, you will need:
Raw chicken eggs
Deep bowl to merge the contents of the shell
Needle or pin for making two small holes in the shell
Thread to create eyelets to hang eggs
Toothpicks or matches to create a suspension bracket
Paints or markers for painting eggs
Stand for eggs or a glass
Preparation method:
Put the washed raw chicken egg in a stand or a glass. Using a needle or needle, make a hole on the sharp end of the egg.

The size of the hole should be sufficient to pass a toothpick into it.

Turn the egg over the bowl, make a hole from the opposite end of the egg. Blow the contents of the egg into the bowl. If necessary, help yourself with a toothpick.

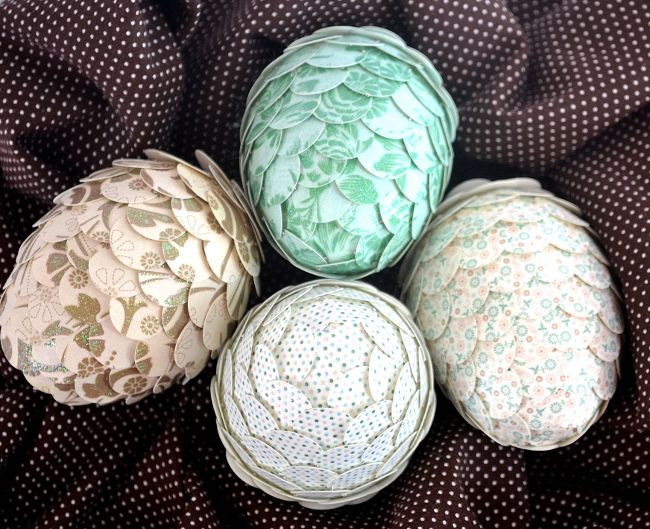
Rinse the egg under the tap. Put the cleaned shell dry. You can dry the shell with a hairdryer. You can use watercolor or gouache for painting eggs, conventional markers are also suitable, you can also experiment with various decorative techniques: decoupage or quilling.

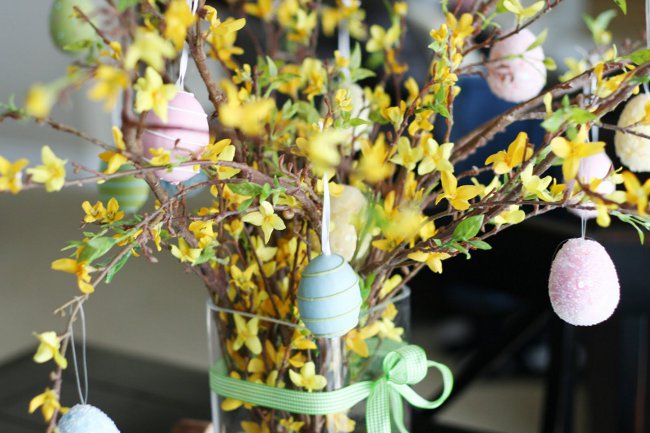
In order to draw a flowering branch of a tree, using a brush and a brown paint, draw a branchy branch on the whole surface of the egg.

Light pink paint with small strokes to paint flowers on the branches. To put to dry.

Make a mount-hanger for eggs. Trim or break a toothpick or match around the edges to leave a piece in a couple of centimeters. From the thread make a loop, tie in the center of the toothpick.

Carefully label the toothpick inside the egg. Leave the loop outside.

Now these eggs can be hung on a garland, or on a decorative tree. Such a composition must necessarily decorate every house for a bright Easter holiday.

Author: Katerina Sergeenko