Classic crane in the technique of origami
 One ancient Japanese legend says: if a thousand cranes are folded out of paper - the desire will certainly come true... During the Second World War, a Japanese girl, Sadako Sasaki, a leukemia sufferer, one of the victims of the atomic explosion in Hiroshima, gave birth to this legend. She believed that when she folded a thousand paper cranes, she would recover, and peace would return to her native land. Sadako managed to make only 644 cranes ...
The art of making folded paper of various figures is called origami, which in Japanese means "foldedpaper "(ori - folding, kami - paper). Traditionally origami is considered Japanese art, but the roots of this tradition go to ancient China, which is the birthplace of paper.
For origami do not need any specialtools or expensive materials. All you need is a sheet of paper. For any origami paper is suitable, the main condition is sufficient strength and flexibility, so that the paper does not break when folded.
For the manufacture of products in the technique of origami A special set of receptions has been developed, as well asa set of conventional signs, which you can sketch even the most complex scheme of folding. In origami there are so-called basic forms - simple figures of origami, on the basis of which in the future more complex forms are executed. There are eleven such basic forms.
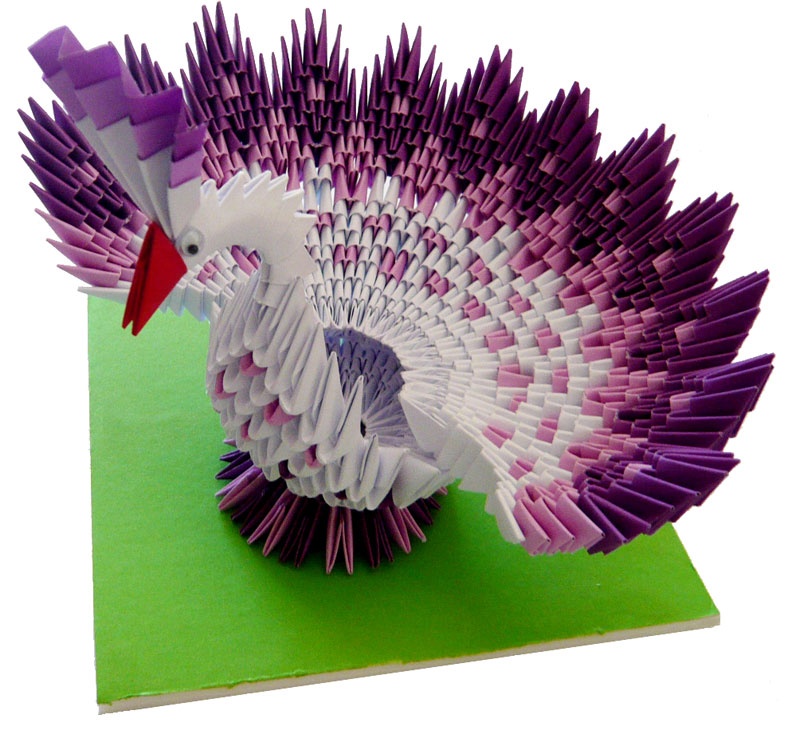
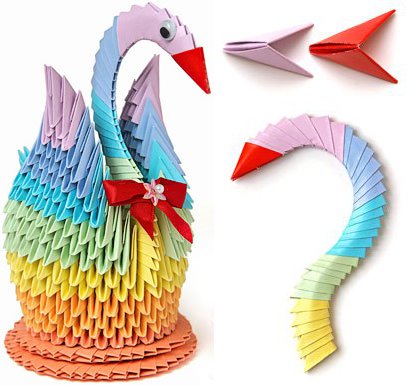
Origami Paper put all kinds of figures: birds and animals, plants, people, buildings,cars. Paper for origami can be colored, then the figures are even more interesting. And from separate triangular origami modules you can collect very beautiful three-dimensional figures. This technique is called modular origami.
Today we offer you to make in the technique of origami a classic crane.
Classic crane origami
- Take a square sheet of paper and bend it in half along the middle lines. Turn it over.

- Bend over the two diagonals and turn the square again.

- Pressing on the center of the sheet, collect all four corners together, bending the paper along the planned lines.

- The resulting figure is the basic form square. When working with this form, it is important to keep track of where its "deaf" (non-opening) angle is.

- Put the basic shape square with a "dull" angle upward. In the front, bend the two lower sides to the center line.

- Upper triangle bend downward.

- Bend the sides bend.

- One layer of paper pull up, bending it along the indicated lines. It is important to see that the two "valleys" become "mountains".

- At this stage, the future model of the crane looks like this.

- The previous 4 steps repeat for the back side of the square.

- Basic form is received bird. At the bottom of the bird should be two "legs", and on top - two "wings". Between the "wings" in the middle is a triangular "hump".

- The base shape of the bird folded "legs" down. From the front and rear, bend the lower sides to the central vertical.

- Both "legs" bend upward and slightly to the sides.

- Check the position of the "legs" and lower it down.

- Both "legs" to bend inward along the planned lines.

- The neck and tail of the crane were obtained. On the neck, bend the head.

- Lower the wings down to the stop and slightly flatten the "hump" of the back between them, pulling a little wings aside.

- Crane is ready!

Who knows, maybe it's your crane that will help fulfill someone's cherished desire!