Sheep in the technique of the Tilda doll, master class with patterns and turn-based photos
 Not far off winter and New Year, the symbol of which -Sheep, so we suggest you sew a sheep in the technique of the Tilda doll. The life-size patterns and detailed step-by-step photo of the process will help you create this soft toy without much hassle.
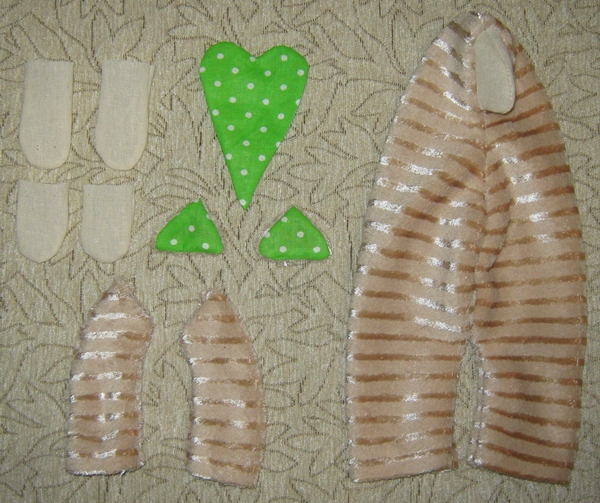
For this we prepare:
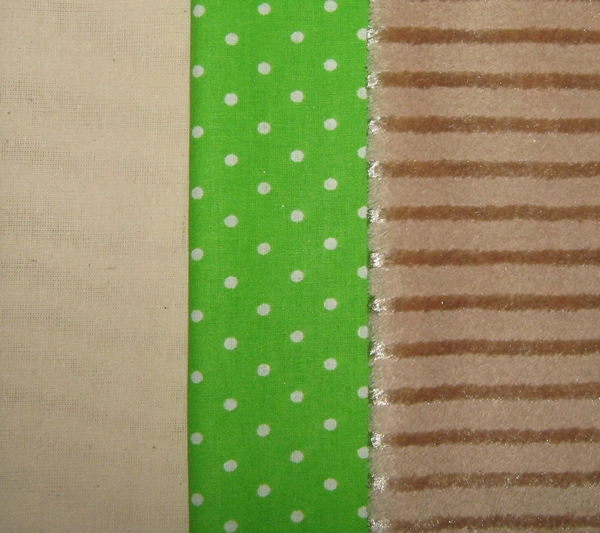
fabric for the trunk, the outer part of the ears and pens;
material for face and legs;
fabric for the inner abdomen and tummy;
sinters for packing;
ribbon around the neck;
tools - threads, a needle, pins, scissors, a pencil, etc.
Traditionally, Tilda dolls are used for sewing dollsnatural material. To sew such a sheep you need cotton terry cloth, but we decided to replace it with synthetic terry cloth. So, in our opinion, the toy turns out more elegant. All the rest is cotton.
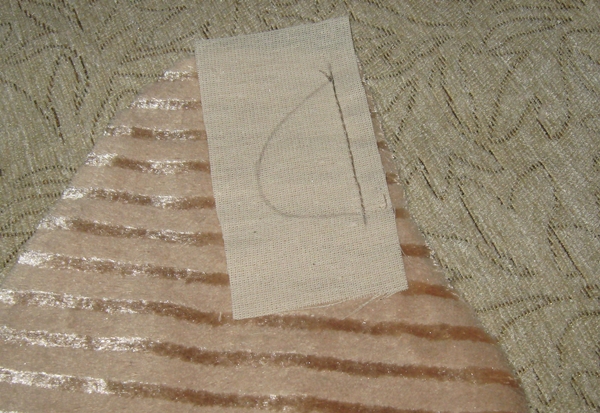
Patterns
We offer you 2 options. All details are presented in full size. You can choose one of the offered patterns or take from both the liked details. We in the first version like the heart, and in the second - handles.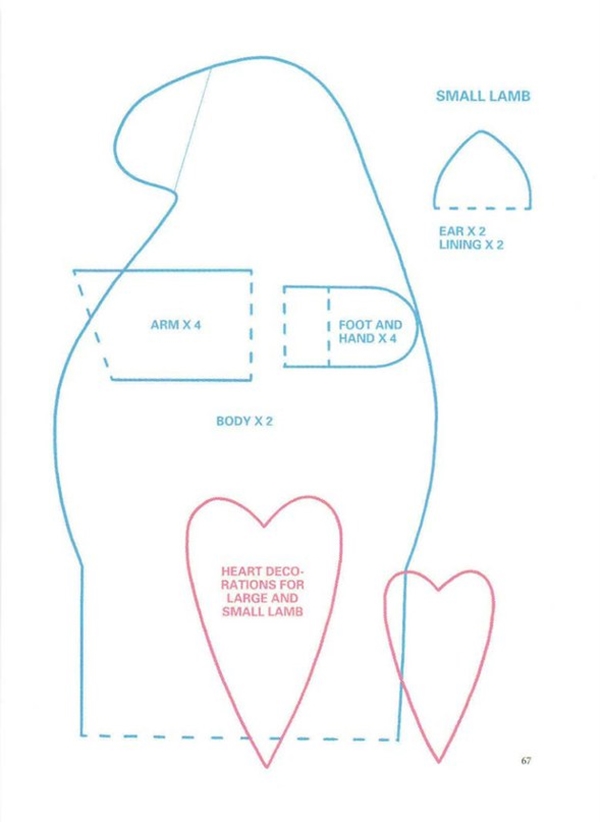

We sew Ovechka-Tilda: step-by-step instruction
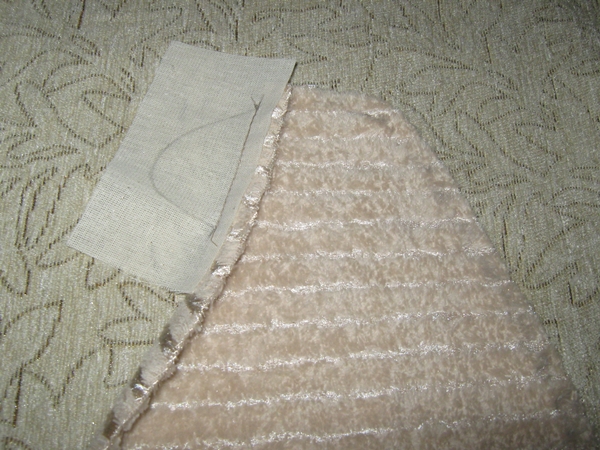
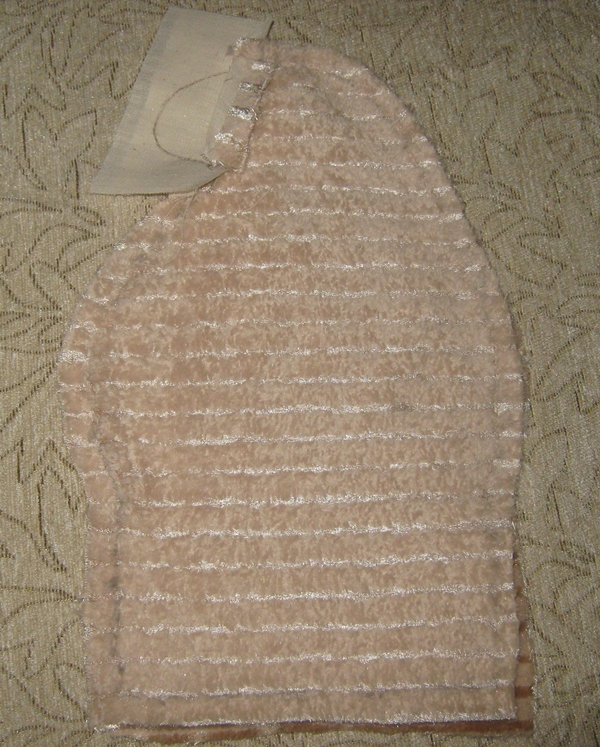
First, we draw a pattern around the contour. Details of the trunk are cut without a muzzle - we will attach it later.
Now we will outline the details of the muzzle, and sew them to the head on the trunk.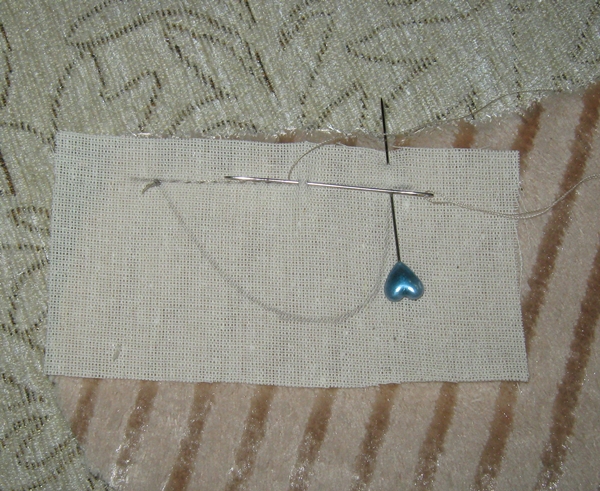
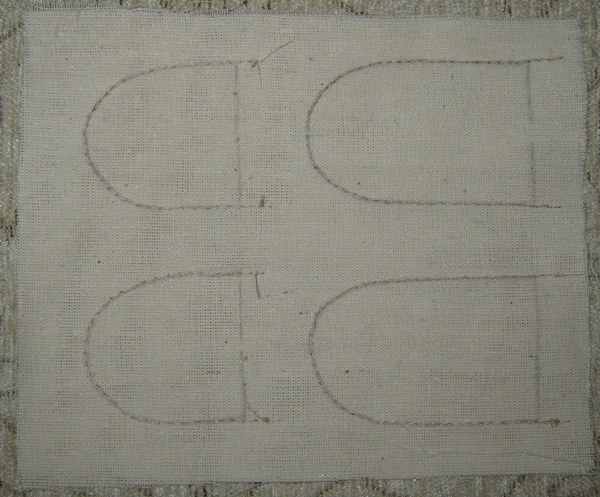
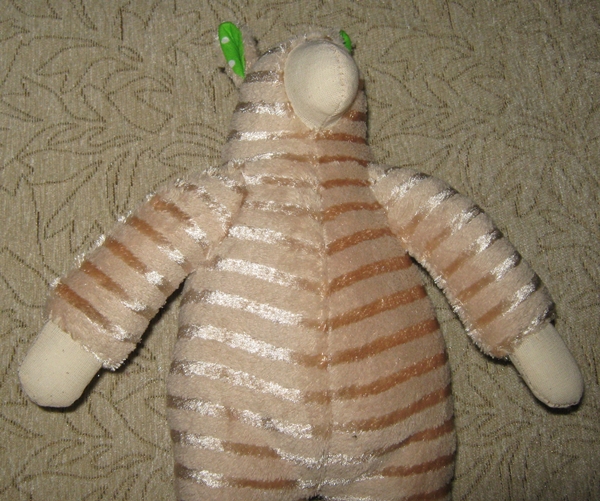
 Sew a sheep Tilda and hands, and at the sewingmachine with a small step of the seam. This is how anyone will like it more. In each version, its advantages are faster and the seam is smaller, and you feel every detail with your hands. This time, we sew the toy with hands.
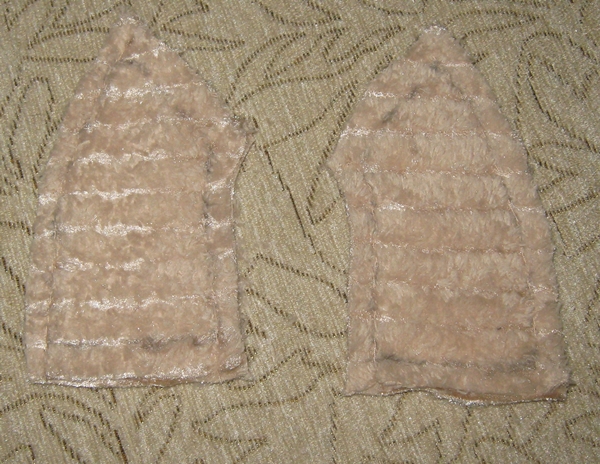
Carefully lay the seam, starting from the front and ending behind at the bends - below will be the legs. Now you can cut off excess fabric along the seam.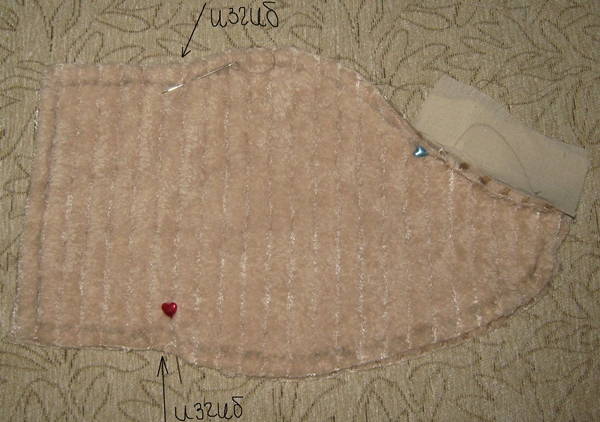
 On my personal experience I was convinced that it is better to sweep all the seams. It turns out slightly longer, but more accurate and accurate.
We combine the middle seams (front and back) - we got "panties".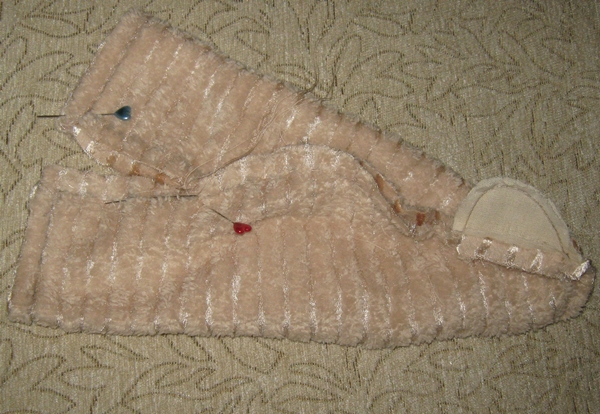 Then we sew the inner seam of the legs.
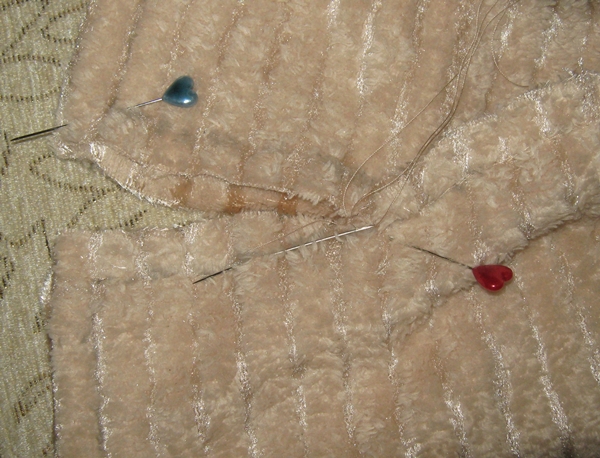 We make notches in the places of rounding. The sheep of our sheep are ready. We turn out.
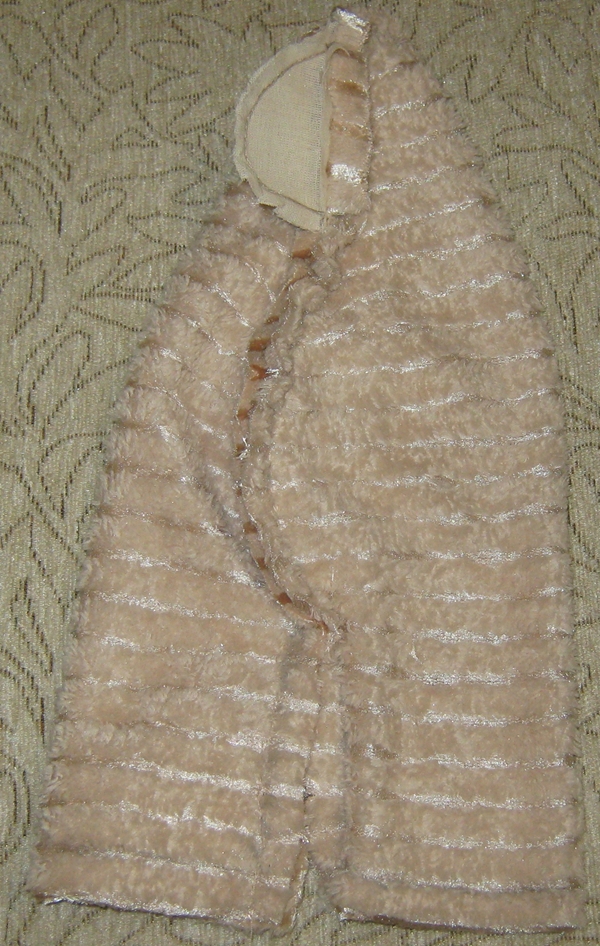

Now we sew the handles, cut the seam allowances.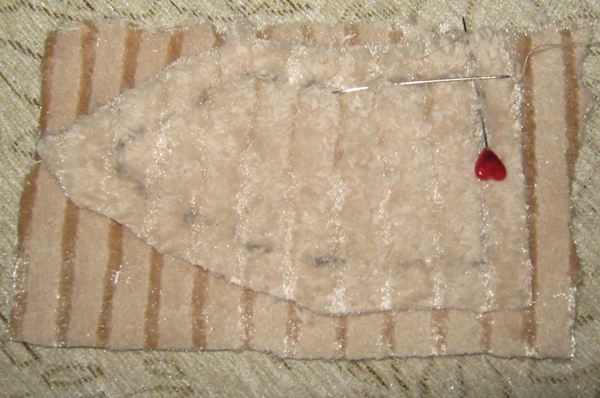
We make ears. To do this, we put the colored fabric on the mahr and sew on the intended line. Leave a small area in order to unscrew them.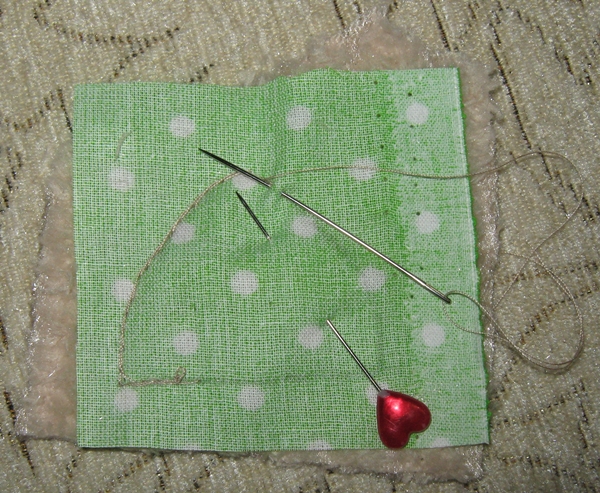 Cut the allowances closer to the seam, at the corners - allowance obliquely.
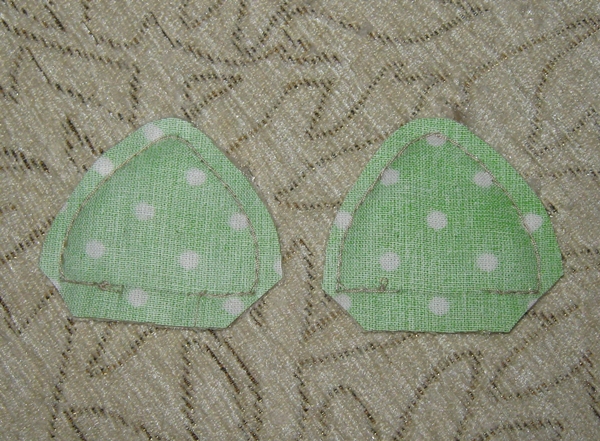
Now came the turn of the paws - the upper and lower. Stitch exactly on the layout.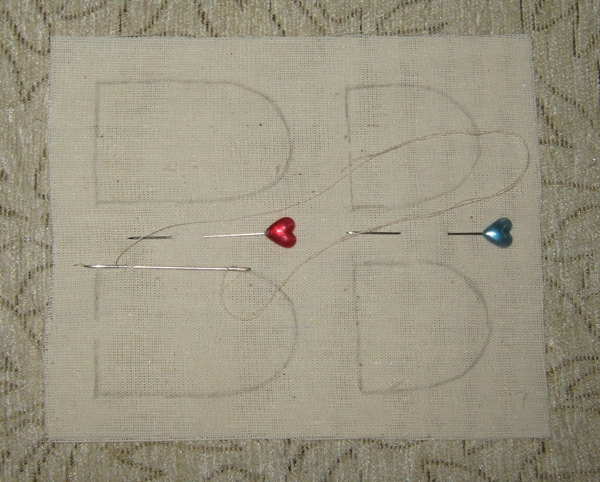
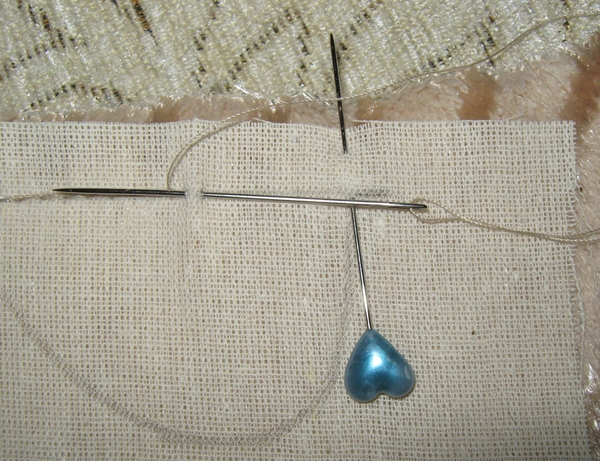
Also we sew a heart for a puzika, leaving a small area uncomplicated for eversion.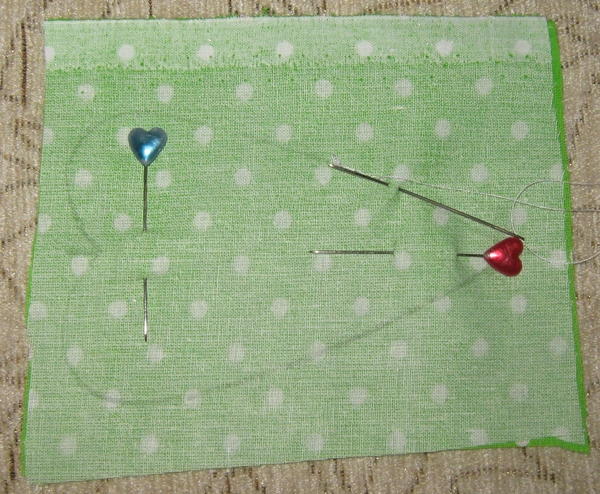
All the details are cut out, now they need to be turned out. Sew open areas. Our "half-finished products" are ready.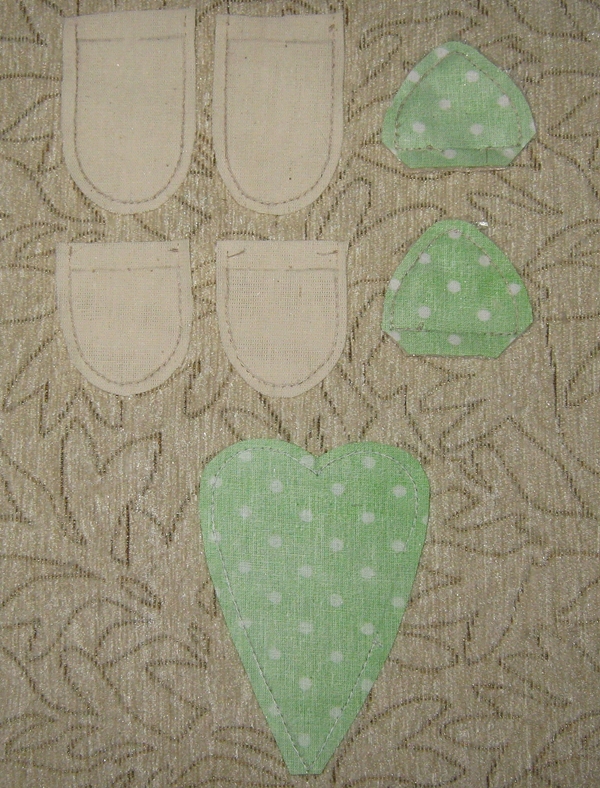

Carefully and evenly fill all the parts with sinters.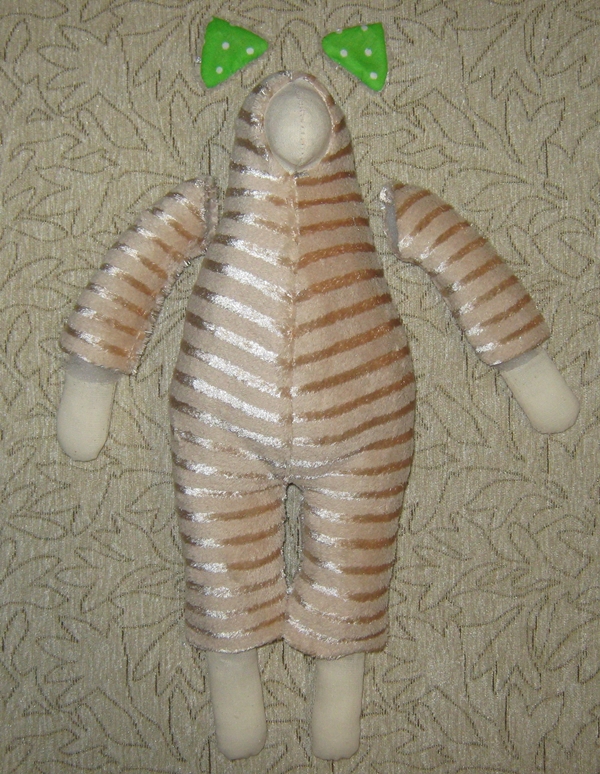
Ears on the bottom edge of the fold in two and sewn to the head.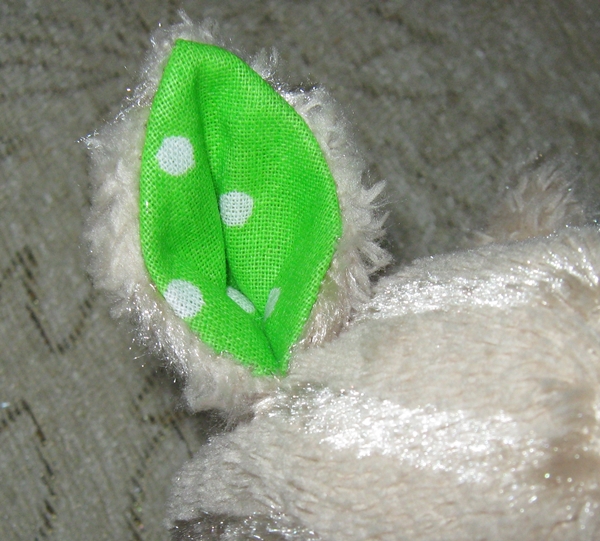
We connect hands with handles.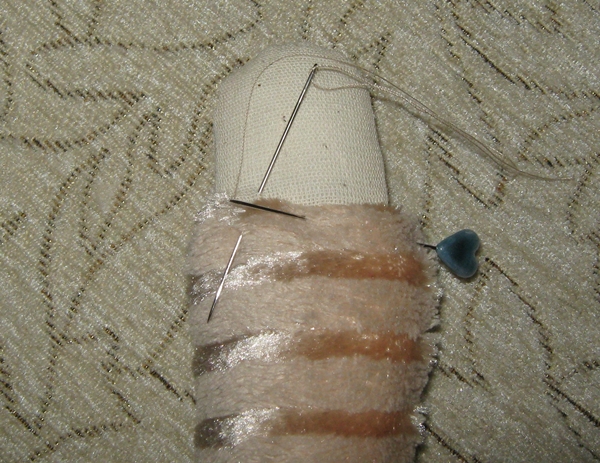

We sew the handles to the body, bending the allowances.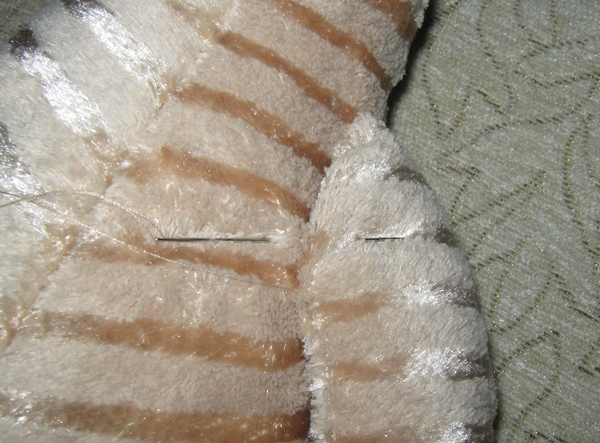
Sew paws - for this you need to pull a little on the thread of the panty, and then sew it to the paw. Lapotushki ready.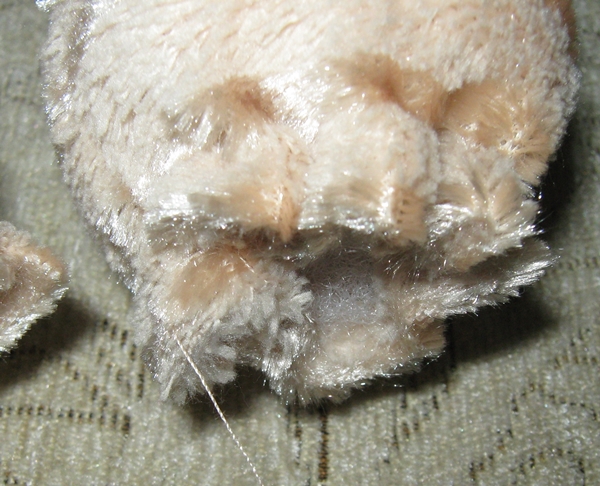
Now we attach the heart to the puziko and sew it with a suture seam.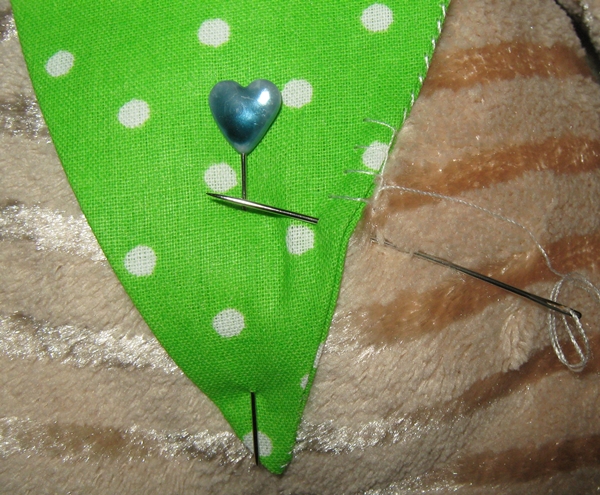 That such a cheerful tummy turned out.
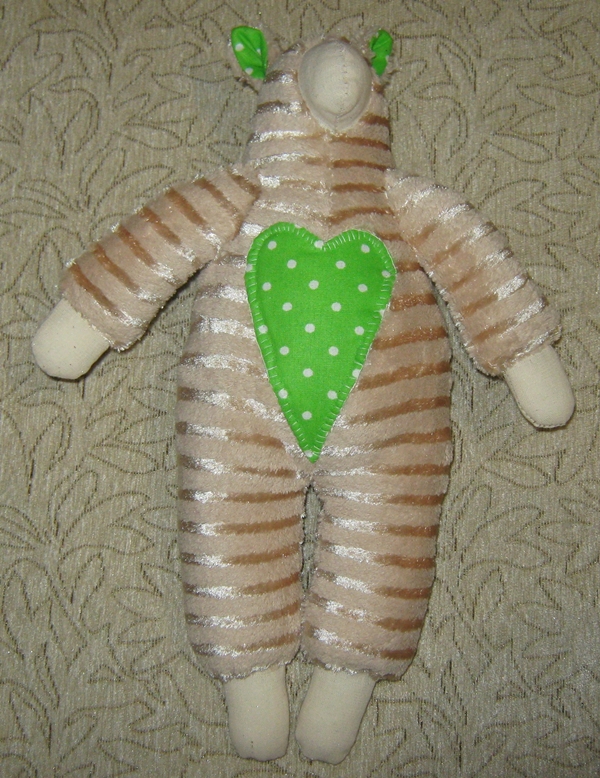
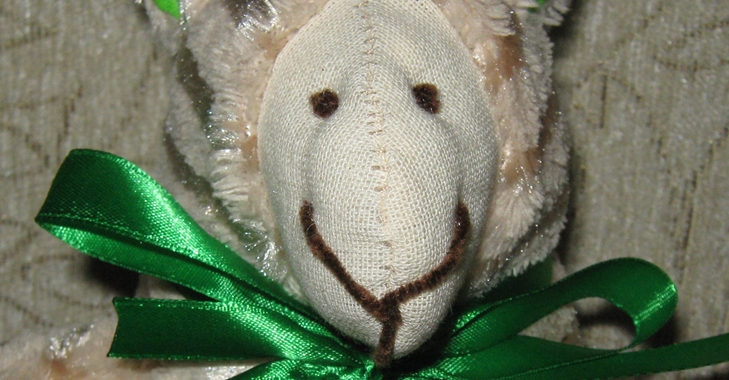
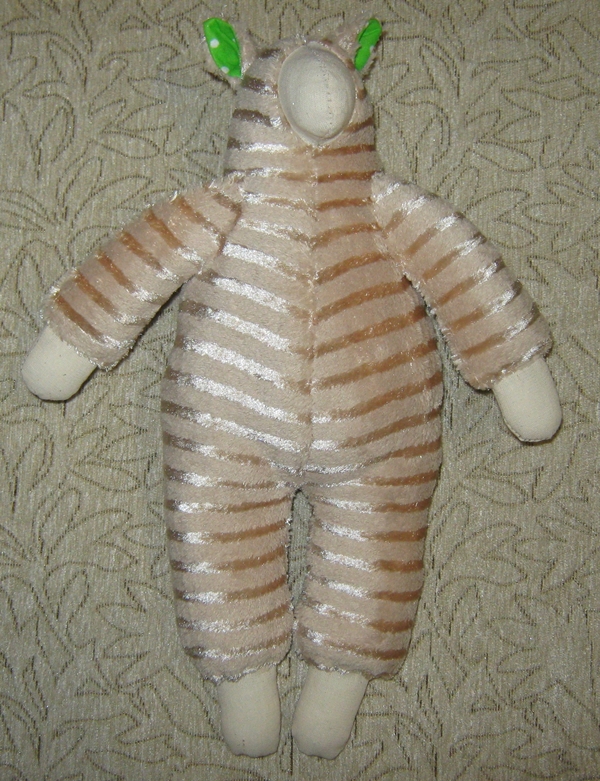
Dark brown yarn embroider muzzle and eyes. We tie a ribbon around the neck.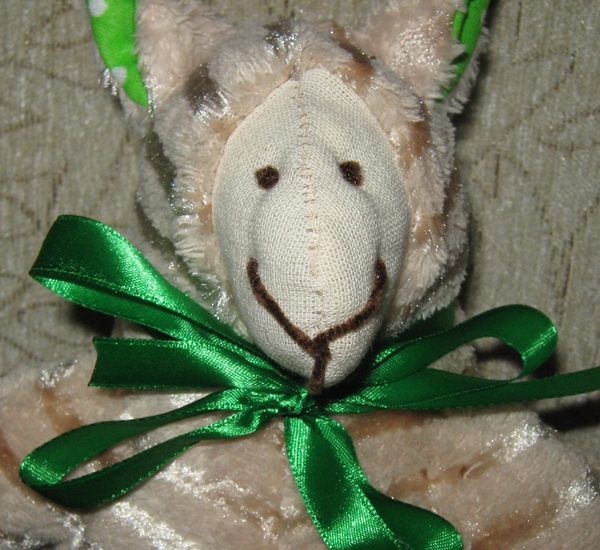
That's all, now we have found out how to sew a sheep with our own hands - our Tilda is ready.


