How to sew a plush toy, a master class. Teddy Bear Toy Tutorials, Step-by-Step Photos, Videos, Patterns
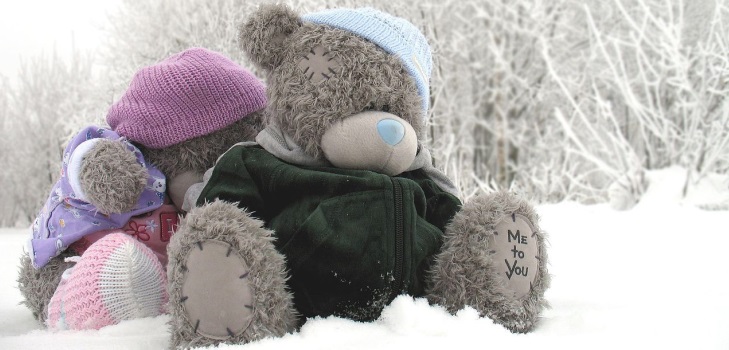
Plush toys in the form of animals are alwaysattracted children. Soft, beautiful, they will not leave anyone indifferent. And such as Teddy bears, even were created specifically for collectors. You can sew such a toy yourself. And using our step-by-step instructions, it will be much easier. In our article you will find a master class how to sew a plush toy with your own hands, with photos and videos. We will use the pattern of bears for the work from the book Gemma Kage "Construction of author's pattern. The technique of "living." Series bear Teddy and his friends. " It already takes into account the allowances for seams of 0.5 cm.
Necessary materials and tools:
A flap of artificial fur: 50 × 40 cm;
A small flap of fabric for finishing (eg flannel);
Material for packing;
Fleece flap for scarf;
Plastic spout;
Finished eyes;
4 buttons;
Thermocouple;
Needle, pins, scissors, sewing machine.
How to sew a toy in the style of bears Teddy - step by step instruction
Cutting:
We start, as usual, from translating patterns to fabric, which is more convenient to do with a ballpoint pen.
We cut out details from fur, taking into account the direction of the nap.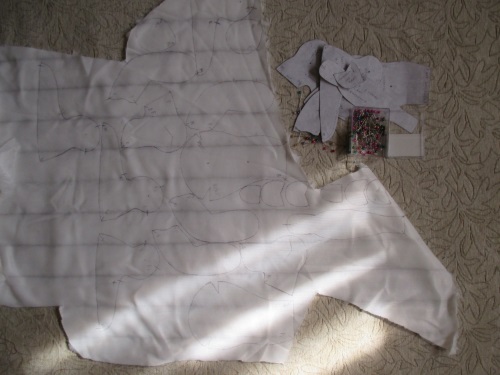
Note: Cut the blade better with a blade or scissors with sharp tips, so as not to damage the pile.
Next, the details of the flannel.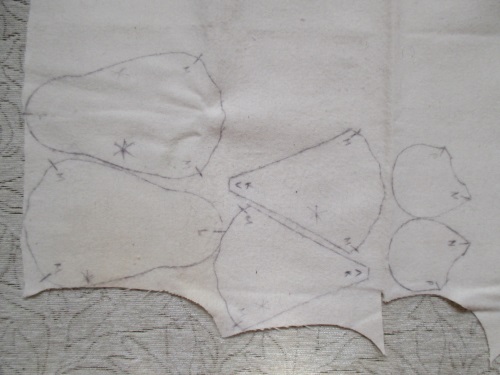
It turns out here is such a kit.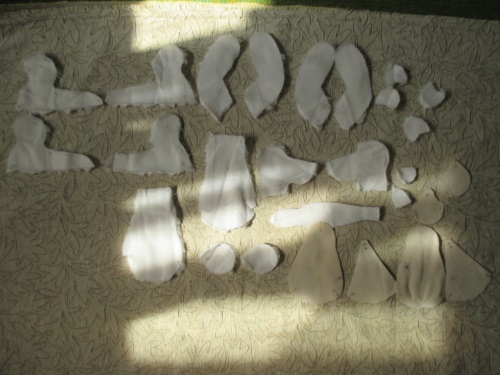
Sewing toys:
We begin with the head. Sew the side part with the wedge, combining the marks.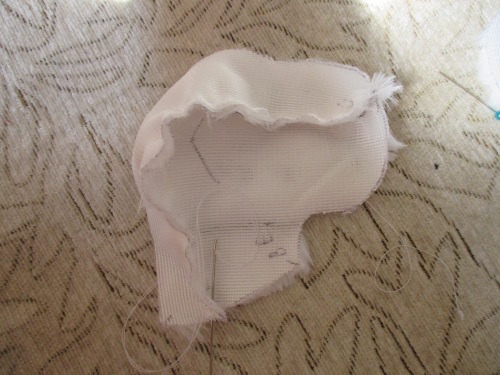
Tip: you can sew with both hands and a sewing machine, with all small seams better done manually.
Sew the second side of the head.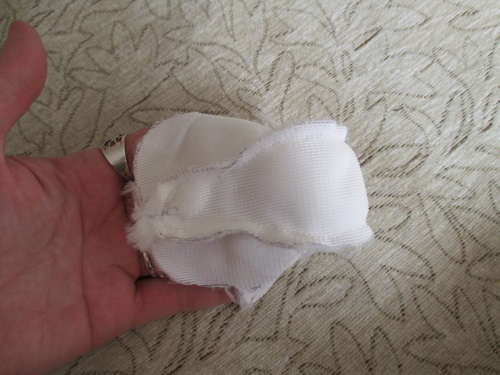
We are laying the back seam.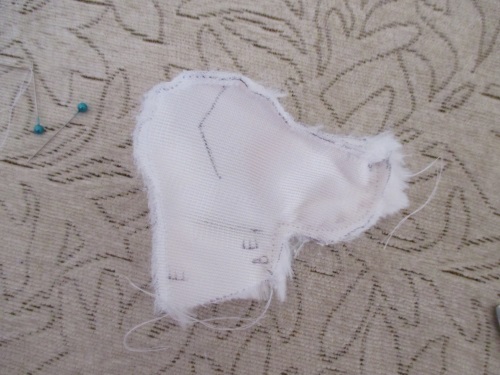
By marking, we cut a hole for the ears.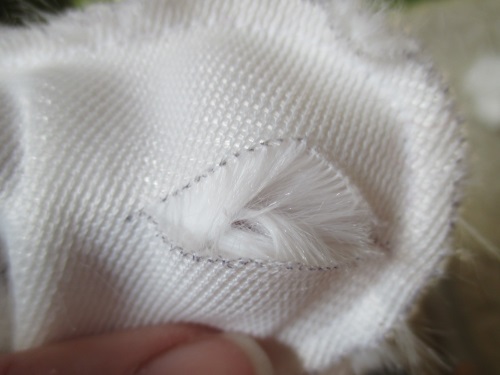
Sew on the contour of the ears and tail, we turn out. Tip: from the front side of the seam contour, you need to pull out the fur pile. It is more convenient to make a needle.
Incidentally, we insert the eyelet and sew it with the seam "over the edge".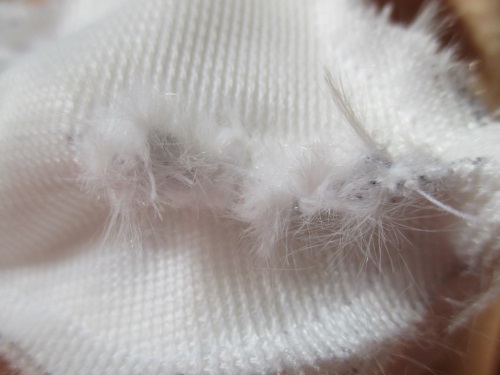
The same with the second eye.
We turn out the head.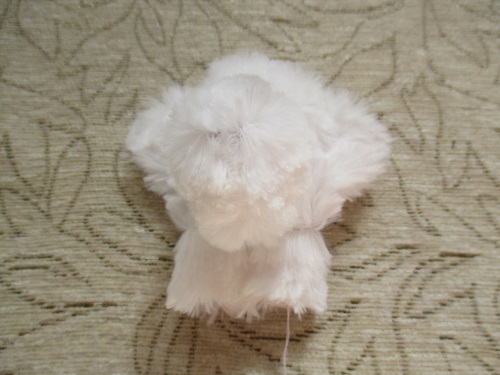
On the details of the trunk we sew the undercut on the pussy, we do not touch the recess for the tail.
We connect the details of the trunk with each other.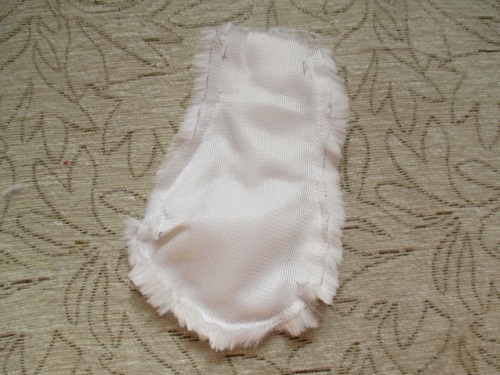
The tail as well as the ears are inserted in opposition and sewn from the wrong side.
We connect the details of the pens and palms. Then we sew our hands together in pairs, leaving an unshielded piece for turning and stuffing.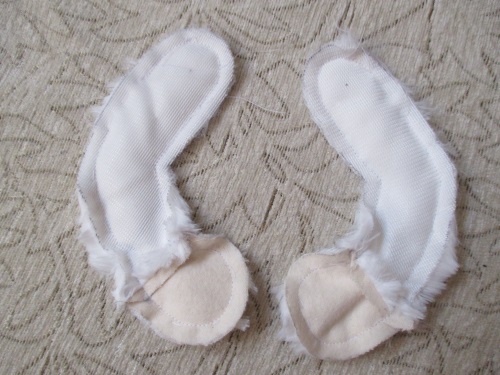
Sew a wedge between two parts of the legs.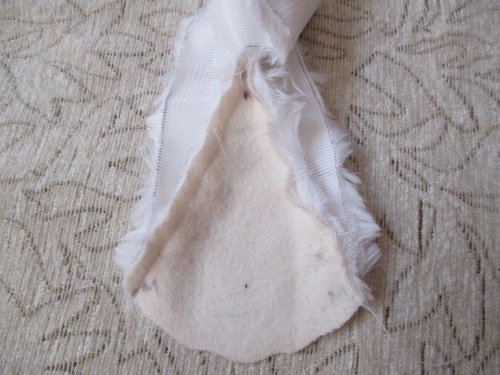
We sew the leg along the contour, leaving an unshared area.
We attach the sole to the foot.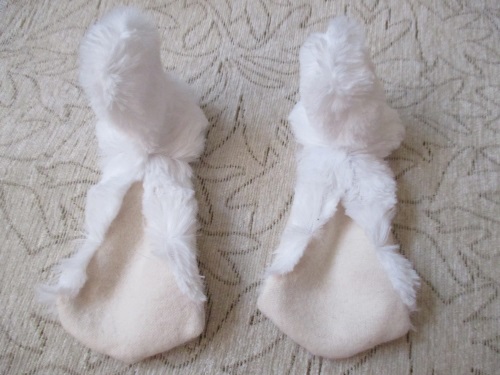
We fill all the details with a filler for toys, sew all open seams on the handles and legs.
Sew our head to the trunk.
On the muzzle we cut the pile of fur with scissors.It turns out funny face.
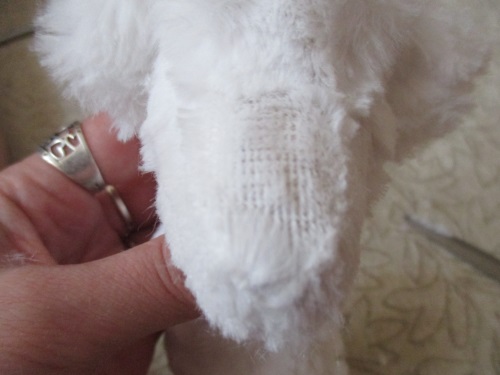
We put the handles to the trunk, fixing them in the desired position, on top - buttons, and sewing through the needle through, grabbing the hand with the button on the other side.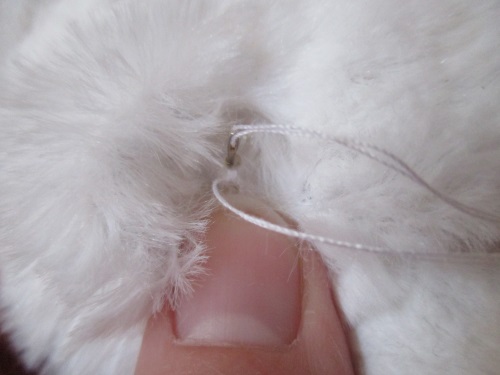
The same is with the feet.
Finish:
Using a thermo gun, we glue a plastic nozzle.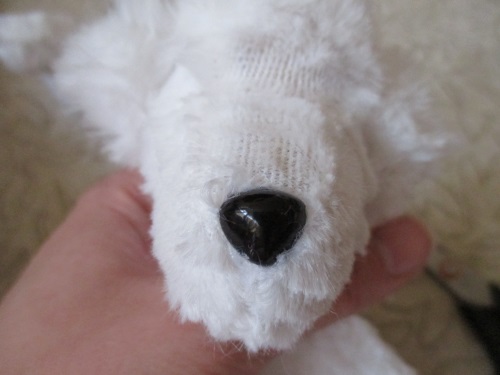
In the same way we fix the eyes.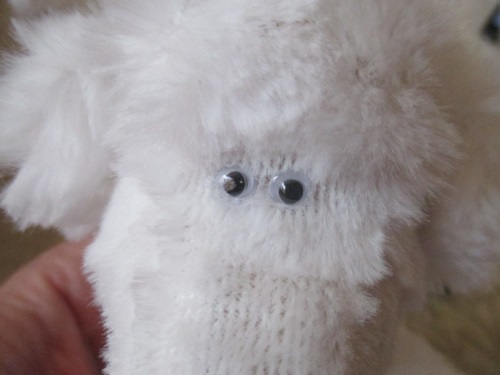
We embroider fingers on our feet.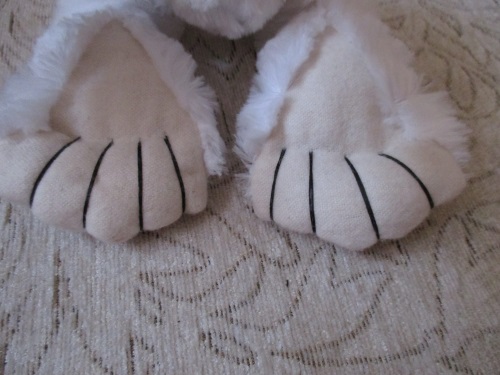
Already ready-made bear cub.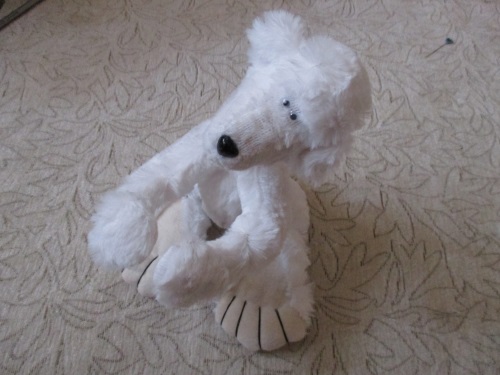
Next, we sew clothes. We will have a fleece scarf. But you can dream up and come up with something else.
A teddy bear-like toy Teddy is ready for adventure.
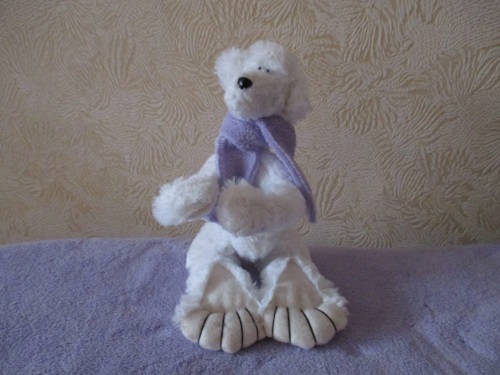
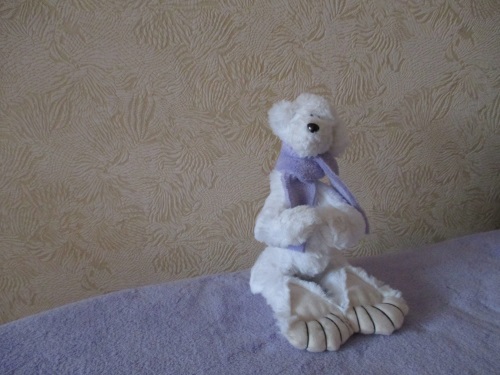

You will like the result, since it was quite fascinating and interesting to sew such a toy.


