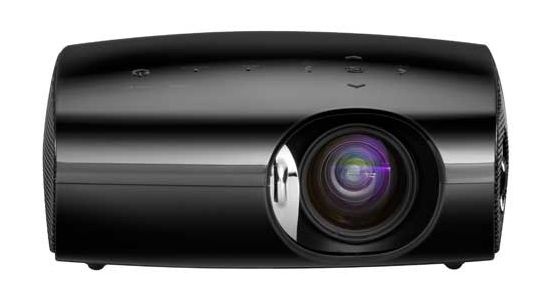
How to connect the projector to a computer

Projectors today have become quiteIt is common and widely used. Yes, now there are quite a few people who use their houses to watch films, but here in school or office this equipment is often used to demonstrate presentations and other materials. Connecting the projector to a computer or laptop is a fairly simple operation, which for some reason causes a lot of difficulties for many. Let's try together to figure out how it's done.
Are there any differences in the connection of the projector to the computer and laptop?
How to connect to a laptop and a computeralmost identical, except that the laptop does not need to connect the monitor and disassemble its settings, as in the case of a PC. Note that before connecting the projector it is highly desirable to select a monitor with the highest possible resolution. Next, in the monitor settings, select the resolution closest to the projector being played.
This small detail is very important, because highthe projector may not accept the resolution, giving the phrase "No signal". In the same case, when the resolution of the monitor and the projector are significantly different, the image quality leaves much to be desired. The reason is simple - the projector has to recalculate the image, crop and stretch it, adjusting it to its own resolution. In this connection, problems with displaying details of objects or text messages can arise (they will simply not be possible to read).
Cable connection
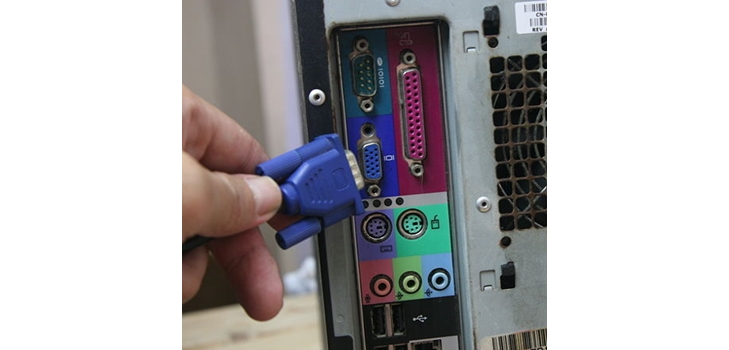
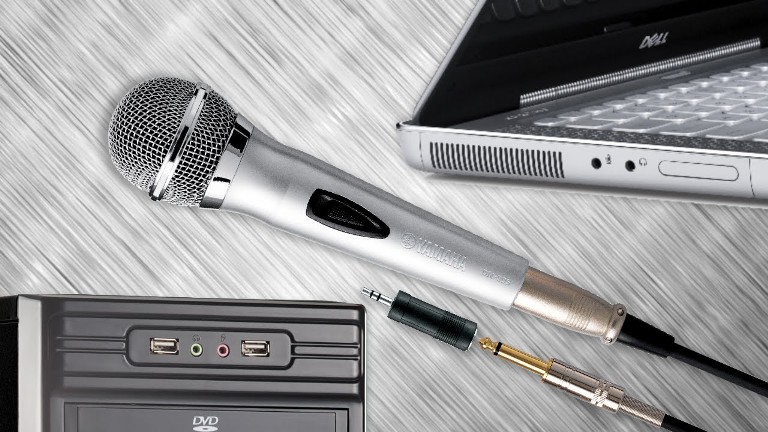
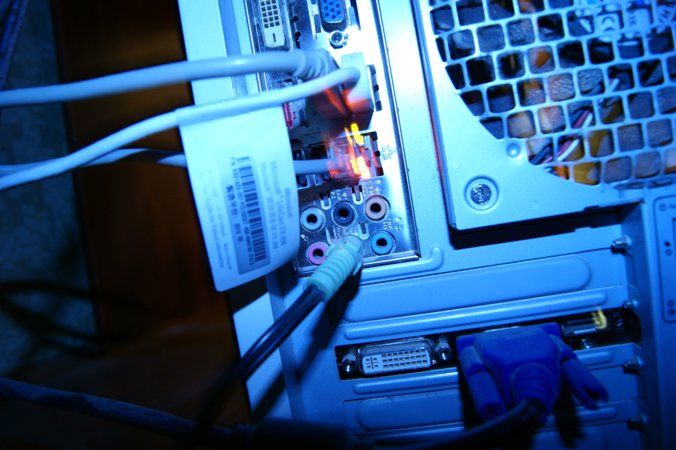
To connect the projector to a computer, you will need a cable HDMI or VGA, depending on what outputs you have on the PC and the projector. Preferably, of course, HDMI, since the signal is much faster and better (without unnecessary noise). If on the projector and the video card of the PC the types of inputs differ (this happens when the computer has only DVI, and on the projector HDMI or VGA), then you can use a special adapter.
As a rule, the connection cable goes to thecomplete with a projector, if it is not, then you can buy it at any electronics store, you can also buy an adapter. The main thing is to determine exactly which connector you have on your PC and projector.

Configuring the Software
After you have solved all the problems withconnecting devices to each other physically you can go to the settings of the software. If the computer has worked before, you must reboot after connecting the projector to it. Next, right-click on the desktop and select "Properties". In the appeared window we need the tab "Options".
We click on the image of the second monitor, and a littleBelow the picture we select our projector as the second display. Now you need to set the optimal resolution. In order to find out what resolution is optimal for your projector, you can use the documentation for it. Next, check the option "Extend the desktop to this monitor" and click "Apply".
Completion of work
At the final stage, onlyrestart the computer without shutting down the projector, and everything should work, after which you can set up the clarity of the display, the colors, and other parameters. We looked at the simplest way to connect the projector to a computer for the Windows XP operating system, but in Windows 7 and 8, the settings are the same (just the names of the individual tabs may be different).
There are also other ways of connectingprojector to a computer (for example, duplication or use as the main screen). The setting there is done in a similar way and differs only at the final stage (instead of "Extend the desktop to this monitor", select duplication, etc.).