How to make Russian kokoshnik, master class. Kokoshnik of cardboard with their own hands, step by step photos, video, pattern

Kokoshnik - bright, beautiful headdress in the form ofcrest, in Russia was the main attribute of the national women's costume. If you also want to create such beauty, but in a simpler version, from cardboard, read our article. We will tell you how to make a Russian kokoshnik with your own hands. We offer an interesting master class with step-by-step photos and videos. You will need some free time, desires and as simple as possible materials. So, arm yourself with everything you need, we begin!
Necessary materials:
tight cardboard format A 3;
gouache (blue, white, yellow);
sponge;
brush;
wide white satin ribbon;
rhinestones yellow;
scissors;
compass;
ruler - 30 cm;
glue;
a simple pencil;
eraser.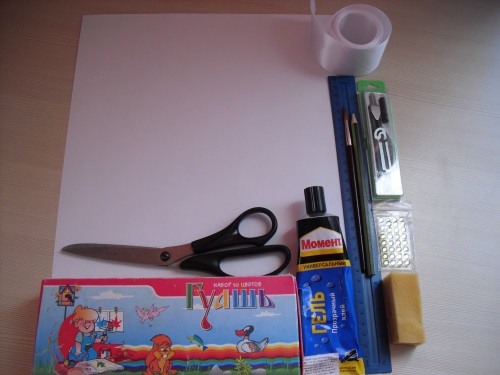
Russian kokoshnik of cardboard - step by step instruction
First we need to create a pattern or drawingour future product. To do this, we need to take a sheet of cardboard, compasses, ruler and a simple pencil. Stages of making patterns in all the details are shown in the video.It turns out here is such a detail.
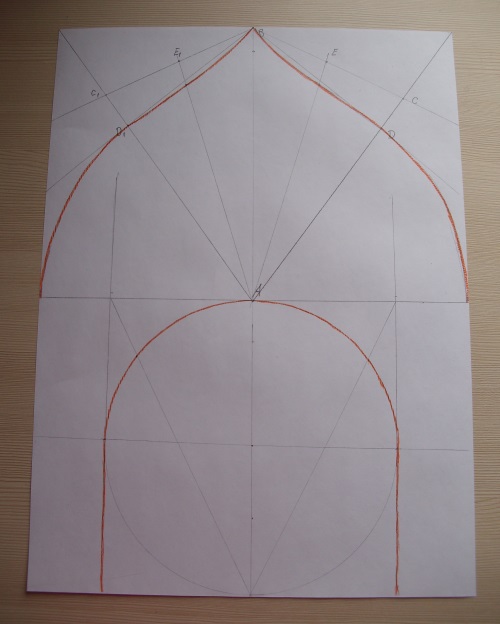
Next, take the scissors and begin to cut the resulting workpiece along the red lines. As a result, you should get here such a detail.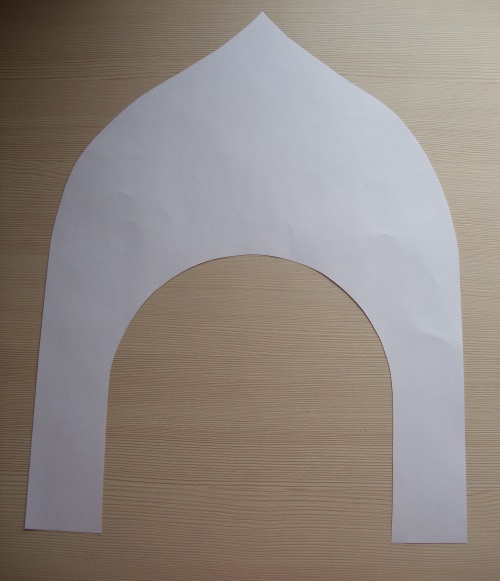
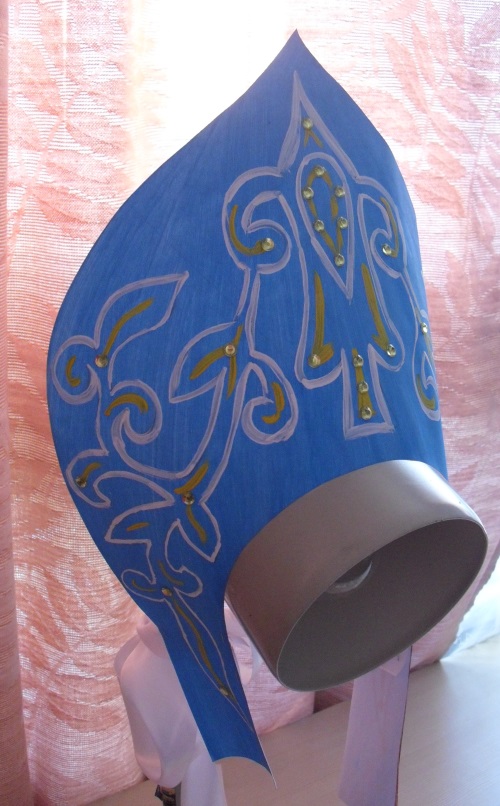
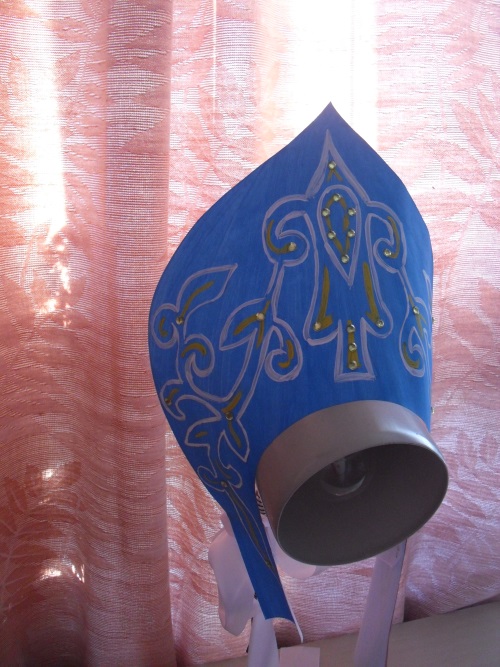
We proceed to drawing the picture. For Russian costumes and headdresses, a floral ornament is characteristic, which is why we used it for our kokoshnik.
After drawing the picture, the workpiece can already beto decorate. For this we take gouache and sponge. Gouache is mixed to get the desired shade and diluted with water, then we apply the resulting paint with a sponge. In the end, this is the background for the kokoshnik.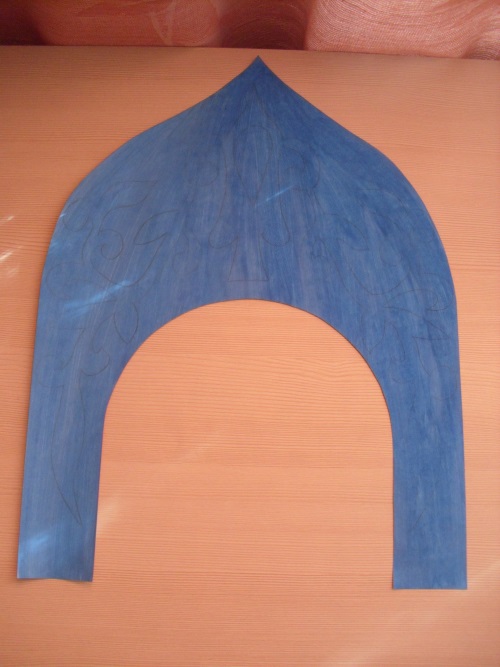
Next, you need to draw our drawing. To do this, we take a brush and white paint. Gently apply the paint on the contour. In the end, you get this picture.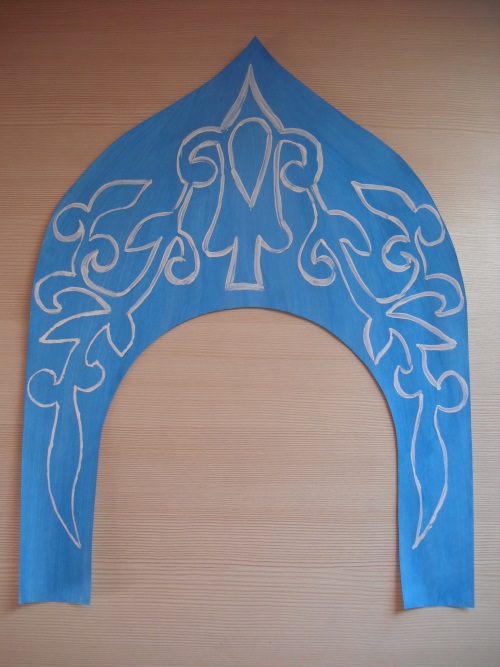
For greater expressiveness, you can add strokes of yellow paint to the floral ornament.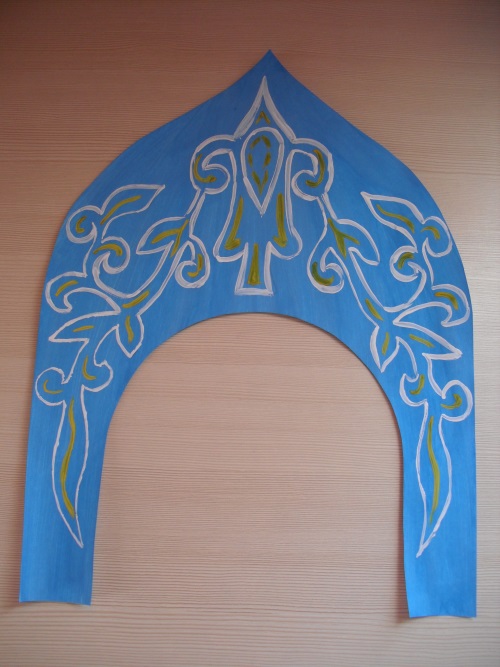
Important! Each new paint color should be applied only after the previous layer has completely dried.
Long ago, Russian beauties adorned the kokoshnik with precious stones, beads, pearls, gold threads. These materials are quite expensive, so we suggest using rhinestones for our kokoshnik.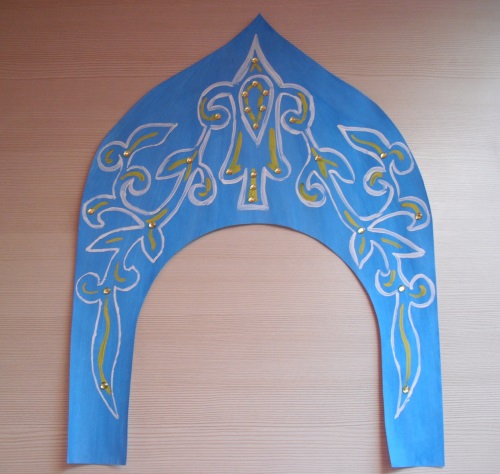
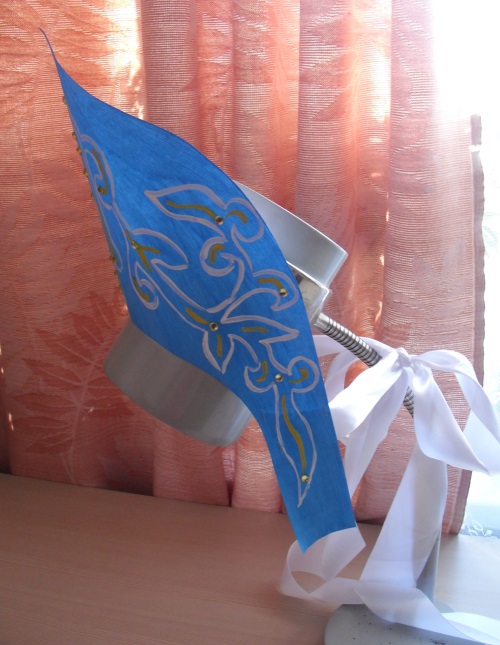
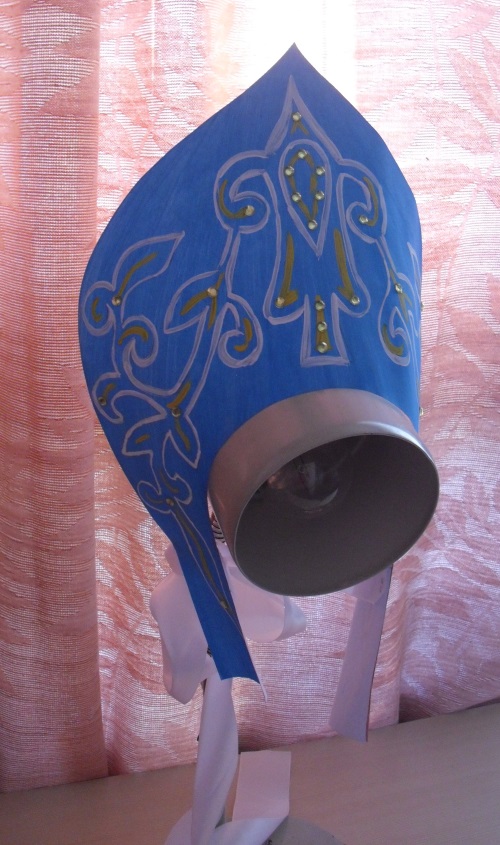
In order for the kokoshnik to be fixed on the head, we attach to it a satin ribbon (approximately 1 m of tape on each side). The tape can be fastened with glue or a stapler.
At the back we decorate the satin ribbon in a bow.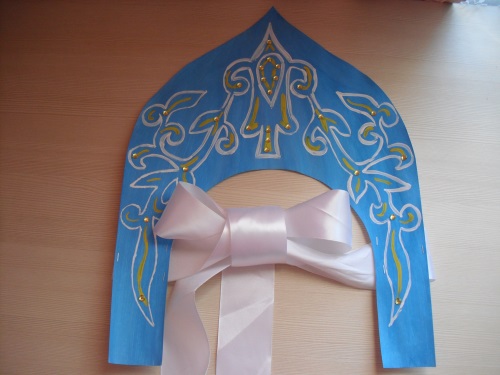
Russian kokoshnik made of cardboard is ready! It took quite a bit of effort and time, but look how beautiful it turned out!
Read more:

Application for February 23 for children 3-4 years old in kindergarten for senior and middle groups, to school - hands-on master class with photo

New Year's crafts with their own hands: a sheep made of cotton wool, a master class with a photo

Gift for yourself on New Year's Eve: how to sew a toy "Bunny", a step-by-step master class with a photo

How to make a heart-shaped box with your own hands, a step-by-step master class with a photo

How to make Russian kokoshnik, master class. Kokoshnik of cardboard with their own hands, step by step photos, video, pattern

How to make a wall newspaper with their own hands on May 9. Stengazeta to Victory Day, master class with step-by-step photos and videos

Box with their own hands: a master class to create their own gift boxes of various shapes from cardboard
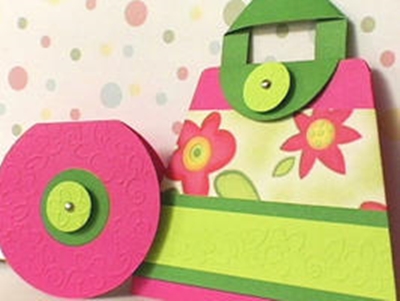
How to make a postcard to a friend with your hands - photo master-class

New Year's crafts with their own hands: a sheep made of cotton wool, a master class with a photo

Gift for yourself on New Year's Eve: how to sew a toy "Bunny", a step-by-step master class with a photo

How to make a heart-shaped box with your own hands, a step-by-step master class with a photo

How to make a wall newspaper with their own hands on May 9. Stengazeta to Victory Day, master class with step-by-step photos and videos

Box with their own hands: a master class to create their own gift boxes of various shapes from cardboard

Children's Christmas costume Snow Maiden