Tapestry stitch - technique in embroidery. Masterclass with a video about what a tapestry stitch is in embroidery

Read the article details about the technologytapestry seam and study our detailed lesson. At first glance, the master class may seem complicated, but in reality it is not so: you just need to concentrate and get to the bottom of the process. Follow our step-by-step instructions and you will definitely succeed!
Master class embroidery tapestry seam
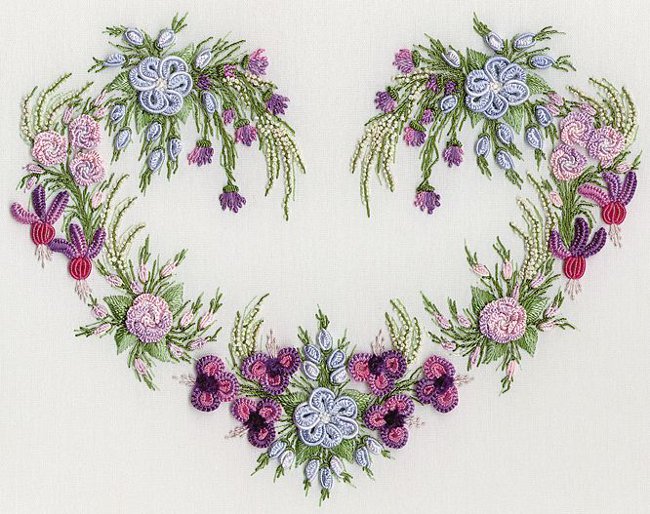
Embroidery tapestry seam is incrediblebeautiful, stylish and unusual. Such pictures look very rich and bright. The most important difference from conventional embroidery is that the fabric is completely filled with threads without loose lengths. As a result, we obtain voluminous paintings, as if with a printed pattern. To create such works of art, you can apply a variety of threads: silk, woolen, mulina, etc. As for the fabric, it is better to choose its more dense quality, since it is unlikely that the thin will achieve the desired effect. The best option is to buy special material.
First pierce the needle with the wrong side andPull the thread to the right side of the upper corner of the front side of the fabric. Then again create a puncture, but stretch the thread to the left bottom side. Thus, the diagonal should turn out, but not the traditional one, but from the top down. See details on the presented photo.
Next, make the stitch exactly as in the previous paragraph - from the top point to the bottom left corner. The other stitches needed in this series are created in the same way.
To go to another row, simply flip the fabric 180 degrees and embroider the same as described above. This method allows you to start drawing from the right corner we need.
There is another way to start the second row: start embroidery "on the contrary." First you need to make a stitch from the bottom left corner to the upper right corner and so on.
Now it becomes obvious that another subtlety of the tapestry seam is diagonal stitches, which are the same as on the underside, and on the front side.
How to sew a loop with a seam?
Below you will learn how to embroider a loop. This is another technique of a tapestry seam, with the help of which it turns out to create very effective decorations for the interior. To get started, you will need a thread, a canvas and a special needle with a long enough point, a slot and a large eye.
Insert the thread as shown in the photo below.
Tie a knot on the tip.
Stick the needle into the fabric at full length (best of alltake the canvas). The tied knot will not let it slip through the matter. You should get a loop. On the front side it will look like the image.
Then hold the thread below so that the loopdid not jump out on the wrong side (do not pull it immediately after the needle). Create the next puncture as close as possible to the previous one. Then proceed in the same manner. As a result, you will get a three-dimensional "carpet".
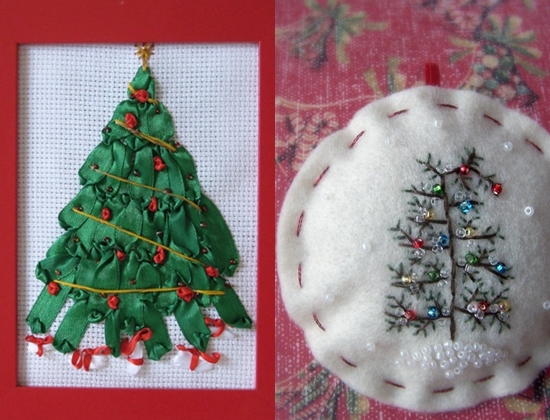
We hope that our tips will help you createtruly wonderful products with their own hands. Tapestry paintings decorate any house, giving the interior a little warmth and coziness! Surprise your friends and relatives with unusual ornaments.
The following is a thematic video about embroidery with a tapestry stitch