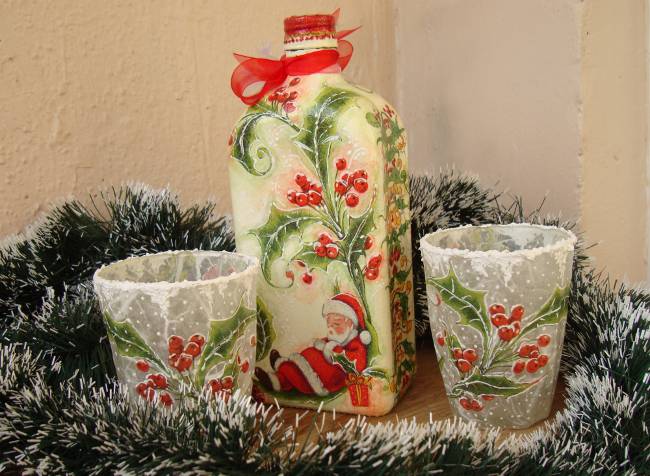
New Year's Decoupage
 Many people have already heard about the decoupage technique. With its help, the most common objects turn into works of art. We advise you to try to make interesting New Year's Decoupage different subjects.
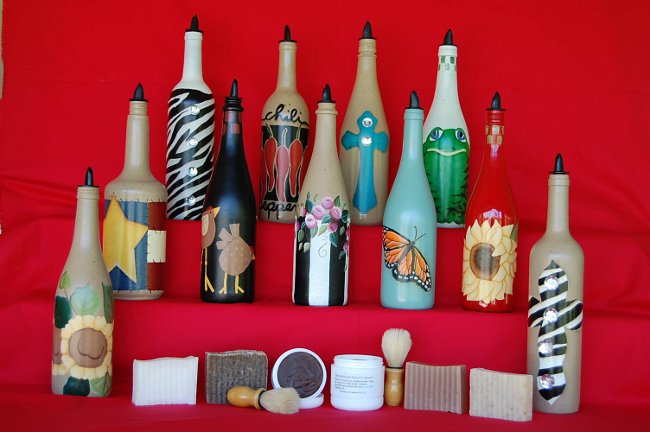
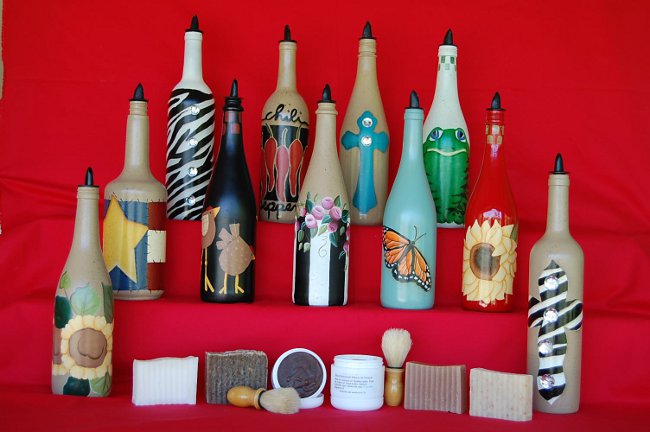
 The technique of decoupage is very simple. It can very quickly master even a beginner. But what can be transformed beyond recognition with the help of New Year's decoupage? Yes, almost everything! The most common option is a decoupage of a New Year's bottle. As a basis, you can take a bottle of champagne and completely change it. You'll see that such an unusual bottle of champagne will be the main decoration of the New Year's table!
But the New Year's decoupage is not just for decorating a bottle. With this technique you can create beautiful New Year's candles. But the most interesting thing is that the technique of decoupage is also suitable for decorating Christmas-tree toys. We suggest you make a decoupage of New Year balls.
Christmas balls, decorated with the help of decoupage, is an excellent design idea. You can be sure that no one will have the same balls for a Christmas tree. So, we decorate New Year's balls with our own hands.
To make a beautiful New Year's decoupage balls on the Christmas tree, You will need the following things:
- conventional plastic balls with a diameter of 8 cm
- acrylic lacquer
- acrylic paints
- three-layer napkins with New Year's pattern
- PVA glue
- flat synthetic brushes
- sequins
- semolina
- sponge
- paint palette
Of course, the New Year's decoupage of balls should be done on toys without drawings. Balls can be any color. So, we proceed. On the palette, pour a little white acrylic paint. A small piece of kitchen sponge dipped in paint. Now use the sponge to paint on the ball, imitating the snow cover. To do this, do not smear the paint on the ball, and just gently touch the sponge surface. Make sure that there is always white paint on the sponge. Thus, all the balls prepared for decoupage are painted out.
The painted balls are allowed to dry for one hour. At this time, prepare napkins, which will become the basis for the New Year's decoupage. As it should, we separate the top layer with the picturefrom the main part of the napkin. The motives that you want to use can be cut with sharp scissors. If desired, you can make the New Year's decoupage balls much more original, for which the motives of napkins can not be cut, but tear. As a result, you get a picture with beautifully blurred edges.
Now you can start making a New Year's decoupage of balls. Dilute the PVA glue with water in a 1: 1 ratio. Stick the motifs on the balls, moving from the center of the picture to its edges. So we decorate all the balls.
That the balls were not monotonously white, they can be painted with any other color. Using the technique of applying paint with the help ofsponges, paint balls in colors that you like. Of course, try not to get the paint on the pasted motif. When the paint is completely dry, the balls are varnished.
After complete drying of the varnish, you can proceed to an additional decoration of the balls. To do this, mix the manga with white paint toconditions of thick porridge. Use a normal brush to apply such a paint to the place where the snow cover will be on the balls. These can be individual points throughout the ball, from above or below. To snow on the balls beautifully poured, it can be decorated with sequins. To do this, we cover the "snow" on the ball with varnish and apply small sparkles to it. Let's completely dry the varnish. New Year's decoupage balls for the Christmas tree is ready!
Using this technique decoupage, you can decorate New Year balls of any diameter. The main thing is to stock up on enough different beautiful napkins!


