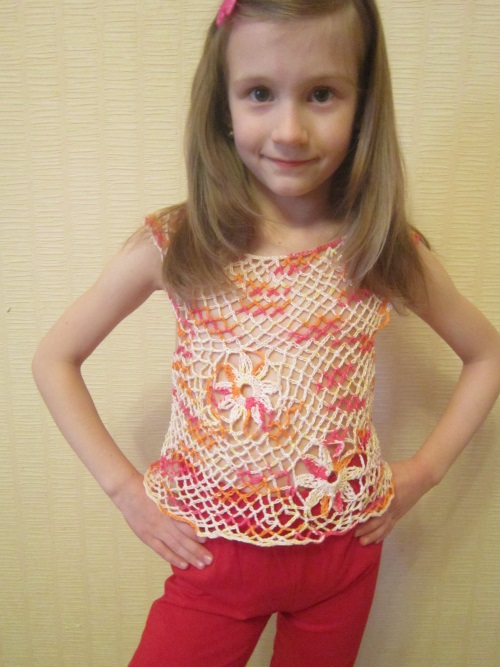
Summer top for the girl: crochet: schemes, photos, video. Step-by-step instruction for knitting a summer top for a girl

Summer top for a girl should be bright, lightand air. Linked by yourself, this topic will become your girl's favorite. We present a master class on knitting such a model with a detailed description of each step.
Master class: summer top for the girl crochet
You will need:
yarn for hand knitting (Yarn from Troitsk "Beloved", flax 340 m / 100 gr). Consumption - about 70 gr.
tools: hook number 2.5; scissors; pins; tape measure
Preparation for work
Schematically draw a model of the future top - it in front and back.
We measure and record the main dimensions of the model - the length of the shoulder, the length of the neck circumference, the length of the circumference of the coquette, the length of the circumference of the armhole, and the length of the finished top.
We choose suitable schemes for knitting: flower motifs will be knitted in accordance with scheme 1, and the main pattern (sirloin) is according to scheme 2.

Knit coquette of the topic
Our model is similar to the products on the coquette. But in our case, ahead of the coquette is "traditional", and behind - it is lowered lower than usual. To tie a coquette, we type the number of loops that will be equal to the length of the circumference of the coquette (in our case 168 loops). We close them in a circle and start knitting according to scheme 2. Pay attention! Before you join a chain in a circle, you need to align it so that it does not twist. So the edge will be smooth and beautiful.
The coquette is tied up until the length of the mating reaches the length of the shoulder (approximately 9-10 rows).
At the same time, we must not forget that the openwork fillet oblique mesh stretches in all directions, so when measuring, the coquette should be slightly pulled down.
On the received detail we mark out those places by pins,where in ordinary clothes there is a shoulder seam. We measure the length of the neck on the front and, knowing the length of the circumference of the neck, we fix the missing part (chain of air loops) to form the neck along the back.
Knitting floral motifs and shaping the back of the topic
For the time being put off knitting the topic and take up floral motifs. They will need three pieces - two for the transfer and one - for the back.
If you do not understand the pattern of knitting the petals of these flowers, you can watch the video.
We find the middle of the "window" - the point that will become the location of the flower on the back of the product.
Determine how best to attach the flower to the main part.
When the preparatory part is finished,attach the coquette and flower to the fabric (table cloth, for example) and we untype the connecting threads (air loops) between the flower-center and the edges-the coquette.

Important! It is necessary to carefully fasten all the details stamp on the fabric, so that they are not moved down during operation, otherwise the connection will turn out uneven, and the flower will eventually be shifted to one side.
Attach the motif to the coquette can be in a circle,periodically wrapping the remaining arcs of the flower with the half-columns and "strengthening" the existing chains from the air loops. What is the "strengthening" of such chains is shown in detail in the video.
The first stage of manufacturing the back of the summer top for the girl crochet is ready.
Knitting hand
We pass to the front. The knitted rows of the coquette have already formed a beautiful semi-circular edge, to which we tie one of the remaining two floral motifs.
First, gently create a slanting sirloin mesh on the right side of the gear, connecting it to the place where the armhole is supposed to be.

Then we form the very armhole with a traditional chain of air loops. The length of this chain is defined as the difference between the length of the circumference of the armhole and the already existing part of the armhole formed by the coquette.
Under the armhole we knit an openwork fillet mesh. But now knitting "touches" partially and the back. Our task is to align the edges of the gear and the back.
Important! Knit this model only in one direction. You can not rotate the product, otherwise the loops in the arches will look either on the front side, then on the back, that will spoil the general appearance of the topic. When the "straight" line ends (the new arch from the air loops is attached to the arc located on the left side of it), it is necessary to knit "backward": a chain of 5 air loops is attached to the arch running to the right.
We knit only the left side of the top until the left side of the flower is neatly "inscribed" into the overall pattern.
Now take our last flower motif and look for a good place for it.
We embed it in the same way as the previous flower on the front. But this time you need to create a grid on the right side of the product.
. At the same time we form an armhole, and finally we "topem" the upper floral motif in the air arches. Knit the product until both flowers are tied into the main pattern.
The final stage
Now it remains only to tie the product to the desired length and process the edges of the armhole and the bottom. The processing method in this case is a "reinforced" chain of air loops, analogous to the neck.
Summer top for the girl crocheted ready!


Read more:

Summer Hat Crochet: Scheme, Video, Photo

Summer blouse for full crochet - master class. Step-by-step instruction for knitting a summer blouse for complete

Summer booties crochet: diagram, photo, video. Step-by-step instruction for knitting cymbals
How to tie a summer baby cap crochet. Master class on knitting of children's summer hats

Vest with knitting needles: diagram, photo, video. Master-class on knitting a vest knitting
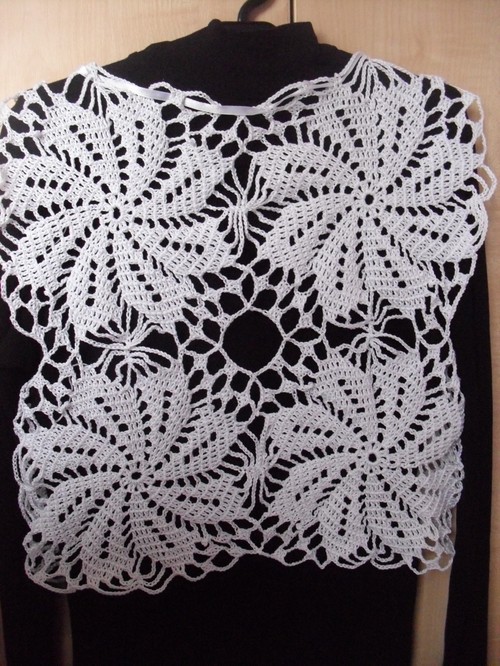
How to tie a fishnet summer vest with a crochet. Master class on crocheting a summer vest
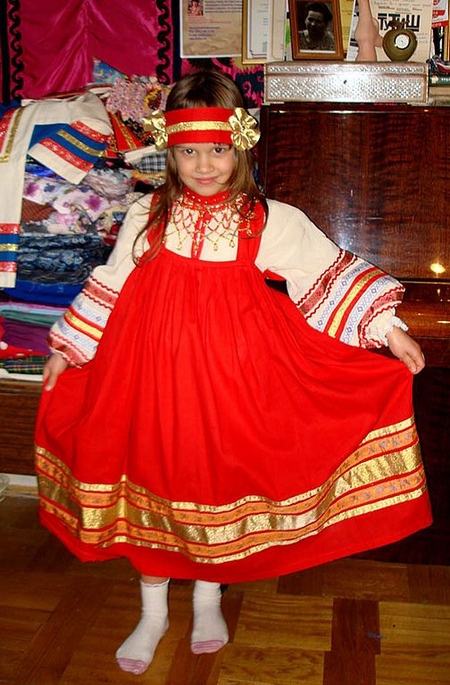
How to sew a sarafan for a girl in a folk style
How to tie a summer baby cap crochet. Master class on knitting of children's summer hats

Vest with knitting needles: diagram, photo, video. Master-class on knitting a vest knitting

Summer booties crochet: diagram, photo, video. Step-by-step instruction for knitting cymbals

How to tie a fishnet summer vest with a crochet. Master class on crocheting a summer vest
Summer top for the girl: crochet: schemes, photos, video. Step-by-step instruction for knitting a summer top for a girl
Summer Hat Crochet: Scheme, Video, Photo

Summer blouse for full crochet - master class. Step-by-step instruction for knitting a summer blouse for complete