How to make beautiful paper at home

If you like to do unique things and at the same timetake care of the environment, making home paper is the occupation for you! Each sheet will be made unique, as you want, and all unnecessary paper and cardboard in the house, including old newspapers and magazines, empty packs and packages, will be used as a basis and will not be wasted.
Master-class: how to make paper
You will need:
- unnecessary paper or cardboard (in general, any, even a pack of milk or juice - the main thing is that it was not plastic);
- pan;
- water;
- press;
- mixer (if you often make paper, it is better to have a separate nozzle for this);
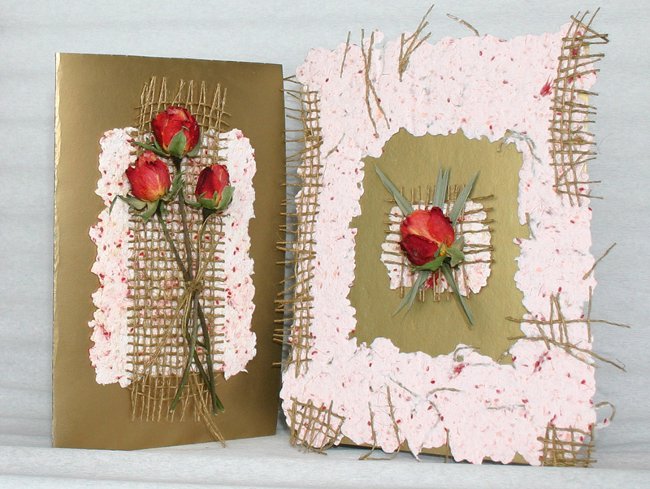
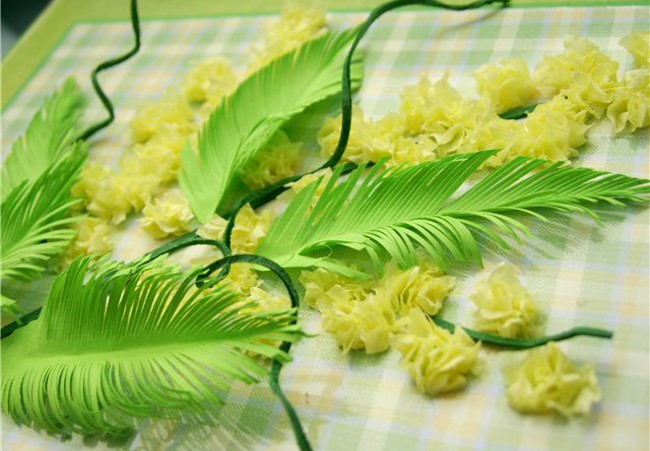
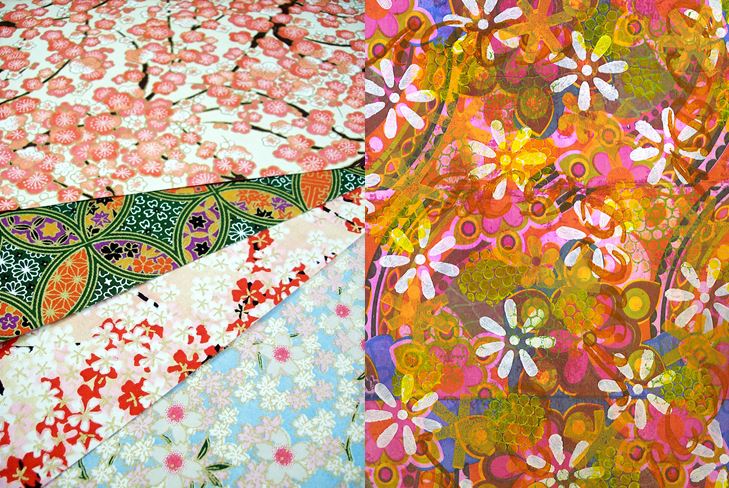
- ornaments for paper (sparkles, colored threads, dried leaves and petals, anything you like, to your taste.
The only thing you should not take is not driedorganic objects - for example, some of the fruits - because they will dry up eventually in the paper itself and can fall out of it. In addition, all items should be flat or as close to it (like a thread).
Say, rhinestones do not fit, it is better to take simplylarge flat glitter. The paper will still work with a little convex patches, but even if it is intended, for example, for decorating a postcard, this is primarily a paper - it should be easy to write on it).
- paint (if you want);
- a large flat spoon and a tray;
- starch and PVA glue;
- grid (mosquito or canvas) stretched on a wooden frame or embroidery frame, and a second grid, without a frame;
- soft sponge and an unnecessary towel.
1. Tear all the unnecessary paper and cardboard and put in a pan - if you are making paper for the first time, take the old napkins to start. Pour the scraps of water and lightly heat the pan - this is especially true if there are dense pieces among the scraps, for example, from milk packs. So they will soften faster.
2. Grind the mass with a mixer.
3. Add two tablespoons of starch and two - glue PVA on a standard small pan. This is necessary in order to consolidate the mass and make the future sheet more flexible.
4. Put the mesh with the frame on the pallet.
5. Scoop up a lot of the spoon and gently lay it on the net. Surplus moisture will drain into the pan. Lay about 70-80 percent of the entire paper pulp. In general, one sheet of the standard A4 size does not require a lot of mass; adjust its quantity yourself, but remember that paper made by hand, rather than the factory way, should be thick enough (at least 1.2 mm.), so as not to fall apart. Thoroughly level the mass.
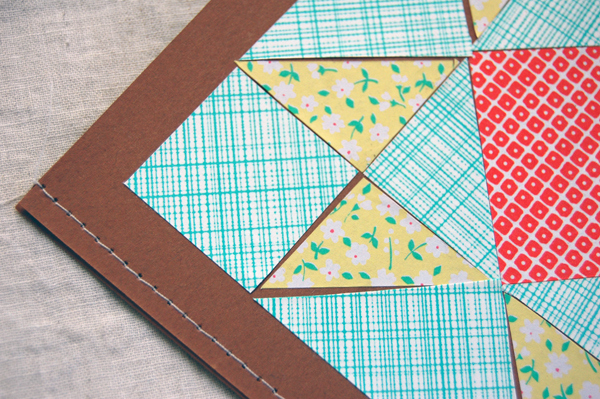
6. Now decorate your sheet, spread out on the drying paper decorations. You can make a complex pattern of repeating details or abstraction, or you can just drop a few drops of paint into the mass. Each sheet is still unique.
7. Now pour the remainder of the "paper" out of the pan. It is much more liquid, because, bailing out the first part of the mass, you did not pour out the water. Flush carefully so as not to displace the decor elements, but at the same time so that they are covered with a very thin, final layer of mass and they are securely fixed to them when the sheet dries.
8. Cover the frame with a second mesh, towel over it, and gently pat the entire structure with a sponge so that the moisture is absorbed into the towel, and the fibers of the paper are not displaced. Lift the frame and drain the water.
9. Wait a few hours until the paper gives up almost all the moisture and hardens.
10. Dry the leaf completely: you can do this by placing it under the press between the same towels (and then it definitely does not crumble), you can dry it with a hairdryer or in the oven, you can - with an iron.
Your unique paper is ready!
Author: Masha Larina