How to tie a machine with knitting needles, a master class. Original machine-pillow with knitting needles, step-by-step photos, diagrams, video
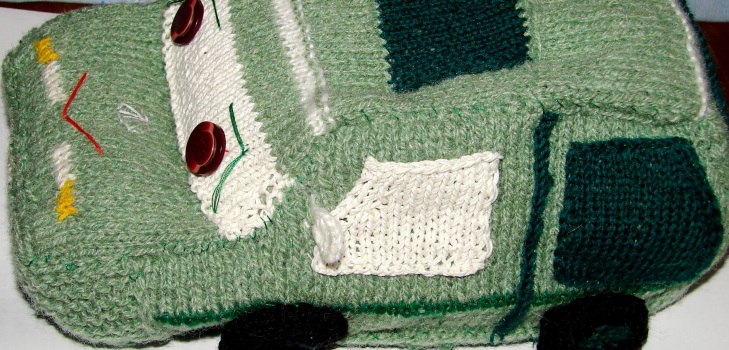
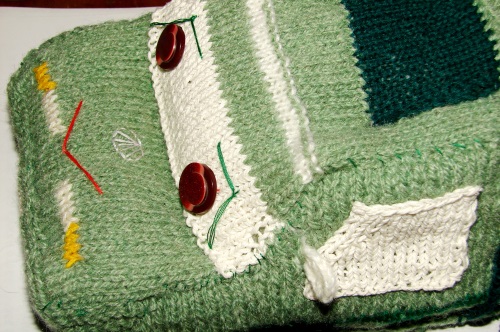
How can you please the boy, what to give? There are not many toys! But if you show a fantasy and give a typewriter made with your own hands, probably surprise both the baby and his parents. In this article, we'll show you how to make a pillow yourself. It is very simple, and you can use the remains of single-colored yarn for work. And all the basic stages of mating are clearly visible in step-by-step photos and videos of our master class.
Necessary materials:
the main thread is the Sonata (50% acrylic and 50% wool) yarn of light green color - 100 grams (165 m)
yarn dark green color - 20 grams
small balls of white, yellow and red yarn
Needle No. 2 on the line, hook No. 3,5, darning needle, cotton threads for sewing parts
sintepon white
two small brown buttons (for the eye)
four large buttons (for wheels)
The machine-pillow on knitting needles - the step-by-step instruction
Draw an approximate patterns of the machine, distribute how much yarn of what color is needed.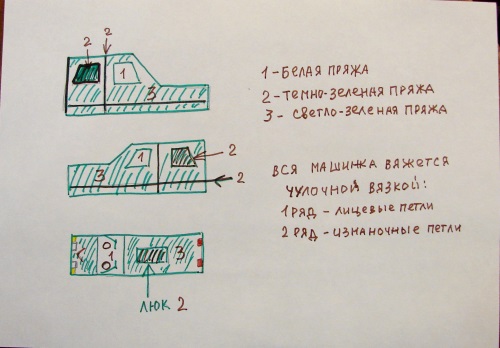
The yarn for knitting machines should be in tangles,It was convenient to combine different colors for simultaneous knitting. We begin knitting from the sides of the machine. We collect 55 loops, knit a stocking knit (a series - facial loops, a series - purl) 7 rows. We take a thread of a different color, we knit 2 rows of a thread of dark green color - a strip is obtained.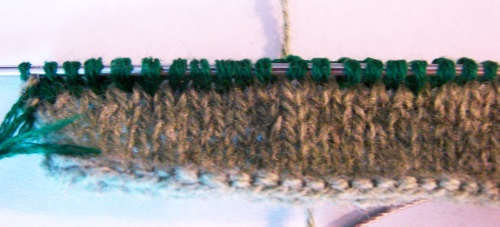
Again, go to the main thread.
We knit 7 rows again, and in 3 and 5 rowsadd 1 loop at the beginning of the row, in the 7th row add a loop at the end of the row. It turns out on spokes only 58 loops. In the front row, close 10 loops, then we knit the row to the end. In the next front row, close 8 more loops.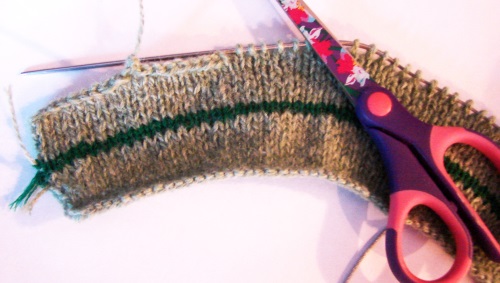
Only 40 loops are left on the knitting needles, we knit 12series on the drawing. The decrease begins in 6,8,10 rows along 1 loop at the end of the row. We finish knitting the left side of the machine. In the same way, but in the mirror image we knit the right side of the machine.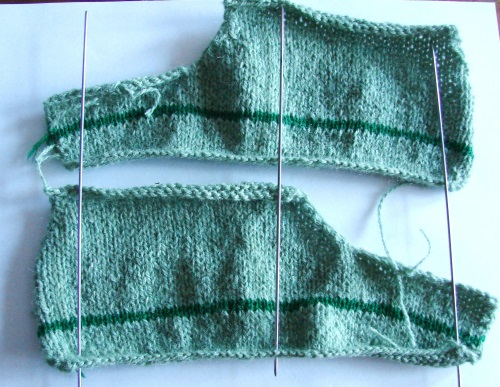
We type 40 loops with the main thread, we knit 7 rows. Change the thread to a dark green, we knit 2 rows. We change the thread, we knit 2 rows. Next, we need to get a red thread in two places. This is done this way, making a red thread on the 6 loops at the beginning and end of the row.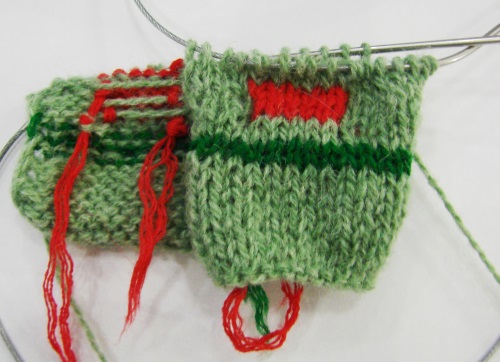
We send 2 rows with a red thread (these are the tail lights of the typewriter), then we simply go to the main thread, which was not cut off, but stretched behind the knitting of the lanterns.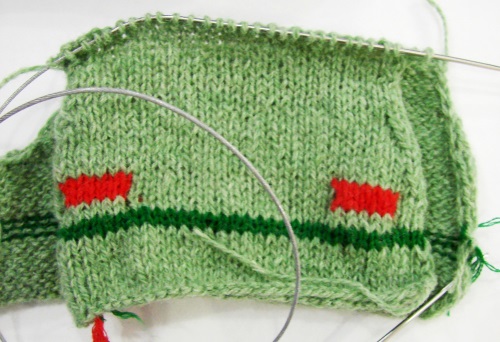
We knit the back of the machine, trying it to the height of the side. On the upper part of the back side we knit 3 rows of white thread garter stitch - this is the edge of the roof of the machine.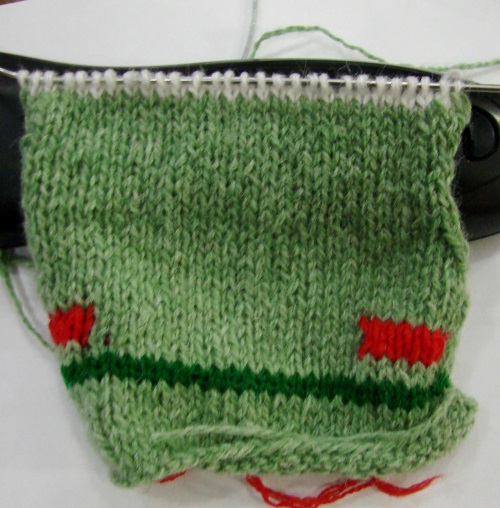
We impose 6 rows of the main thread, then add 1 loop at the beginning and end of the row and knit the roof of the car to the top window.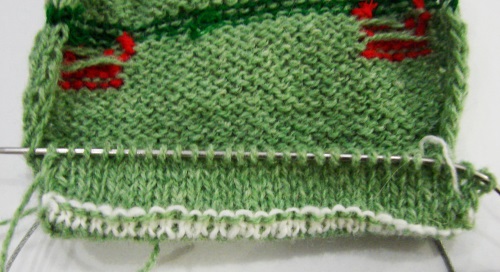
We impose 6 loops, remove 16 loops,The remaining loops are sewed. We must separately tie both edges of the roof with the main thread - we measure on the side of the machine, then we restore the loops and we knit another 6 rows. The edge of the roof is tied with a white thread (3 rows of garter stitch)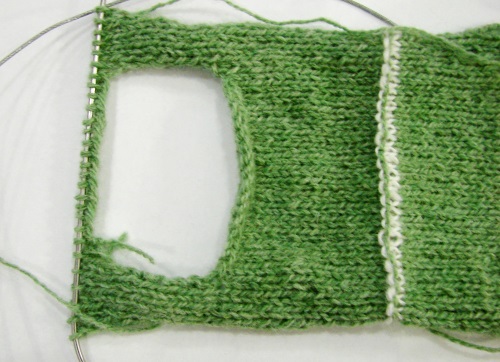

We sew the connected parts of the machine from the inside of the hook. On the spread it turns out like this -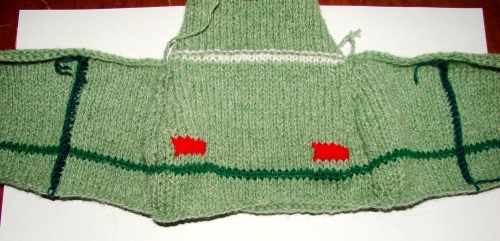
We embed the upper window of the machine with dark green threads.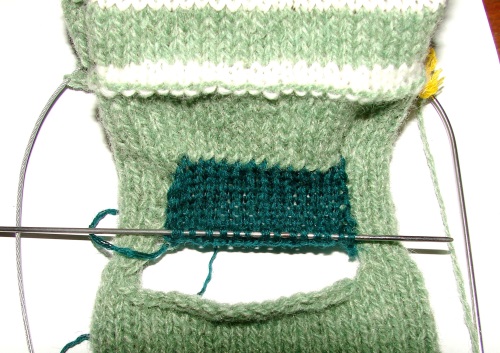
Separately we knit the rear window of the machine, sew it with green threads to the main canvas.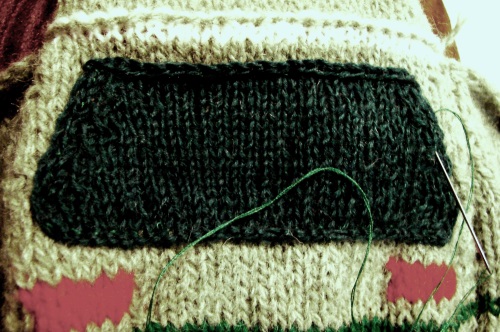
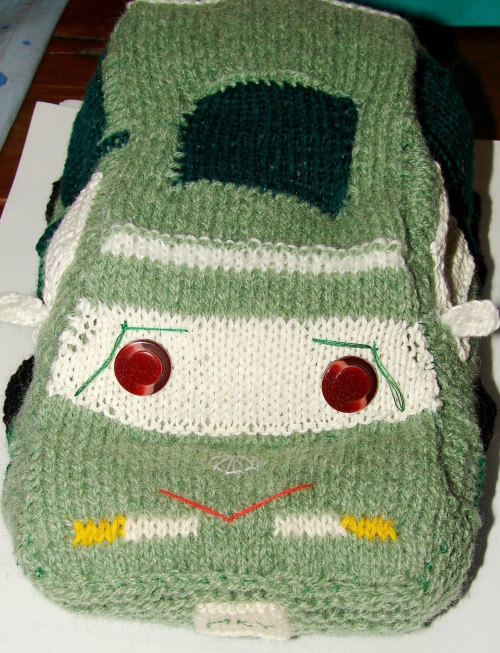
Front of machine: from the top, we continue to knit with the main thread - 6 rows, then go completely to the white thread - we measure the number of white rows on the side part (they end where 10 rows end on the side), make a series of purl loops and go to the main thread. We measure the number of rows on the side part, but in such a way that in 5 rows before the end of the knitting we make the headlights from the yellow and white threads (see item 5). We wire a number of the main thread and finish knitting.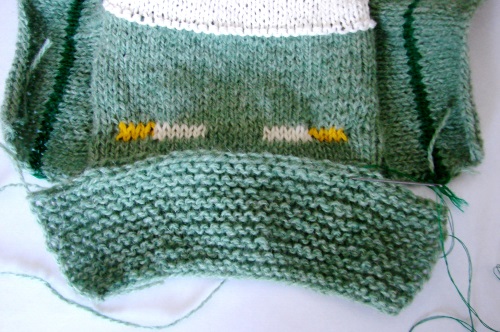
At the same time, we collect 50 loops and knit a viscous bumper knit - the number of loops and the width of the bumper is measured along the front and side of the machine.
We knit the side windows with a dark green and white thread, we knit the mirrors for the machine. A red thread makes a corner - a smile. We sew brown buttons, make dark green eyebrows.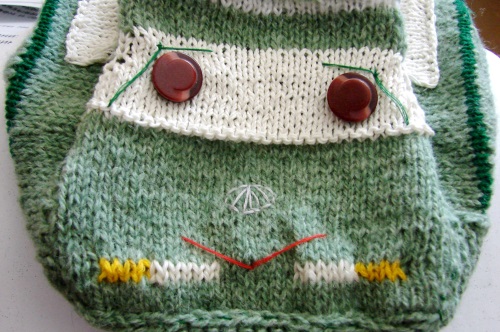
Knit crochet wheels, sew them to large buttons, and then to the side parts of the machine.
We knit a white thread rectangle 6 loops for 10 loops, sew it on the bumper, embroider any letters (you can the initials of the child or his name).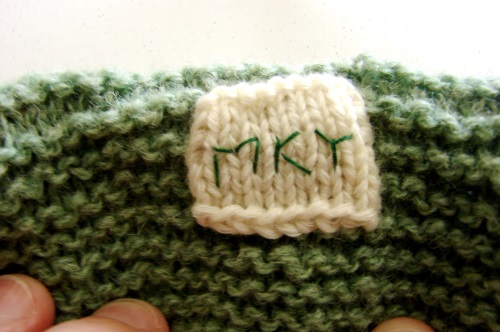
Fill the inside of the machine with layers of sintepon.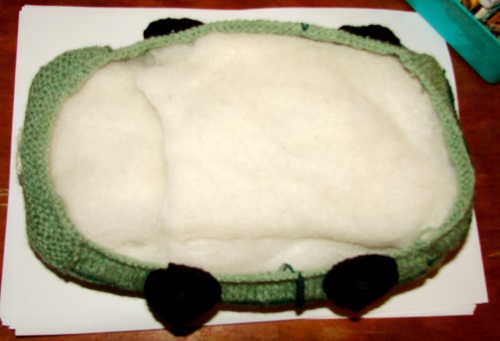
We collect 36 loops and knit the bottom of the machine, which is then sewed.
We sew the hood of the machine along the edge of the white linen through the entire thickness, that is, from the hood to the bottom (windshield) with a white thread. The machine-pillow on the knitting needles is ready.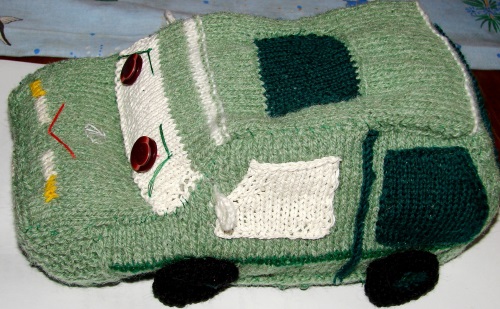
,
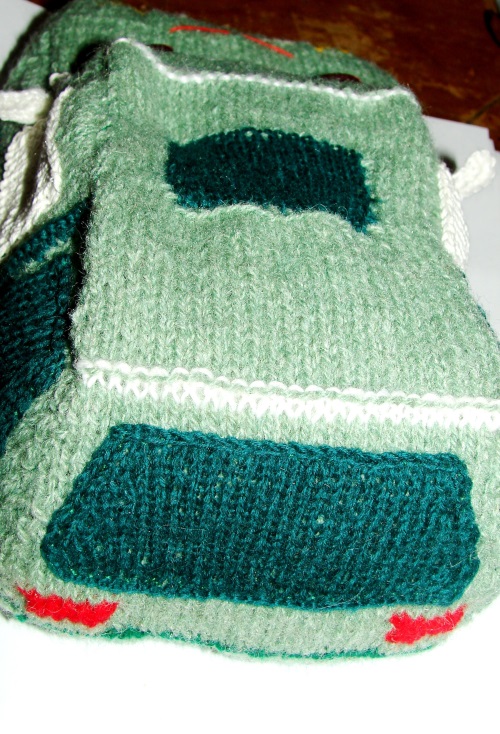

A smart present for a kid of any age. And, most importantly, this original gift is made from the heart and with your own hands!
Read more:
How to tie a machine with knitting needles, a master class. Original machine-pillow with knitting needles, step-by-step photos, diagrams, video

How to sew a pillow-letter with your own hands, master class. Original pillow, step-by-step photos, video.

Threads for knitting: how to choose?

Summer bag with knitting needles: photo, video. How to tie a women's summer bag - step by step instruction

Children's summer cap knitting: a diagram, photo, video. Master class on knitting of children's summer hats

Vest with knitting needles: diagram, photo, video. Master-class on knitting a vest knitting

Summer cap with knitting needles: photo, diagrams, video

Threads for knitting: how to choose?

How to tie tracks with knitting needles: a video for beginners, a photo, a step-by-step master class

How to sew a pillow-letter with your own hands, master class. Original pillow, step-by-step photos, video.
Children's summer cap knitting: a diagram, photo, video. Master class on knitting of children's summer hats

Vest with knitting needles: diagram, photo, video. Master-class on knitting a vest knitting

Summer cap with knitting needles: photo, diagrams, video

Summer bag with knitting needles: photo, video. How to tie a women's summer bag - step by step instruction