Valentine's handmade - scrapbooking, shebbie-chic, master class, photo. Valentine scrapbooking with your own hands, photo
 What is the gift for Valentine's Day? Give your beloved handmade greeting card. A master class with step-by-step photos will help you to create it. Our postcard will be in the style of shebbie-chic (which translates as "shabby shine" or "shabby chic"), and the technique by which the valentine is made is called scrapbooking.
Handmade valentine - necessary materials:
dense colored paper with 4 different shades and patterns
double-sided adhesive tape or super glue
cotton lace
waxed lace
printed beautiful hearts (they can be cut from anywhere, for example, from postcards or napkins)
Special tools forscrapbooking: punch, silicone dies, ink pads. All this you can buy in shops for sewing, stationery goods or specialized shops with products for scapbooking, if any, in your city.
If you just start scrapbooking, then for the first time you will have 2 special punch holes, a couple of ink pads and silicone stamps.
Master class with photo - step by step instruction
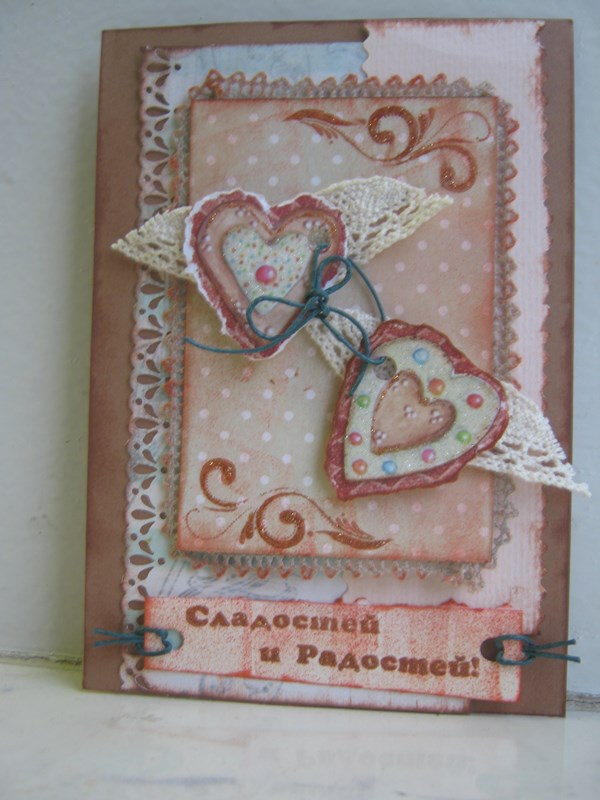
To begin with, we will select the color gamut forour handmade valentine cards. We chose pastel soft colors: soft blue, pink and beige. These colors are well suited to each other and will look beautiful when "aging". (Artificial aging is the main feature of the cheby-chic style).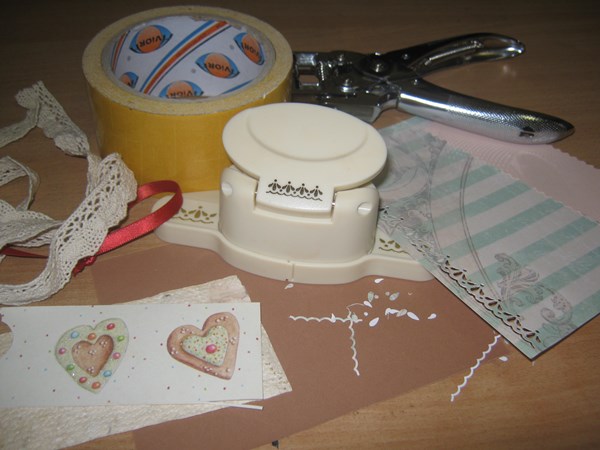
The postcard will consist of 4 layers of paper. We compose them, overlapping each other, but NOT gluing them.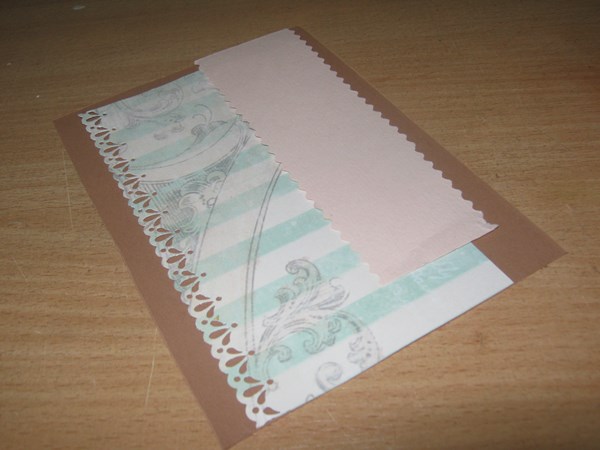
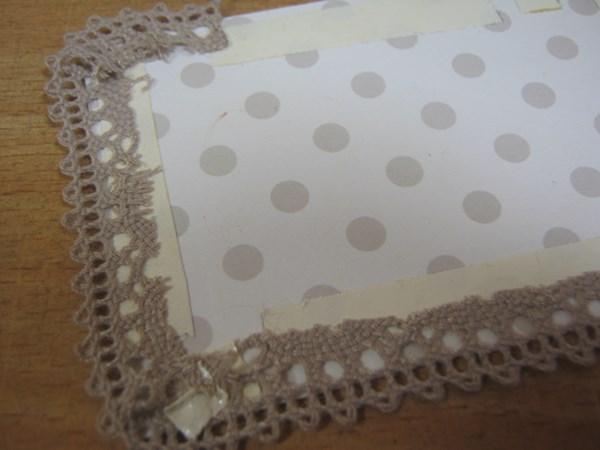
Now we need to draw out the edges of the paper. The edges of the lower layer of the valentine we leave flat. The edge of the second layer is embossed using a special punch for scrapbooking. The edges of the third sheet of paper will be wavy. You can cut such a relief with special scissors or ordinary manicure.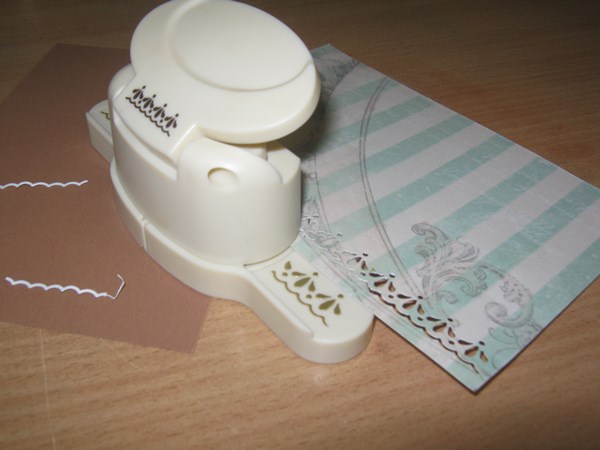
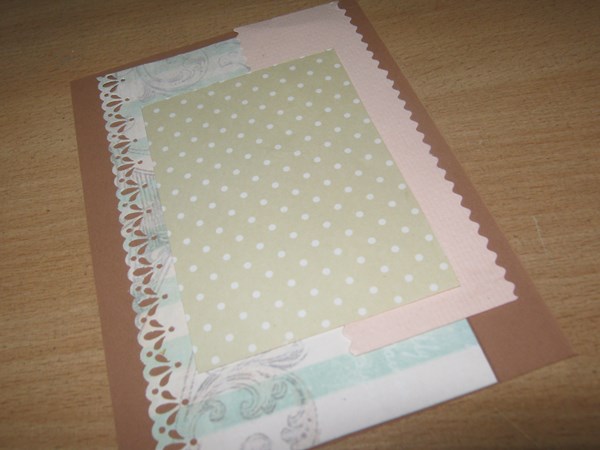
Now we can glue three layers. We do this with the help of double-sided scotch tape. You can use super glue.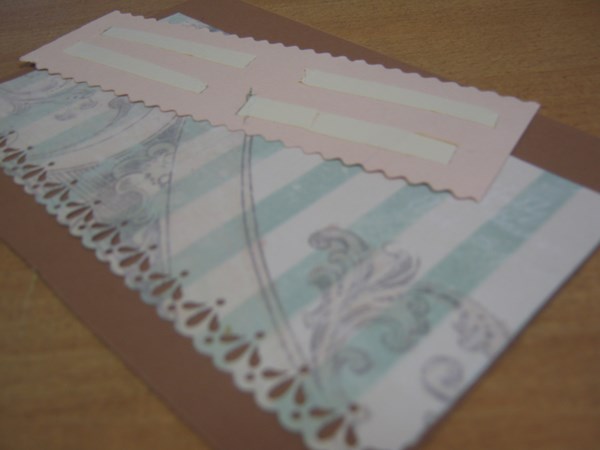
Now proceed to decorating the top layer, the central part of our handmade valentines. A cushion for printing with brown ink is rubbed the edges of the sheet, thus aging it.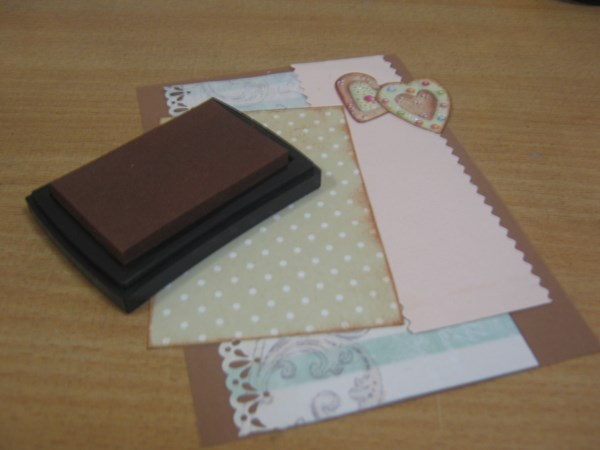
We decorate with the lace the central part with the edges erased earlier. (Lace can be glued on double-sided adhesive tape or glue).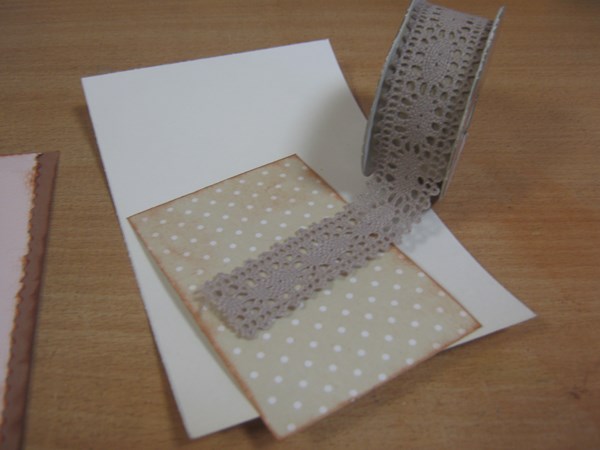
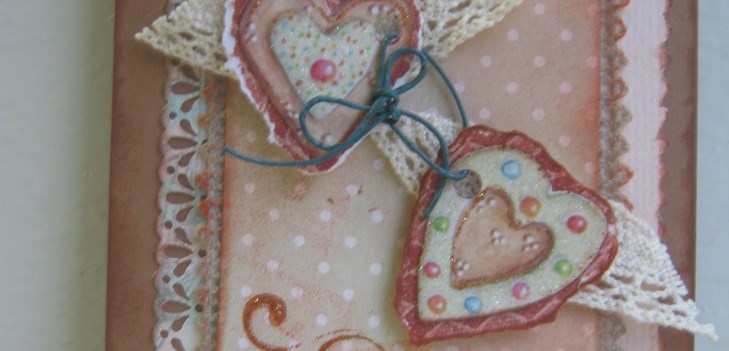
Cut the prepared hearts and paste them on the dark paper to give them a visual volume. Then we make one hole for each cord on each heart. If you do not have ready-made, printed hearts, it's okay, you can create them yourself: set the color with paint, and decorate with nail polish and glitter.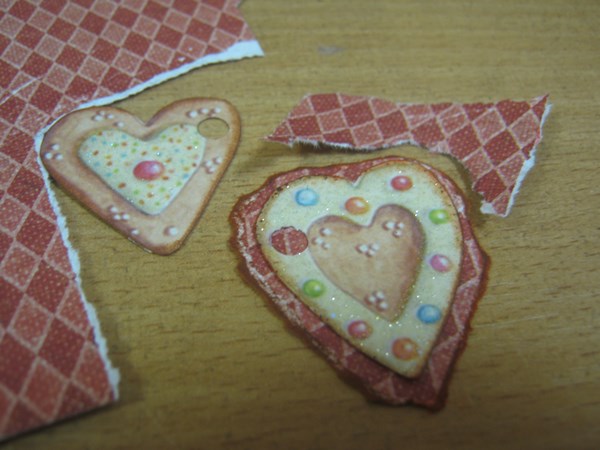
To our hearts we glue the wings cut from cotton lace. (You can glue both super glue and double-sided adhesive tape).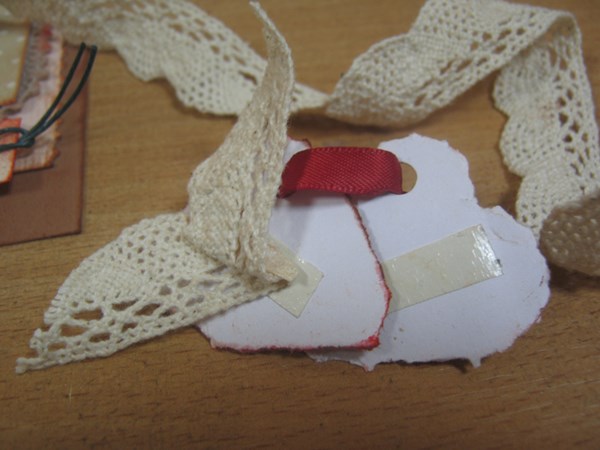
At the bottom of the postcard we will have the wish "Sweets andpleasures. " We do it with a rubber stamp and a red ink pad. Paper after printing is cut off on the ruler, so that the edges are slightly uneven. We rub the aging paper and make hole for the waxed cord in the hole punch.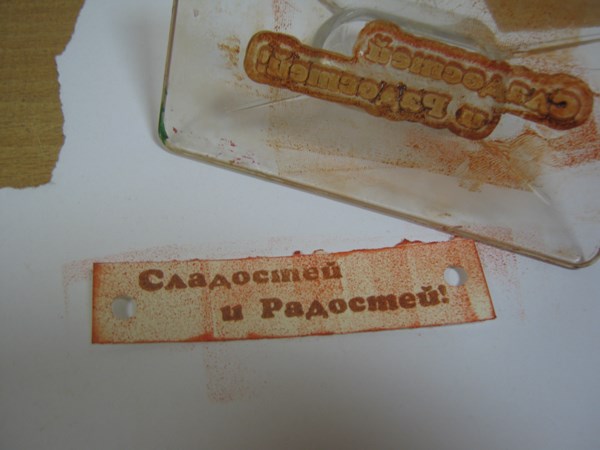
We have hearts in the center of the leaf. For completeness of the composition, we make a stamp in the corners of the patterns. If you do not have a stamp, you can draw patterns by hand with nail polish with sparkles.
The final touch - we bind forever two of our loving hearts with a waxed cord and they also make knots on paper with the wish "Sweets and Joys." Our handmade valentine is ready!
I wish you love and harmony
Galina Voinskaya
Read more:
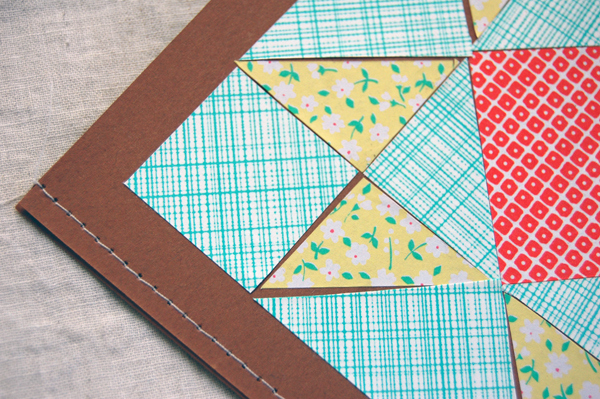
Postcard in the technique of scrapbooking with your hands - photo master-class
How to make a greeting card to Valentine's Day with your own hands, step by step instruction with a photo

Postcard in the technique of scrapbooking with your hands - photo master-class
Christmas card with scrapbooking style for New Year 2015 with own hands
New Year greeting card in the style of scrapbooking: how to make a card with your own hands

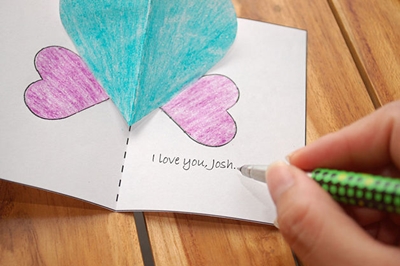
How to make a beautiful valentine with your own hands: 10 ideas with photos
Valentine's handmade - scrapbooking, shebbie-chic, master class, photo. Valentine scrapbooking with your own hands, photo

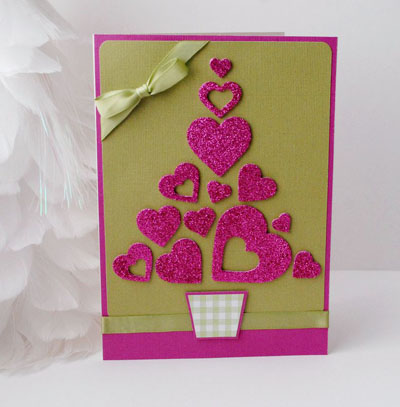
How to make a volumetric valentine on February 14 with your own hands, photo

Handy on May 9, their own hands at school. Collage to the Victory Day with step by step instructions. Master class creating crafts with photos and videos

New Year greeting card in the style of scrapbooking: how to make a card with your own hands

Christmas card with scrapbooking style for New Year 2015 with own hands

How to make a volumetric valentine on February 14 with your own hands, photo
How to make a beautiful valentine with your own hands: 10 ideas with photos

Handy on May 9, their own hands at school. Collage to the Victory Day with step by step instructions. Master class creating crafts with photos and videos