How to make a beautiful valentine with your own hands: 10 ideas with photos

If you suddenly want creativity and needlework on holiday days, then we suggest to be inspired by fresh ideas and create unique exclusive valentines for your loved ones!
Paper valentines - draw, cut, glue!
Necessary materials: colored cardboard, colored paper (you can use gift wrapping paper or scrapbooking paper), markers, watercolors, glue, scissors, stationery knife, ruler, trimmings for decorating.
Step-by-step instruction
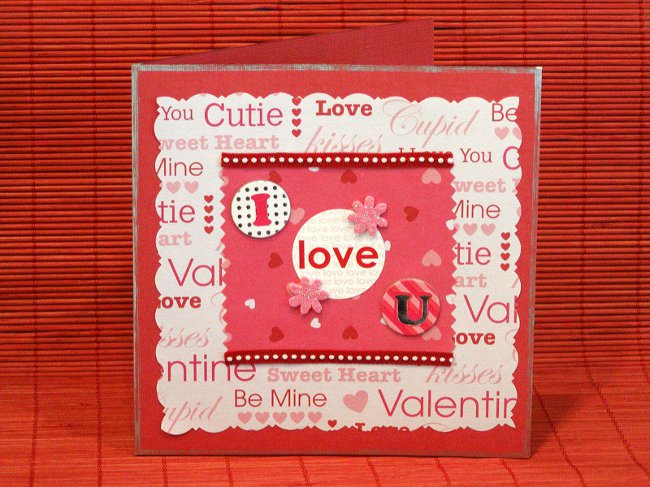
Valentine in the technique of scrapbooking (photo 1). We cut out the cardboard base for the postcard, decorate the main background and paste large hearts from colored paper, then proceed to small details, glue shaped strips of paper of contrasting colors, inscriptions, we finish the composition with a sweet heart made of textured cardboard.
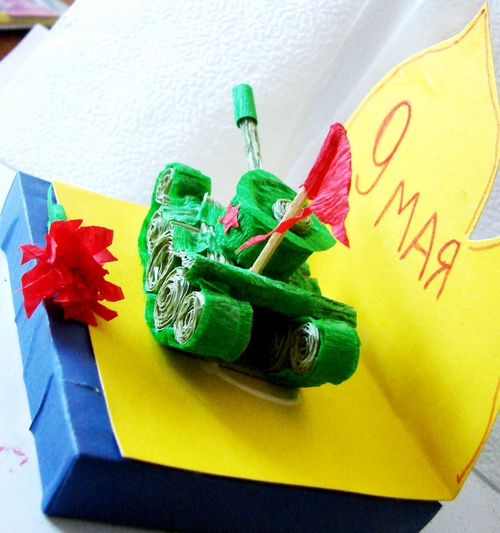
In the technique of quilling (photo2). We cut a colored xerographic paper of red and green color into thin strips, no more than 5 mm. Each strip is rolled into a roll, we give it the desired shape, red - hearts, green - leaves, their tips are fixed with glue. We glue green stripes on the white double-sided cardboard-petals, then glue hearts and leaves in the form of a bouquet. We add a bow and a congratulatory inscription.
Application (photo 3). It's very simple, from the colored paper we cut out the trunk of a tree, a bird, small hearts, letters. We glue on the valentine, behind the felt-tip pens we write wishes.
Pop-up postcard with a volumetric surprise inside (photo4). For a basis it is possible even to take a ready postcard with hearts. We put the red paper on the accordion and draw half of the heart so that when we cut them out, we have a round dance of hearts. We glue them to the two leaflets of the postcard. Cut out I and You, we have at the appropriate places.
Lovely stamps (photo 5). Make the main object of the composition the prints of their hands or children's pens and even legs! Generously spread them with watercolor, it is absolutely safe for the skin, and stamp for health! It looks very nice and touching, especially the children's parts of the body.
Creative valentines from improvised materials by their own hands
Necessary materials: dense cardboard, buttons, beads, sequins, ribbons, shells, felt and so on - all that you will find in your home. Paper glue, glue-moment, scissors, markers.
Step-by-step instruction
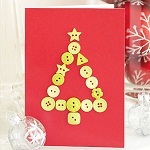
Valentine with buttons. On a dense base-heart, glue Moment fix multi-colored buttons, you can sew, but then you have to close the reverse side of the postcard.
In the style of disco (photo 6). Do you have a top with paillettes that you have not worn for a long time? Feel free to cut them off! Fold the cardboard in half, on the front side we cut the heart-window and decorate this side with paillettes. We apply glue on the whole surface and lay out the sequins.
Applique from felt (photo 7). The principle is the same as that of paper, only it will be more voluminous.
Hearts of beads (photo8). You can use small seashells or pebbles brought from a vacation. We paste them in the form of hearts on a postcard.
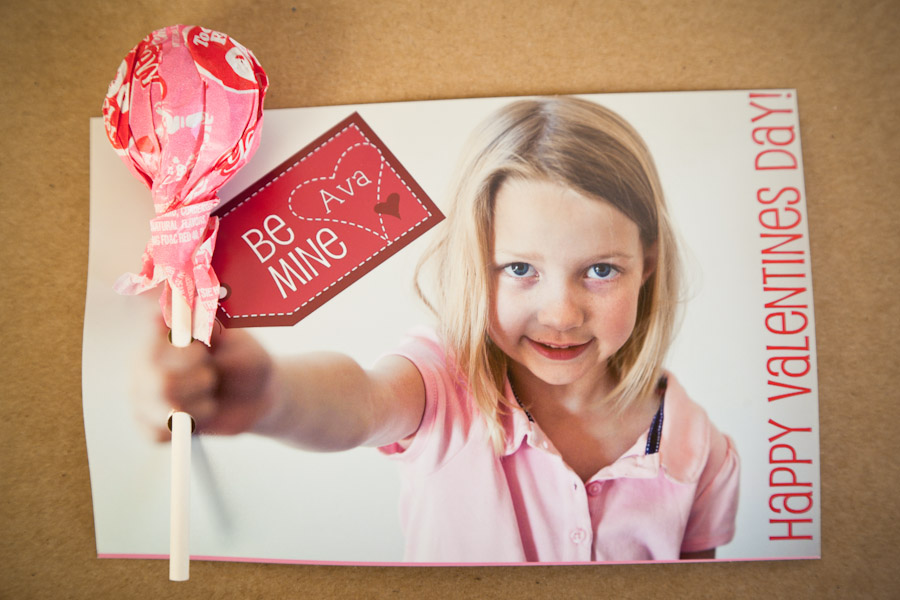
Photo with a candy (photo9). We use your photo or the picture you like from the magazine with your arm outstretched forward, attach a candy to it, add inscriptions and drawings with the theme of the Day of All Lovers.
Read more:
How to make three-dimensional New Year cards from paper with your own hands

How to decorate a valentine

How to make a valentine with your own hands
Valentines own hands

How to make New Year decorations in quilling technique, photo

New Year's articles made of corrugated paper (photo)

Children's souvenirs with their own hands on a Christmas tree

Valentines own hands

Children's souvenirs with their own hands on a Christmas tree

How to make New Year decorations in quilling technique, photo

New Year's articles made of corrugated paper (photo)
How to make a beautiful valentine with your own hands: 10 ideas with photos

How to make a valentine with your own hands
How to make a tank by yourself on May 9. Hand-made tank for the Victory Day, step-by-step instructions with photos and videos