How to make Kanzash flowers from a fabric with your hands - photo master-class
 Kanzashi - flowers made of cloth, hair ornament. Artificial flowers decorated the hair back in ancient Egypt, but the art of Kanzash came from the East.
In Japan, flowers that do not tend tolook like real, and leaving some freedom to the creativity of the masters who made them, attached to long wooden pins, an indispensable attribute of the Japanese lady's hairstyle. Today Kanzas are fastened to barrettes and rims, to any accessory that you like.
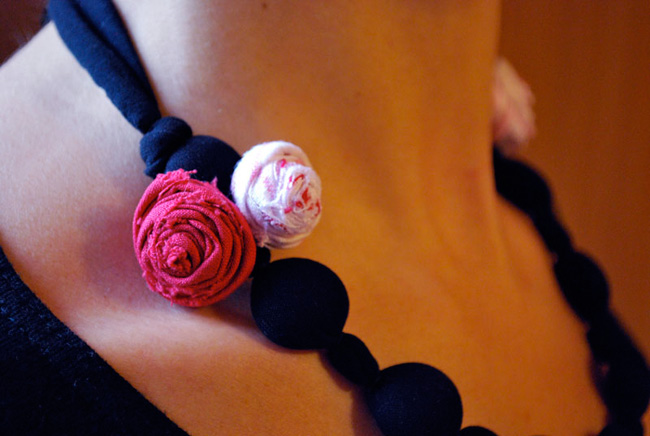
When they are manufactured, different typesfabrics, add gold, precious stones, beads and pendants - everything to make the decoration look really nice. In this master class you will learn how to make a flower from tissue - Kanzash with your own hands.
In order to make one flower, you will need:
- 7 squares of fabric with a side of 9 cm each (the fabric can be chosen any and any color, but the mottled with patterned fabric will look more fun and interesting);
- 1 square of fabric 2 x 2 cm (you can take the same fabric, but better - the same color, but with a different pattern);
- starch;
- safety pins;
- needle and thread;
- scissors;
- steam iron;
- flat button with eyelet (the button should be about 2 cm in diameter).
The finished flower will be approximately 8.3 x 8.3 cm in size.
Flower Kanzashi own hands: step by step photos
1. Starch your squares or a large cut of tissue, if you have not cut them out yet. In the flower in this master class there will be 7 petals, although you can make more or less of them.

2. Fold the first square diagonally so that the wrong side is inside the resulting two-layered triangle. Put it long side to yourself.

3. Now lift both bottom corners to the upper, center (as in the photo), bend the fabric.

4. Recheck the workpiece and again bend the corners, this time the ones that were to the right and left of the center.

5. Quickly fold the resulting hexagon in half in length so that the corners do not have time to bend. Each time you can pin them with pins, but it is not necessary - on the photo of the pin only to fix the sample during the photographing.

6. Puncture the workpiece through the middle, so that the corners curled inside. Carefully loosen the fabric and place the workpiece on its side so that the "open" side looks up. She will not be dismissed - she is holding a pin.

7. Do the same with the rest of the squares.
8. Lay out the seven resulting Kansashe petals in one row.

9. Carefully cut off all the petals of the protruding edge - not the one that is bent and is the middle of the tissue square, but pointed.

10. Type all the petals on the thread using a needle. The thread should be folded in front of it in order to keep the petals more securely. At the end, tie a string with a knot.

11. So your Kansas petals should look on the threads from the front, top side.
12. And so - from the back, the bottom side.

13. To finish the flower, sew the petals with each other on the underside, closing them in a tight circle, as in the photo.

14. And now sew them and on the upper side (closer to the center than on the bottom).

15. Pour the flower with a steam jet from the iron. This will soften the starched fabric and allow you to tweak the details in the petal folding, if required.

16. Now you need to make an ornament for the center of the flower, the middle, which hides the place where the petals meet. Tighten the button with a small square of fabric (pasting the fabric on the button and cutting off excess fabric from the bottom).

17. Place the ready button in the center of the flower and fasten it with the floss with all the petals. Flower kanzashi of fabric is ready. You can attach it to any accessory and start wearing it.

Author: Katerina Sergeenko