How to make a quilling heart, step by step instruction with a photo
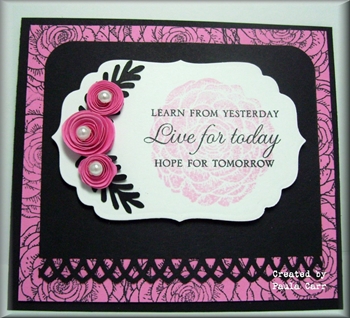
 Beautiful decoration, made in the quilling technique, can be used as an addition to the design of postcards, diary covers and notebooks, can also be used as a suspension.
How to make a heart of paper, a master class
To make a heart in the quilling technique you will need:
Glue for paper, pins, colorful quilling paper, small bottle (base for the contour).
Step-by-step instruction:
The color scheme of the craft can be very different. For a circuit, it's best to choose the dark colors of quilling paper. Wrap a dark strip around the round base, fix the tip with glue. Take the next strip for quilling, you can have a different color, combine the ends of the strips, continue to wind on the base. Add strips until the circumference is 3-4 mm thick.

Remove the finished circle from the mold. On a horizontal surface, form outlines of the heart from the circumference, and fix them with pins. Cover the contour with a thin layer of glue. Leave to dry. While the form-heart dries it is possible to be engaged in bright points-fillers. To do this, thin strips of paper for quilling should be rolled into tight spirals.

Screw the paper strip firmly onto the needle forquilling, tightly squeezing your fingers, remove the spiral from the needle. Secure the tip with glue. Take a strip for quilling with a contrasting color, golden or silvery. Match the ends of the two strips. Wrap the strip around the workpiece. Fix the tip with glue. Make a sufficient number of blanks to fill the inner space of the frame-heart.
The size and color scale can be chosen situationally. Fill the space frame is needed when all the elements dry. Fasten all parts of the craft together with a glue for paper.
Author: Katerina Sergeenko