How to make a quilling rose, step by step instruction with a photo
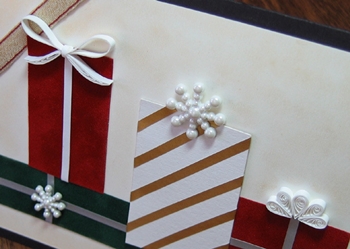
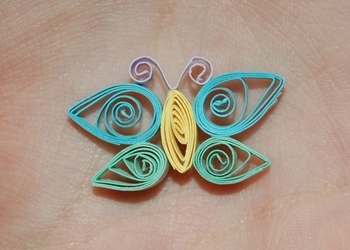
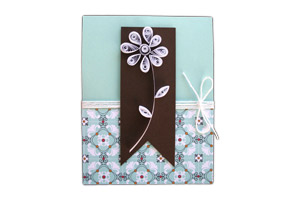
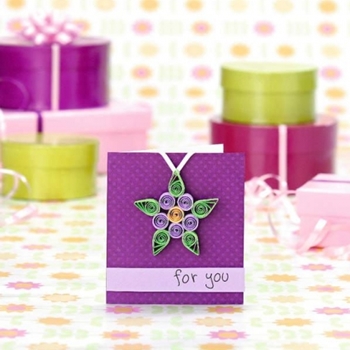
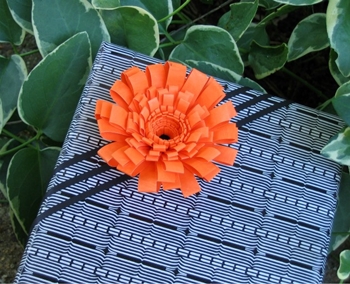
 A beautiful rose flower always inspirescreation. You can make roses from ordinary paper, but they will look very elegant. Decorative roses from bilateral colored paper in quilling technique are suitable for decorating greeting cards, various crafts, photo frames and photo albums.
Quilling rose, master class
The length of making decorative paper roses will be needed:
Heavy-duty two-sided colored paper, scissors, paper glue, quilling needle or toothpick.

Step-by-step instruction:
Cut out the circle of the desired diameter from the colored paper. For decorating a postcard is enough diameter of 3 centimeters. Using a pair of scissors, cut out a spiral from the circumference.

Accuracy of performance is not necessary, on the contrary,Uneven edge will add more similarity to a real flower. The outer edge of the spiral becomes the middle of the future rose. Press the edge of the spiral toward the end of the quilling needle or toothpick. Start turning the tool away from yourself, helping to spiral your fingers.

Twist the spiral to the end. Remove the spiral from the instrument, allow it to bloom a little. Lower the tip of the spiral with glue, or glue the glue point on it.

Press the tip to fix the flower. The finished flower can be decorated with glitter, rhinestones or supplemented with green leaves. Use these roses can be anywhere from packing for a gift to invitations to a wedding.

Rosettes can be made in advance from scraps of colored paper and stored until they wait for their time.
Author: Katerina Sergeenko