Topiary of coffee beans with your own hands Sunflower. Topiary-sunflower, step-by-step instruction

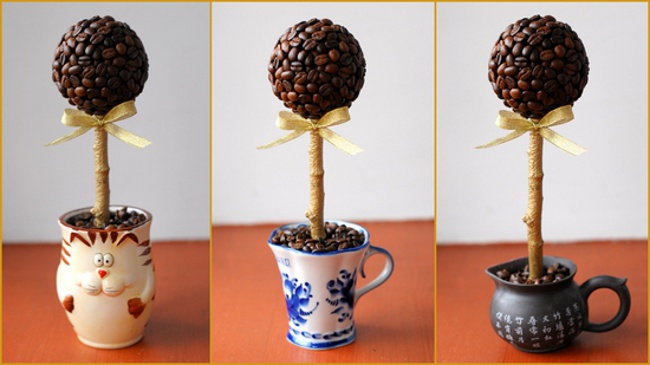
Topiary - a great decoration for anyinterior. It is a small decorative tree, which instead of the crown has an original ball or flower attached. As a rule, there is such an element of decor is pretty decent, so we suggest you make a topiary with your own hands. Moreover, it is not difficult.
Solar topiary-sunflower - step by step instructions
This master class describes the manufacturing processcoffee topiary in the form of a sunflower. To create it you use absolutely familiar materials that can be found in any home. Most of all, it is suitable for decorating the kitchen, as coffee beans are used to decorate the core of the flower. Such an unusual craft of coffee beans can also become an original gift.
Necessary materials:
sheet A4
woolen thread
coffee beans
glue
yellow fabric
thread and needle
thick wire
a piece of old jeans
scissors
adhesive plaster
decorative cord
Step-by-step instruction:
Take A4 sheet and crumple. We wrap it with a woolen thread to give the shape of a flattened ball. This will be a preparation for the future core of sunflower. It is on it will be attached grains-seeds and fix the stem.

From a fabric of yellow color we cut out a piece in lengthabout a meter and a width of 10 cm. We fold it in the form of petals and stitch it in one line. As a result, you should get an element with a lot of petals, which in diameter will correspond to the finished middle of the sunflower.


We sew the petals to the base.
Now make sunflower seeds. For their imitation, coffee beans, which will be fixed with glue "Moment", are ideal. Begin to glue coffee beans from the middle.

We proceed to the stem. We take a thick wire, fold it twice and pass it through the bottom of the base of a sunflower.

On a note! To make the topiary more durable, it is better to twist the two wire ends together and make one of them a thick stem.
Of the durable fabric (in this case was usedthin jeans) we make petals to create a decorative flower bed. Tinted coffee petals and impregnated them with an aqueous solution of PVA to impart structural structure. We let the petals dry and paste them on the back of the flower. The wire should be in the middle of the denim parts.

We wrap the wire with a band-aid to make the stem even and thicker.
We form a tiny rope bed with a cord. We will also wind the wire with this cord.


Important! At the top of the wrapped plaster, it is necessary to pour a little glue so that the corded decorative element holds well.
In a small container (we used a jarfrom under the yogurt) we impose a lot of plasticine and fix the stem in it. Place the lid under the jar and attach it to the jar in any accessible way. In this case, the same clay was used. We are convinced that the "flower-pot" design was stable.
Cut out a rounded piece of sacking to hisIt was enough for winding and forming a pot. We sew a jar with it. On top of the pot you can decorate with another kind of fabric. In the hole of the pot, which will be seen, you can pour a little coffee beans.


Original floral topiary - ready! If desired, the tree can be additionally decorated with satin ribbon.
Read more:

Sunflower Salad

A gift for the New Year with your own hands: a topiary made of cotton discs step by step with a photo
Handmade crafts for children, step-by-step master classes with photos. Crafts from leaves on the theme "Autumn"

How to make a coffee tree

Vase from plasticine and grains with own hands: photo-instruction
Topiary with their own hands: master class, video for beginners

New Year's crafts in kindergarten: a tree made of cotton wool, a master class
How to make a coffee tree

Vase from plasticine and grains with own hands: photo-instruction
Topiary with their own hands: master class, video for beginners
A gift for the New Year with your own hands: a topiary made of cotton discs step by step with a photo

New Year's crafts in kindergarten: a tree made of cotton wool, a master class

Topiary of coffee beans with your own hands Sunflower. Topiary-sunflower, step-by-step instruction
Handmade crafts for children, step-by-step master classes with photos. Crafts from leaves on the theme "Autumn"