We make a ring with live petals of roses, a master-class
 At today's master class we will doa lovely ring with live rose petals, which at any time of the year will remind us of summer. Such an ornament you can give someone close, it will be an excellent present, storing the warmth of your hands.
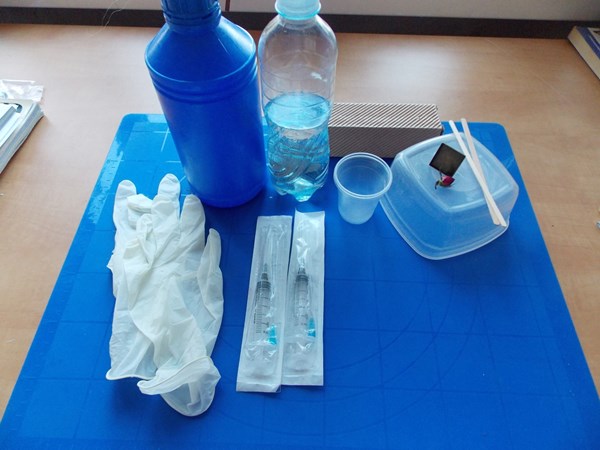
We need the following materials:
epoxy resin and hardener
stirring sticks
dried rose
cup
cap
syringes
stand
gloves
respirator
Attention! The use of a respirator and gloves is mandatory, since the epoxy resin is toxic during the period of its solidification. Also, you should work when the window is open. If desired, you can use safety glasses. In the absence of special, you can use ordinary glasses.
Step-by-step instruction:
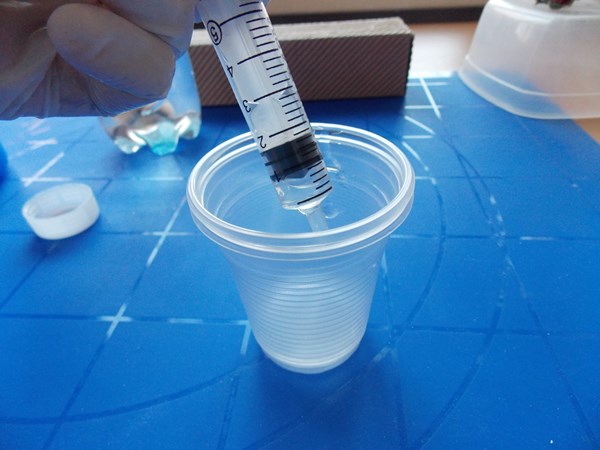
First of all, we start mixing epoxy and hardener according to the instructions. Our resin has a 3: 1 aspect ratio.
 Then leave the mixture for about 30 minutes, so that it thickens a little and releases all the bubbles
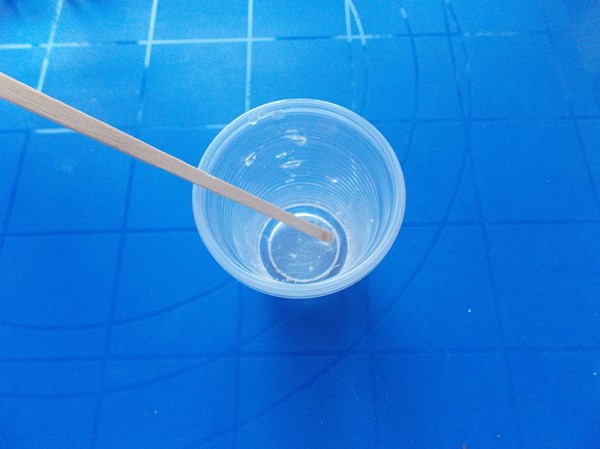
While the resin is infused, make our stand for the ring. To do this, we take an unnecessary box and make a hole the size of the base of the ring.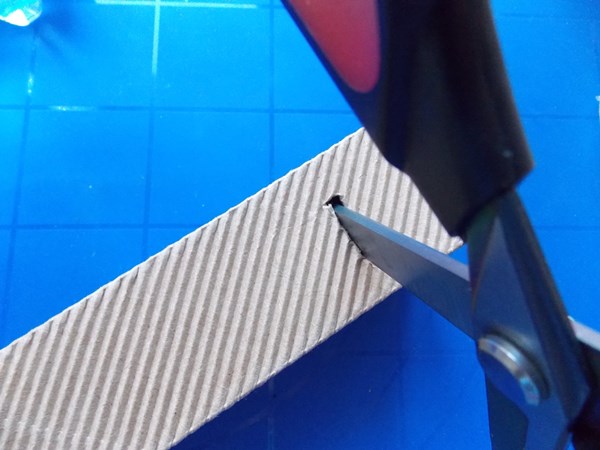
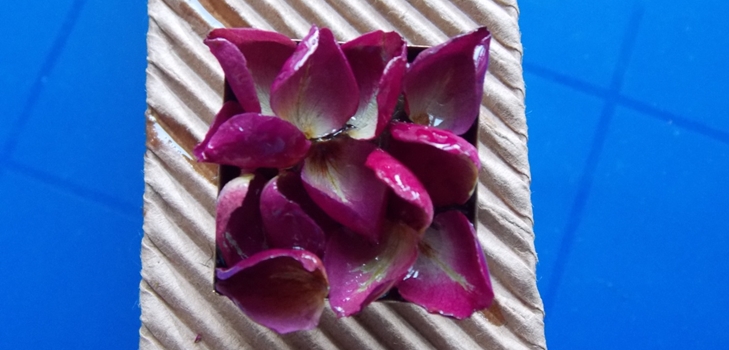
The next step is to prepare the petals. To do this, take a rose and very gently tear off the petal behind the petal.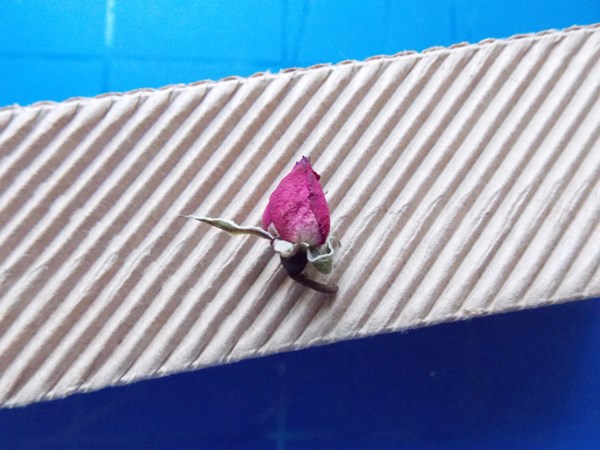
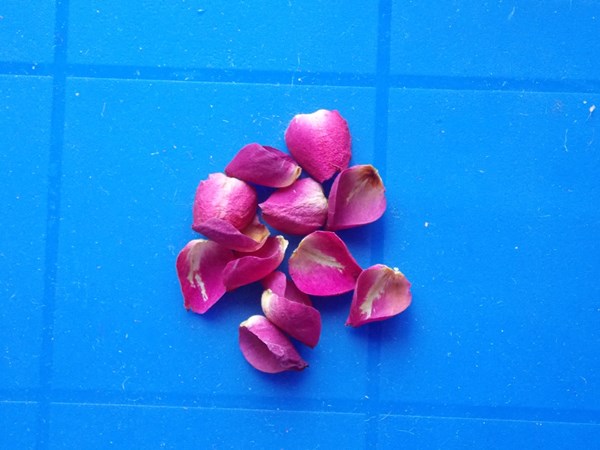 Important! The rose must be completely dried. If it is not a little dried up - the product just "blooms" ...
Next, we take the prepared stand and insert our ring base.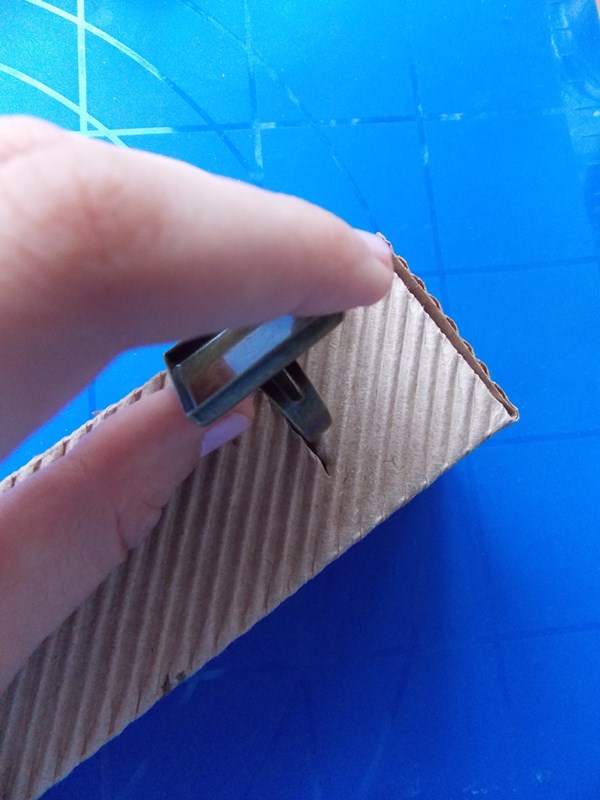
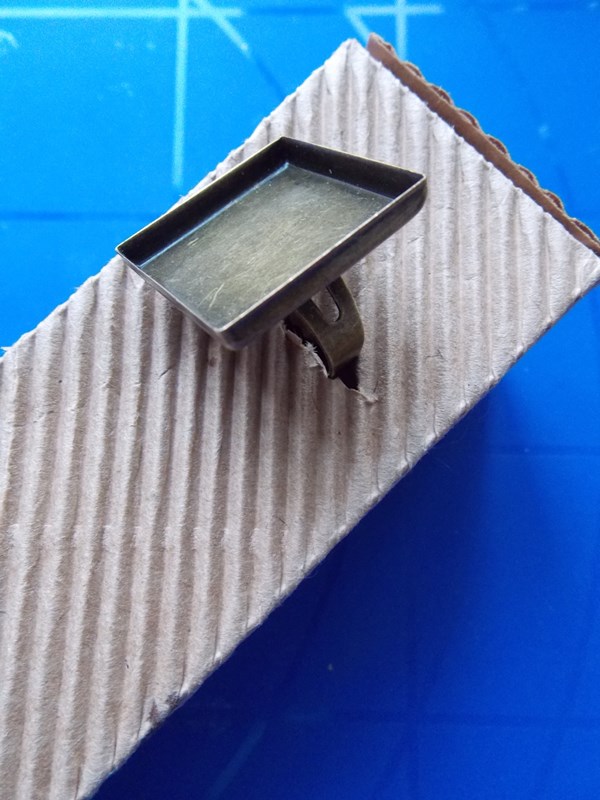 The base for the ring should not fit snugly against the stand, so that the epoxy does not glue them to each other.
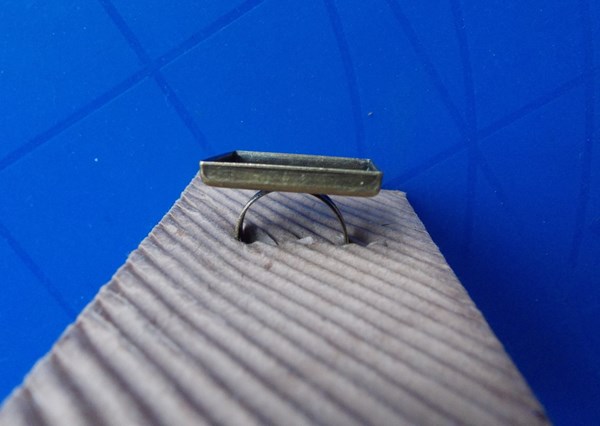 The epoxy resin is ready for use.
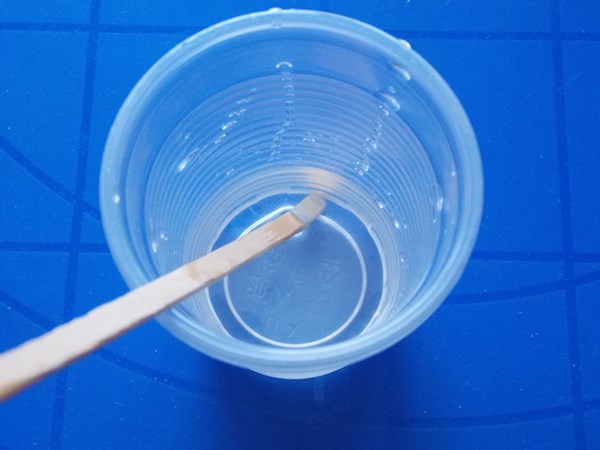
First of all, carefully pour a small amount of the mixture onto the substrate. We put it aside for 20 minutes, so that it stiffens a little, it will be easier to work.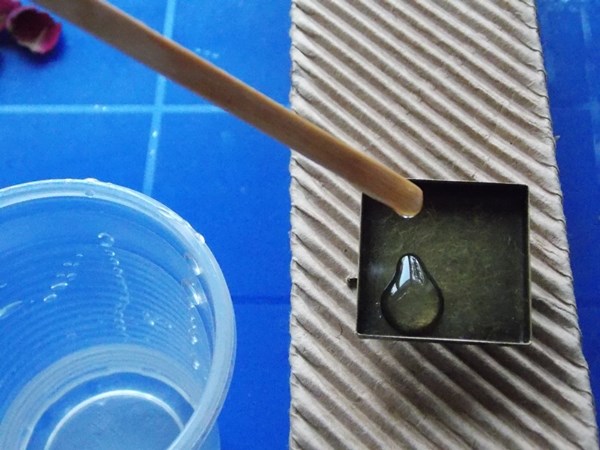
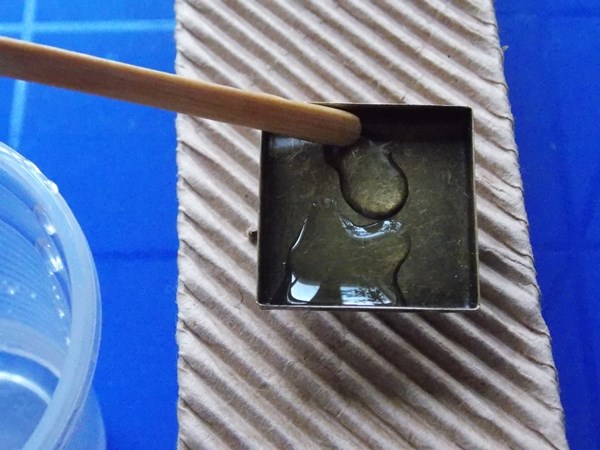
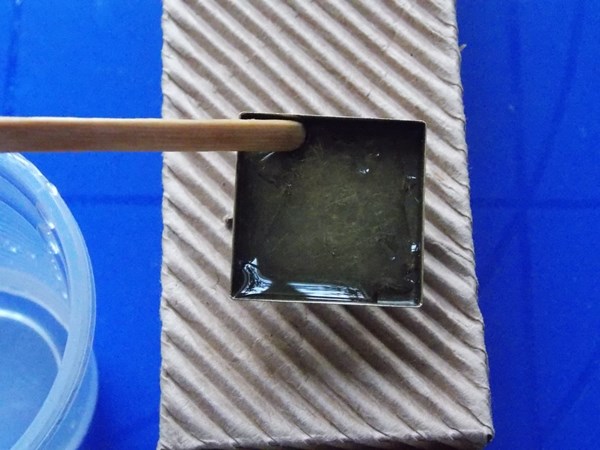
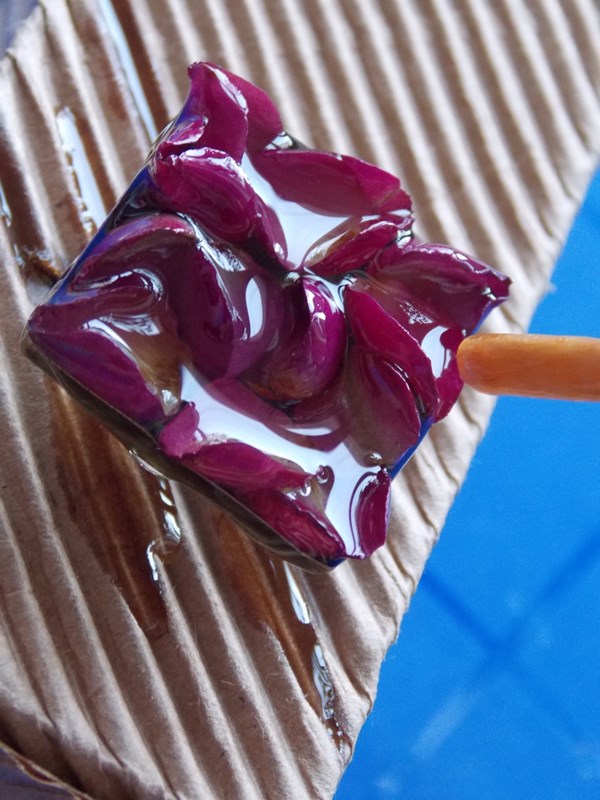
After the necessary time, we begin to lay the petals.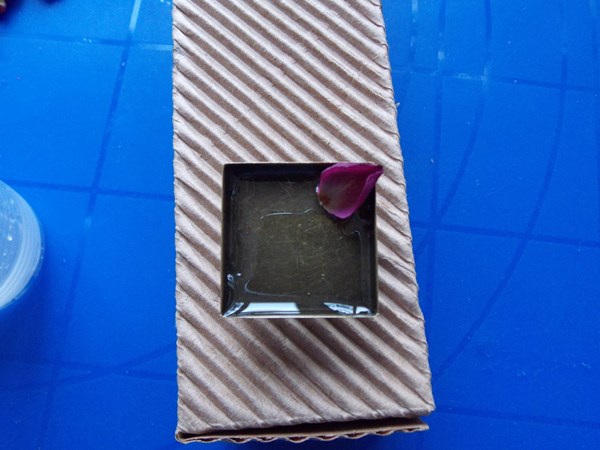

After that, we apply a thin layer of epoxy resin, as shown in the photo.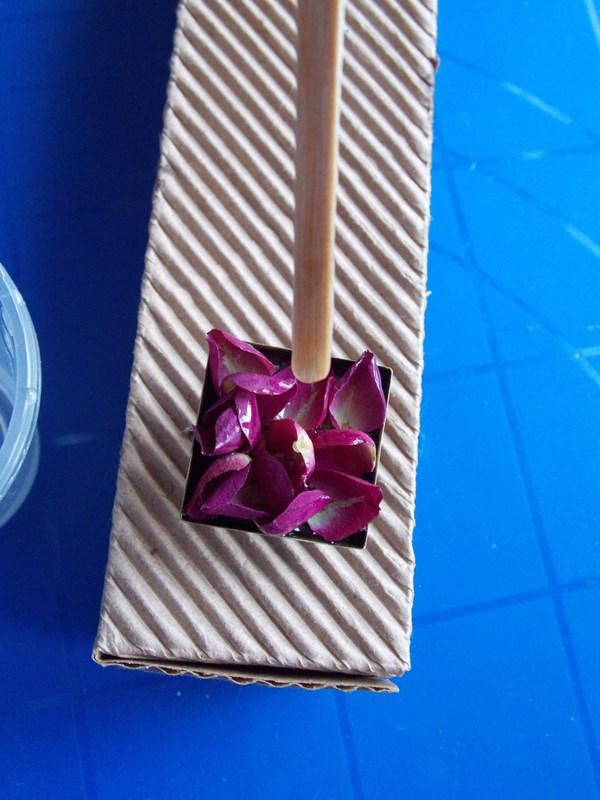 And leave for 10-15 minutes.
 If you do not like how the petals are located, then you can correct them in the right way until the resin is frozen.
Our next step will be to apply more resin, so that our product is not too fragile and the petals are well held.
Next, cover for drying our ring cap. For this purpose, we use a plastic container for products.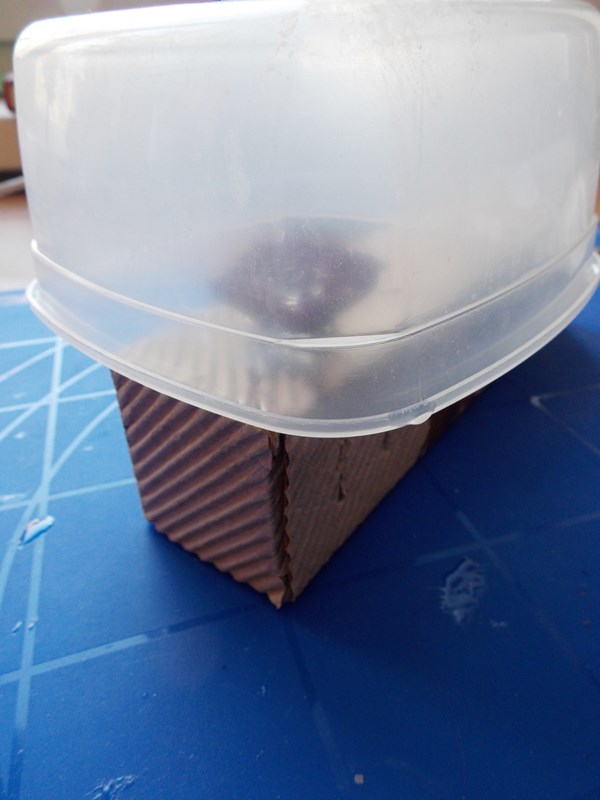 And now we leave the resin for a day or two to freeze. The pour time depends on the manufacturer's firm, the air temperature of the house and how you mixed the resin.
Advice:
If the resin is not frozen, it means that you have mixed it in the wrong proportion, i.e. not according to the instructions. We have to do everything anew.
If the resin still has bubbles, after you leave it for a while, you should put the glass with the resin in hot water for a few minutes. This will help to get out all the bubbles.
If you manufactureresin over the edge of the base, then in this case the excess can be removed with the help of the same stirring stick or else you can wait for complete hardening and remove them with a clerical knife.
Read more:

Hair extension

A gift for the New Year with their own hands: felting pinets, master class with photo

New Year's crafts with their own hands: a sheep made of cotton wool, a master class with a photo

Earrings from polymer clay own hands, master class with photo. We make earrings from polymer clay (plastics)

Dolls with their own hands: a step-by-step master class
Flowers from balloons by their own hands: photo, video, master-class
Flowers from balloons by their own hands: photo, video, master-class

A gift for the New Year with their own hands: felting pinets, master class with photo

New Year's crafts with their own hands: a sheep made of cotton wool, a master class with a photo

How to make a volumetric valentine on February 14 with your own hands, photo

We make a ring with live petals of roses, a master-class
Earrings from polymer clay own hands, master class with photo. We make earrings from polymer clay (plastics)
Dolls with their own hands: a step-by-step master class
How to make a wall newspaper with their own hands on May 9. Stengazeta to Victory Day, master class with step-by-step photos and videos