How to make a small female hat, master class. Hat-tablet with a veil by one's own hands, step-by-step photos, video
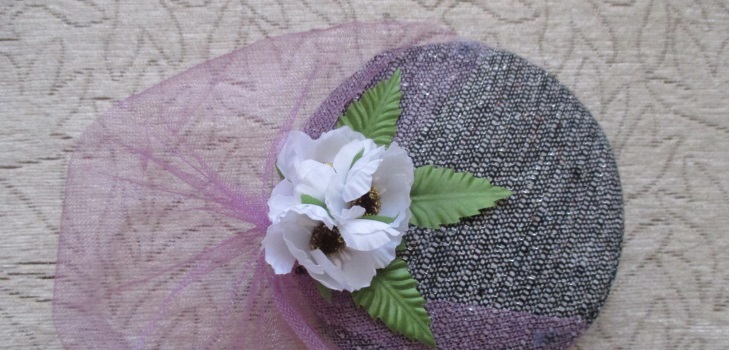
A hat with a veil has always served as a symbolindividuality and style. Everyone knows the famous pill-pill long won its popularity with fashionistas. It can be flat, as in the original, or round, but always elegant and relevant. However, it is not difficult to make such a headdress with your own hands. Our master class will show you how to make your own masterpiece with the help of beautiful cloth and improvised tools.
Necessary materials:
Fabric, tweed-metallic with lurex floss, flap approximately 2060 cm;
A cover from a round box for disks, height of 2,5 sm;
A piece of compact cardboard, approximately the size of the lid diameter;
The flap of the sintepon is about the same size;
Rubber section, about 10 cm;
A flap of tulle: 1540 cm;
Flowers and leaves for decoration;
Sewing machine or hands;
Threads, a needle, scissors;
Glue thermo gun.
How to make a hat-tablet with a veil - step-by-step instruction
We prepare the basis:
On the cover from the round disc box (at the bottom) we cut the ledges.
Next, we draw a circle around the fabric, attaching the lid inAs a template + 1 cm on the allowance - this will be the bottom. Then measure the length of the circle, which is laid on the fabric, and the height is 2.5 cm + 1 cm on the allowance from above, and + 3 cm from the bottom - the crown.
Rectangle stitches in short sections, then sew the resulting ring to the circle.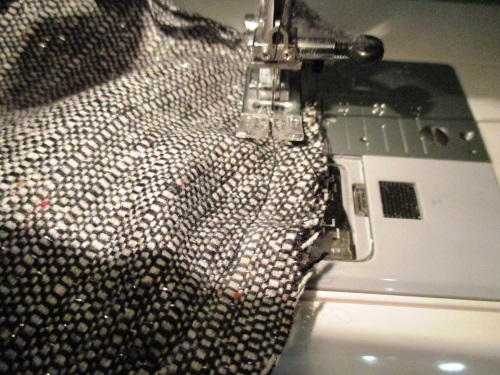
Tip: Make a marking in the middle of the circle, bending it and making marks from the top and bottom. Also mark the middle of the crown, bending it in half.
The cuttings are cut close to the seam.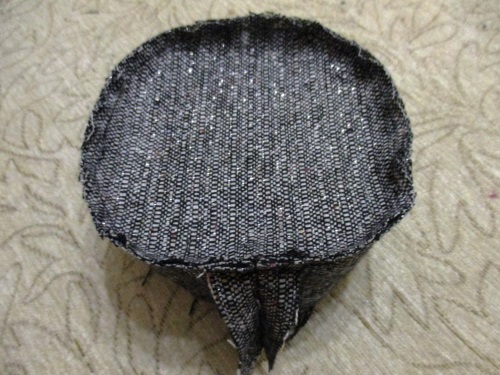
From the sintepon we cut out the circle, circling the box.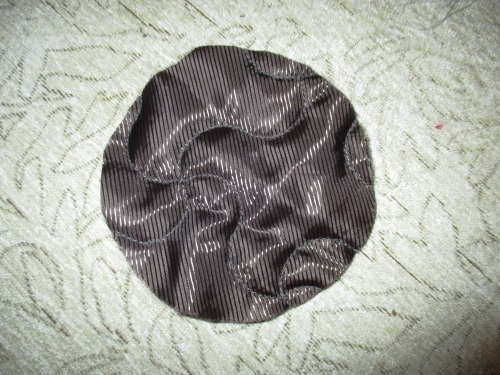
Apply it to the underside of the bottom, and grab it manually with large stitches.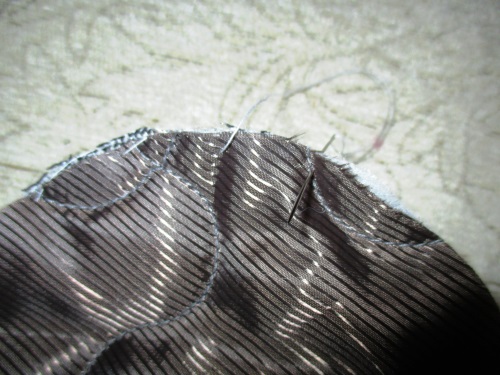
We turn and adjust the seams.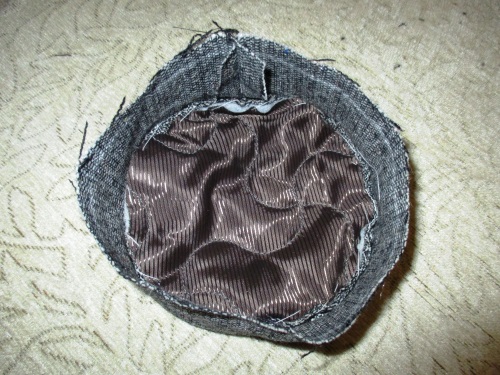
We put the box into the workpiece, gently pulling it with your hands.That's what it turns out.
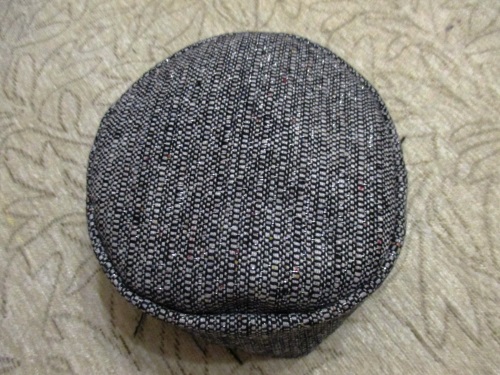
From the cardboard we cut out a circle 3 mm smaller than the main one.
Apply it to the fabric and cut out the circle with an allowance of about 1.5 cm.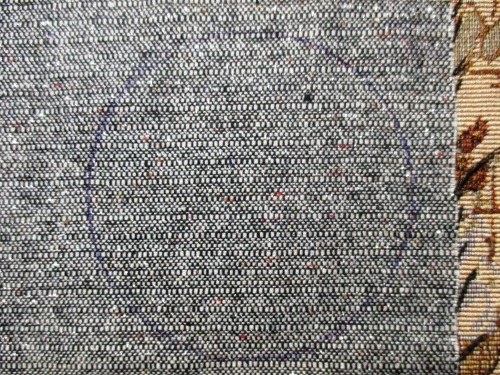
Put the cardboard on the fabric and fix it with a thermo gun on four sides - so it will be easier to work on.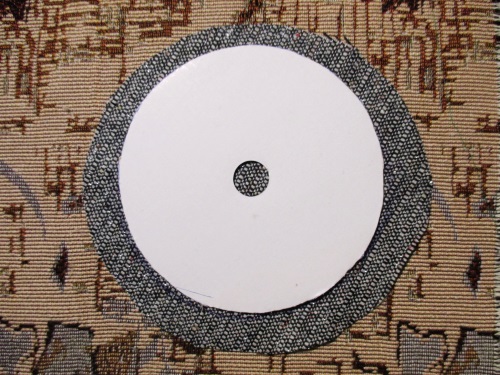
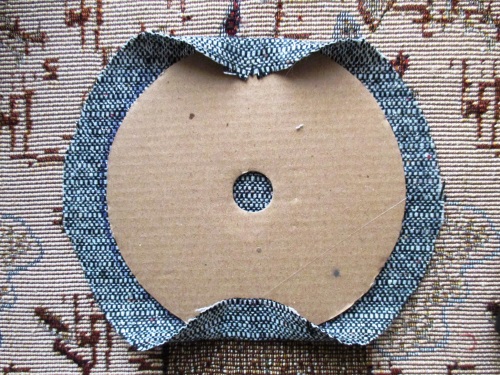
Continue to bend and paste the fabric on the cardboard.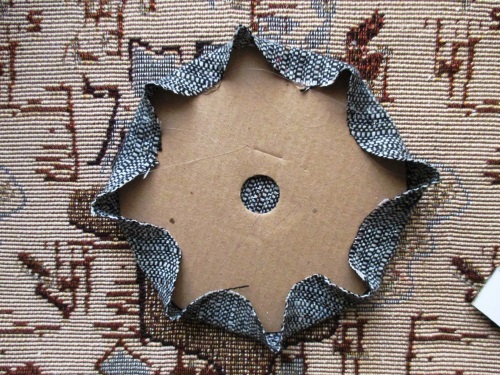
Tip: You can use glue like "Dragon", but give time to dry. It is much more convenient to work with a thermo-pistol, but you need to fix everything quickly. silicone quickly freezes.
We divide the rubber band into two parts. We glue them to the circle.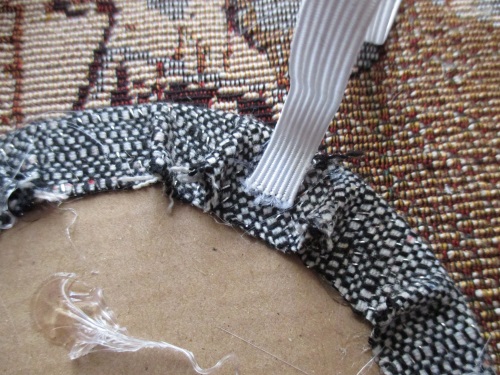
Rubbers should be opposite each other.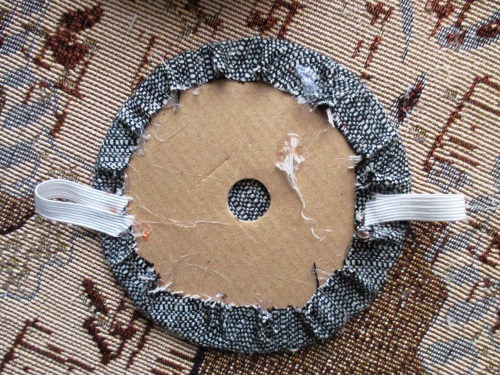
We adhere the allowances of the crown to the box, bending them inside.
We put inside the hats a covered circle of cardboard.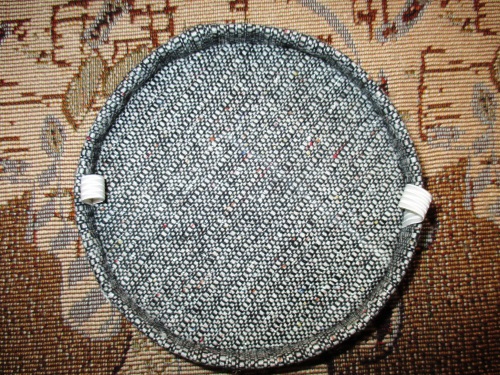
Decor of the pill-cap:
We take a piece of tulle and lay small creases, at the same time we fix them on the bonnet - this is the future veil.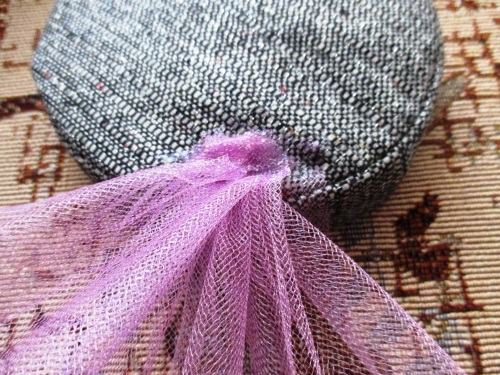
The ends of the veil also attach to the base. We take prepared buds of flowers and glue them, closing the place of attachment of the tulle.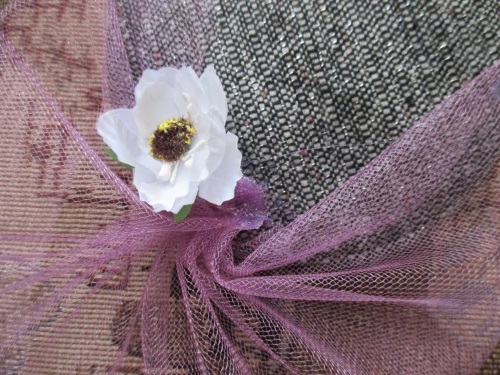
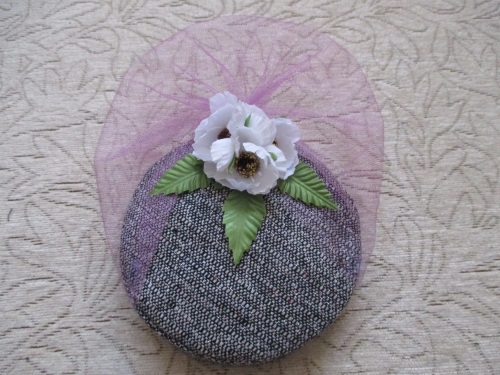
This is such a cute bouquet.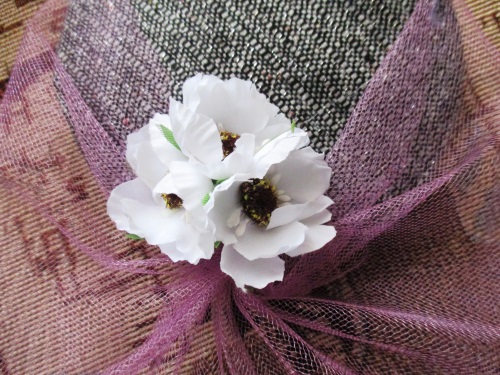
Next, we fix the leaves.
In the loops of rubber bands we carry pins, or invisible, and fix the hat on the head.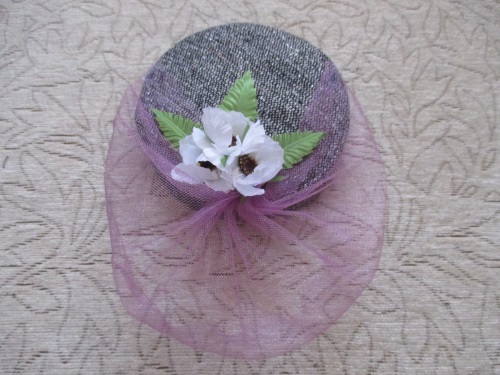
Our spring little hat with a veil is ready! Such a hat can be made from satin or silk - then it will be part of the evening wardrobe. And, made in white, with a binding veil - a wonderful alternative to a veil in a bride's attire. The choice of color and style is yours. Experiment and surprise!


