Crafts made of cones with their own hands for kindergarten and school, photo. Master class: crafts from cones and plasticine

Your child was asked to do homework at schoolor a kindergarten to make an original beautiful hand-made of pine cones? Then our master class with step-by-step photos for you. We'll tell you how to make a great work of cones, which will serve as a toy for a day or two for your child.
Handmade of pine cones and colored paper "Fish" for kindergarten

Necessary materials:
Pine cone
Plasticine
Stacks
Yellow gouache
Water in a jar
Brush
Quilling paper
Beads for the eyes
Advice! If you do not have gouache, then you can use watercolor paints to paint products, mixing them with PVA glue.
Step-by-step instruction
Completely color the cone with yellow gouache. It's better to do this from the evening.
We make a fish eyes. We used ready-made eyes, which we bought in the store for creativity and needlework. We attached them to plasticine.
Advice! If you do not have the opportunity to purchase such eyes, then use large beads.
We take two strips of three colors - yellow,orange and red. It will be the tail of a fish. From the middle to the end we spend on the ribbons with scissors, applying enough force, so that the strips in the end a little "curled". With the help of yellow plasticine we attach the tail to the fish.
Again, take two strips of three colors - yellow, orange and red. We cut them in half. These are blanks for fins of a small fish. Also, "curl" the ends with scissors. We attach paper strips on the sides of the cones.
We roll a ball of red plasticine and press it in half with a stack. It's a fish's mouth. We attach it to the cone. Our Goldfish is ready!
Crafts made of pine cones and felt Gnome, master class with photo

Necessary materials:
Pine cones
Felt (can be replaced with viscose napkins for cleaning the house)
Plasticine
Scissors
Needle with threads
Vata
Ruler
Felt-tip pens
Step-by-step instruction
We roll a ball of yellow plasticine the size of a large walnut and attach it to the base of the cone. This is the head of Gnomika.
We roll a small ball of yellow plasticine and attach it to the middle of the head. This is the nose of Gnomica. Then attach the eyes. To do this, you can use beads or roll balls of blue plasticine.
Now we need to make a cap. For this purpose we measure on a fabric a quadrilateral 12 x 10 cm.
Having cut out the square, we fold it with a tube and, having bent along, we cut off the excess fabric by scissors at the base of the cap. Stitch it with threads or glue with glue. Try on the cap on the dwarf.
We make a beard out of cotton wool. Here is our handicraft of cones and ready!
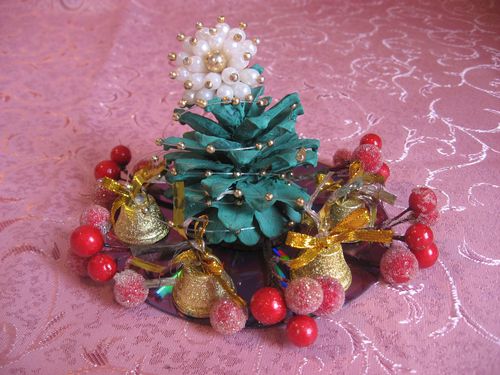
An odd job for the school: an interior composition made of pine cones, a master class with a photo

Necessary materials:
Four pine cones
Candle
Plasticine
Christmas balls
Artificial berries
Beads strung on a fishing line
Pine needles
Laser disk
Step-by-step instruction
The candle is attached to the disc using plasticine.
To the disc, also with the help of plasticine, we attach 4 bumps.
Then we attach pine needles.
Now the queue of artificial berries.
Lastly, we attach beads to the line. Our composition is ready.
Look at the decor options for the tracks.


Crafts from pine cones and plasticine "New Year tree" with their own hands

Necessary materials:
Pine cone
plasticine
stacks
platinum board
green gouache
jar of water
tassel
Important! If you do not have gouache, then you can use watercolor paints to paint products, mixing them with PVA glue.
Step-by-step instruction
Gently stain the whole bump, paying special attention to the scales, and put it aside until it dries completely.
Now we need to decorate our Christmas tree. To do this, roll up colored balls of different sizes and attach them to the tips of scales.
Next, make a star for the top. For this, we roll a large red ball and pinch 5 rays around the perimeter.
To decorate the craft, you can use any materials that you have in the house. Various beads, stones, jewelry, lace.

We hope that our master classes on handicrafts from cones will make your child's labor lessons at school or kindergarten fascinating.
Read more:

Jam from pine cones, recipe. How to cook jam from green pine cones at home

Jam from pine cones: recipes, benefits and harm, contra-indications when to collect and whether it is possible to eat cones in preparation
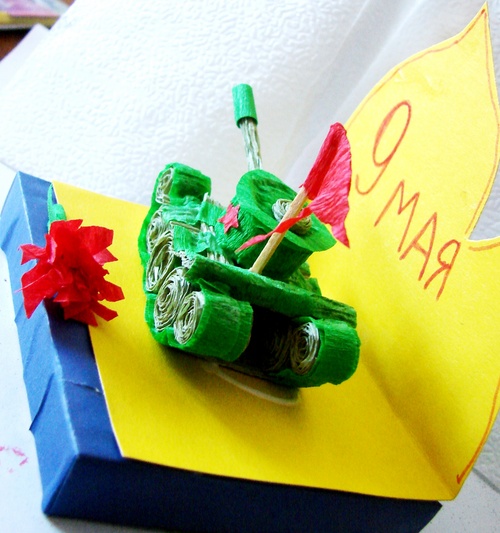
How to make a tank by yourself on May 9. Hand-made tank for the Victory Day, step-by-step instructions with photos and videos
Crafts "Gifts of Autumn" with their own hands made of natural materials. Crafts "Gifts of Autumn", ideas for kindergarten and school

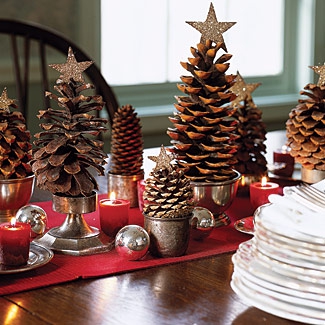
Christmas tree of cones

Crafts made of natural material: mini-wood with own hands

Crafts for the New Year from cones with their own hands: photo master-class
Christmas tree of cones
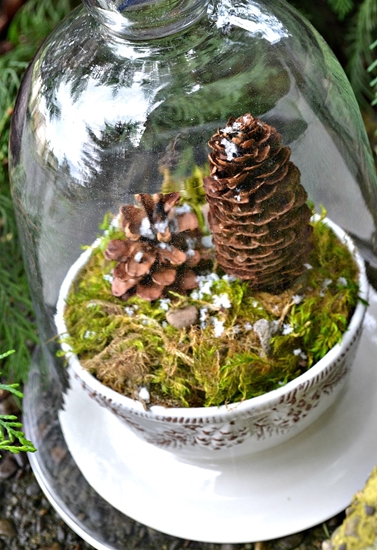
Crafts made of natural material: mini-wood with own hands

Crafts for the New Year from cones with their own hands: photo master-class
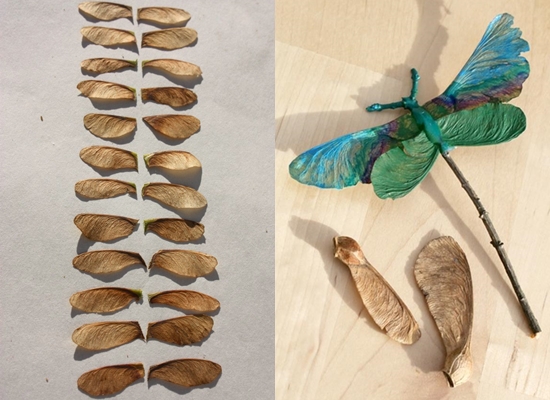
Autumn crafts made of natural material: photo
Crafts made of cones with their own hands for kindergarten and school, photo. Master class: crafts from cones and plasticine
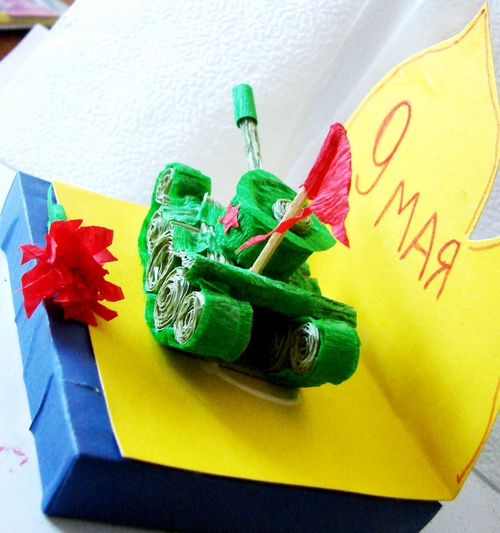
How to make a tank by yourself on May 9. Hand-made tank for the Victory Day, step-by-step instructions with photos and videos
Crafts "Gifts of Autumn" with their own hands made of natural materials. Crafts "Gifts of Autumn", ideas for kindergarten and school