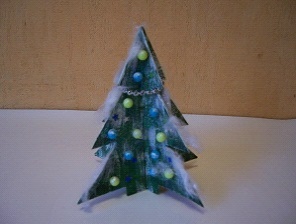
How to make a Christmas tree from corrugated paper with your own hands for the New Year, photo

We will make a small souvenir with you, which will bebe a symbol of the upcoming holiday - the New Year. It can be used as a gift to your family and friends, as well as decoration on the table or in the interior. And it will be a voluminous, beautiful and unusual Christmas tree made of corrugated paper, which can be hung as an ornament to your present or artificial festive spruce. Your family and friends will be happy to see the symbol of such a fabulous holiday in the form of a colorful crafts made with your own hands on the table, and even more so having taken such a gift from you.
For work you need:
- Cardboard (preferably tight);
- Corrugated paper (preferably different shades: light green and dark green);
- Scissors
- Glue Moment (you can any other, well pasting and decor elements, not just paper);
- Decor (we took for decoration of the Christmas tree beads of red, yellow color and asterisks);
- Tape or rope

Step-by-step instruction
- We prepare the most important thing - the basis for ourtree. Take the cardboard, cut out the triangle (shape under the spruce). The larger the triangle, the more our work will turn out. We cut out 20 * 10 cm. Then we prepare the needles. Cut out corrugated paper light green and dark green long strips 4 cm wide (the longer, so our needles will be more voluminous). We began to cut out strips of needles from 13 cm, gradually reducing, since to the top the carved figure narrows.
- Take our strips of corrugated paper and bend each strip along half-and-half. Fingers of each strip give volume. Stretch the bent edges of the paper, thereby imparting openwork and volume.
- We begin to glue our needles to the base of the carvedfigures. We glue the stripes from the bottom, at the same time we need to alternate the colors of the strips to make our hand-made artwork lively and overlap each other for a larger volume. Do not stretch the paper, otherwise all our volume will be lost, which we attached.
- After all of our needles were on the treego to the decoration. We paste beads in a chaotic order. At the top of our beautiful glue star. Let's dry the glue well, so that our beads and the asterisk remain in place. At this time, take the tape or rope and make a loop. The size of the loop depends on where you are going to hang this decor thing. After our beads and star dried, glue the loop back. You can also make a cardboard stand if you are not going to hang our hand-made article. To do this, cut out a thick cardboard strip (10 cm), folds in half and stuck behind in the middle down, giving stability.


Our beautiful decoration, gift (you can use the Christmas tree as you wish) for the New Year is ready! Rejoice yourself and your family and friends!

Read more:

How to make a Christmas tree from corrugated paper with your own hands for the New Year, photo
How to make a Christmas tree from cardboard: New Year's master class with your own hands

Christmas ornaments with own hands, master class with photo
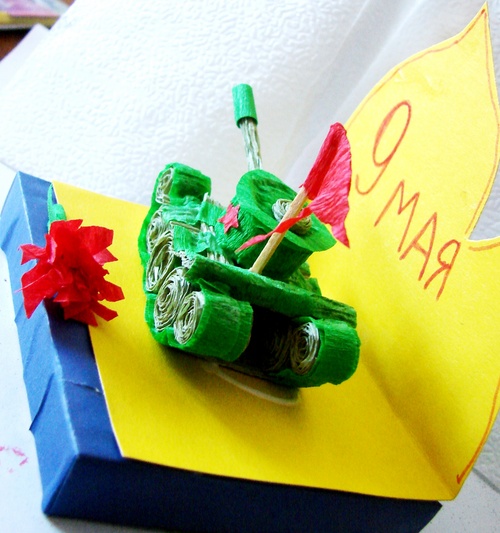
How to make a tank by yourself on May 9. Hand-made tank for the Victory Day, step-by-step instructions with photos and videos

Fir tree made of corrugated paper with own hands: master classes with step-by-step photos, video.

New Year's articles made of corrugated paper (photo)

Children's souvenirs with their own hands on a Christmas tree

Children's souvenirs with their own hands on a Christmas tree

New Year's articles made of corrugated paper (photo)

How to make a Christmas tree from cardboard: New Year's master class with your own hands
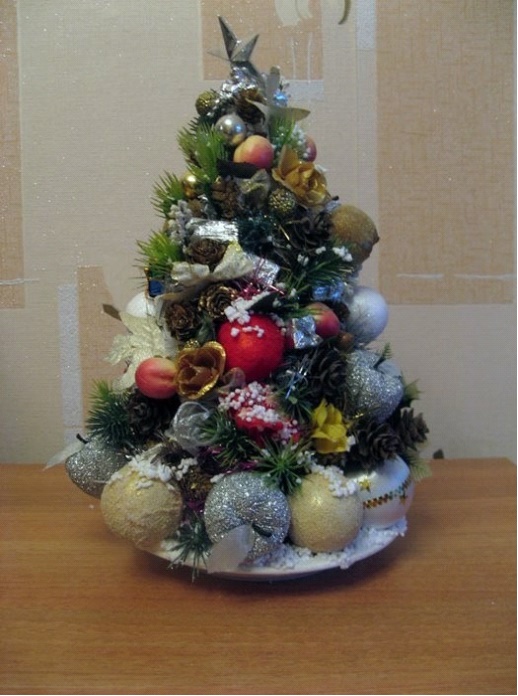
How to make a Christmas tree of cones, a master class with a photo

Christmas ornaments with own hands, master class with photo
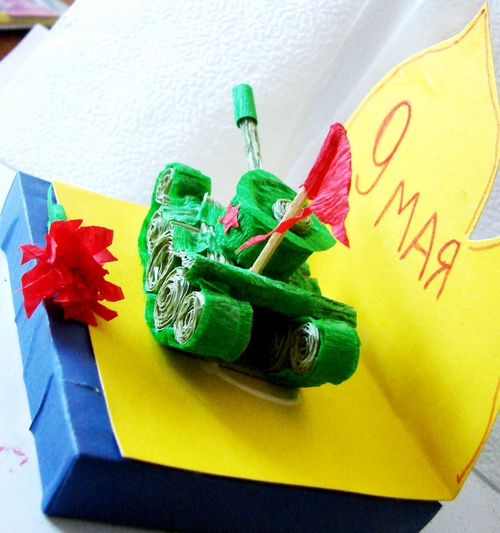
How to make a tank by yourself on May 9. Hand-made tank for the Victory Day, step-by-step instructions with photos and videos
Fir tree made of corrugated paper with own hands: master classes with step-by-step photos, video.