School of repair: ways of leveling the ceiling

Today, a large number ofsolutions to eliminate the shortcomings of the ceiling. However, conditionally they can be divided into two main types: proper alignment and "concealment". The first type is better suited in cases where the ceilings in the apartment are low, but, at the same time, do not have significant drawbacks. The second type of work is better to use in cases with high ceilings or when it is required to hide essential lacks and communications.
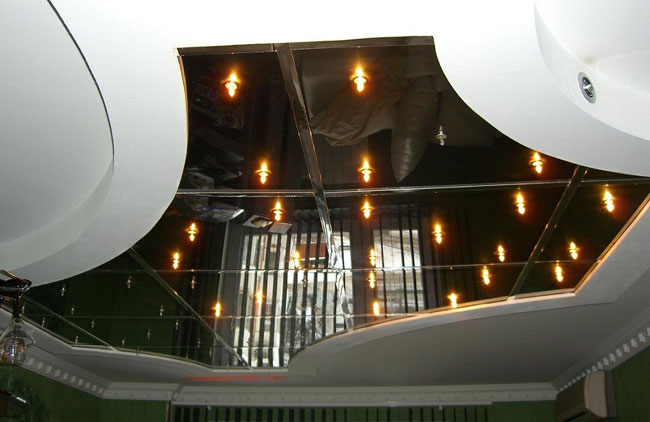
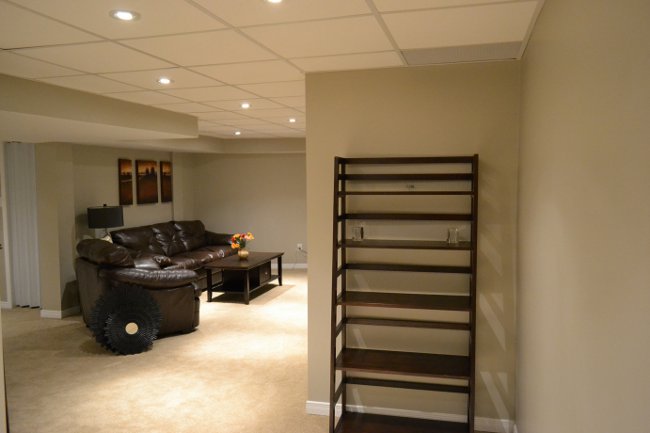
How to hide the flaws in the ceiling
In order to hide the essential shortcomingsceiling, as well as all kinds of communications (for example, heating pipes, electrical wiring, etc.), different types of materials are used. In particular, for this purpose, plasterboard, suspended and stretched ceilings, as well as plastic panels can be used.
Despite the variety of materials, the algorithmactions at installation of absolutely all ceilings of the given type practically identical. First, it is necessary to make a frame from a metal profile, a wooden beam or special fastening racks, after which to it fix the drywall / plastic panels and so on. After the installation of such a ceiling, additional decorating work is no longer required, except for cases with hypokarton slabs.
How to level the ceiling with building compounds
The process of leveling the ceiling with puttyand other building mixes is much more complicated and takes more time. Nevertheless, this method is very popular, because, firstly, it is cheaper, and secondly, the height of the room does not decrease. Before you start work on leveling, you need to carefully clean the ceiling from the old coating (putty, whitewash, etc.).
In order to make this easier, you canwet the surface and wait for a while until the old coating starts bubbling. After stripping the ceiling, it must be thoroughly rinsed with plain water and rags. When the ceiling is completely cleaned of the old coating, you can start working on its alignment.
To begin with, particularly complex areas (cornersjoints of walls and ceiling, stitching of slabs, etc.), on which chipped plasters or cracks are observed, to be filled up with a quick-hardening repair filler or plaster. If the cracks are very serious, it is best to glue these places with a plaster grid with a 2x2 cell.
This will prevent the appearance of cracks afterthe end of work on the ceiling. If you plan to make a perfectly flat ceiling "on the beacons", then you will have to use a lot of plaster (for example, Rothband) and lay it in a thick layer. Naturally, it can fall off under its own weight, therefore before its application it is necessary to cover the entire ceiling with reinforced mesh, which should be fixed to the slabs with the help of dowels and screws.
In most cases there is no need to applyplaster and you can do with putty. Since the putty is intended for application in a more thin layer, its granules are smaller and the reinforced mesh is not necessary. We recommend this option because it will save money, effort and time.
For better adhesion (adhesion of construction mixtureswith a coating) the surface must be treated with a universal primer. In the event that you have had problems with mold or fungus, we recommend also using a "Biostop" primer or the like that will soak the base and prevent the spread of unwanted "vegetation" in your house. When the primer dries a little, you can start to putty.
For these purposes, either specializedputty for leveling the ceiling, or universal. Putty should be applied by a spatula with a width of 15-20 centimeters, the thickness of the layer should be from one to three millimeters. Since the putty is applied in one layer, try to do it more or less accurately.
Now you can rest a bit and wait untilthe material will dry (5-8 hours). After the ceiling has completely dried, proceed to its cleaning and leveling. This is done using a small construction skins or trowel. Before leveling, take care of the protection for the eyes and respiratory system, since there will be a lot of dust.