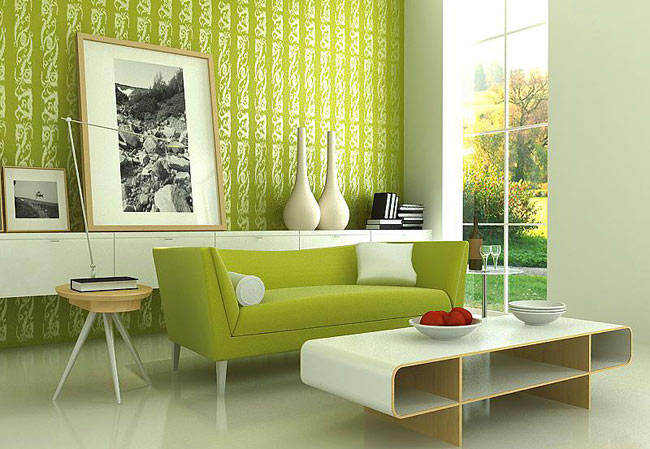
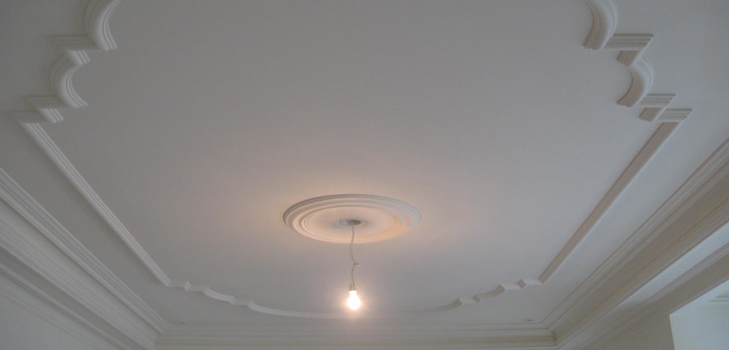
Decorating walls and ceiling with plastic panels

Traditionally, it is believed that the decoration of walls with plastic panels with their own hands is a rather complicated process, which is difficult to handle without special knowledge, but this is far from being the case.
Nothing complicated in this, it is enough to knowalgorithm of works, as well as some tricks, and you can independently cope with almost all the difficulties. Before you begin the story about the work, you should say a little about the materials themselves, which we will use.
There are two main types of plastic panels- for interior and exterior decoration of buildings. Distinguish them fairly simply - the panels for the exterior decoration is much narrower, but the seam is much wider. As a rule, the width of frost-resistant panels is 10-15 centimeters, while the number of stiffeners inside should be at least 8-10.
This "lining" (as this material is also called)are used, for example, to finish the loggia with plastic panels, since all other species can be damaged by even a slight frost. As for the frame for fastening, then there can be used a wooden beam or a metal profile. Using a wooden beam greatly simplifies the entire installation process, and also allows you to save money. However, the tree does not resist moisture, therefore it is better not to use it in bathrooms and kitchens.
Finishing the kitchen with plastic panels
The process of decoration of walls and ceiling with plasticpractically for all rooms is identical, so we will analyze it in the example of the kitchen. So, you already have all the necessary materials: plastic panels, metal profile, dowels "quick installation", starting and angled plastic profiles. Now we need to create a framework on which the panels will be mounted.
For this, using a perforator and screws"Quick installation", fix the metal profile perpendicular to the direction of the future panels. The distance between the profiles should be from 30 to 50 centimeters. After our skeleton is ready, we proceed to fasten the panels themselves.
First you need to fix the plastic starterthe profile along the entire perimeter, then, we type the panel joint in the joint, since there is no special fasteners for them, you can use self-cutters for metal "flies". At the same time fixing the panels better in place of a larger "paddle" - this will look more accurate, since the screws will completely hide.
Fasteners should be driven into the plastic as much as possibledeep, so that it does not look out and does not interfere with the connection of the panels. When you fasten the last panel, it should be slightly bent so that it gently entered the starting profile. The decoration of the toilet with plastic panels does not differ much from the finishing of other rooms. However, with a similar work algorithm, you may want to make a box or special doors to hide pipes.
To make them is quite simple - because the lengthpanels here, as a rule, less than in cases of wall finishing, then the frame can not be made. It is enough to make a "frame" of a wooden beam and to fix the panels to it, we again use the starting profile along the perimeter. As you can see, the decoration of the walls with plastic panels by their own hands is not so terrible, as it seems to the uninitiated. To carry out all the work you will need a relatively small set of tools - a puncher and fasteners, a construction knife, a saw for metal, or scissors for cutting panels.
Author: Vyacheslav Kinko