In what order to fix the walls, floor, ceiling

I want to share my thoughts on Sequence repair procedures for floors, walls and ceilings. Beginning repair in the apartment, first of allexamine the ceilings - are there any differences in the overlapping slabs at the joints (in old Soviet houses this is often found), as far as, at first glance, a flat floor and walls.
Often in the Soviet old houses the ceiling was whitewashedchalk or lime whitewash. We will not consider now what is better - old methods or new ones in finishing apartments - this will take a lot of time to discuss the arguments both for and against each of them. Since our task - to determine the order of repair - we start with the fact that, if there is whitewash, it must be washed off.
This is done quite simply, although the process isvery dirty (I sympathize with the builders, repairers, all the dust flies in the eyes, nose, it is better to wear a respirator - this will help protect yourself from dust a little), and not always easy - you have to keep your hands up all the time, and this is tedious. In addition, you need to protect your eyes from caustic whitewash and dirt, putting on protective goggles, in which you can hardly see anything.
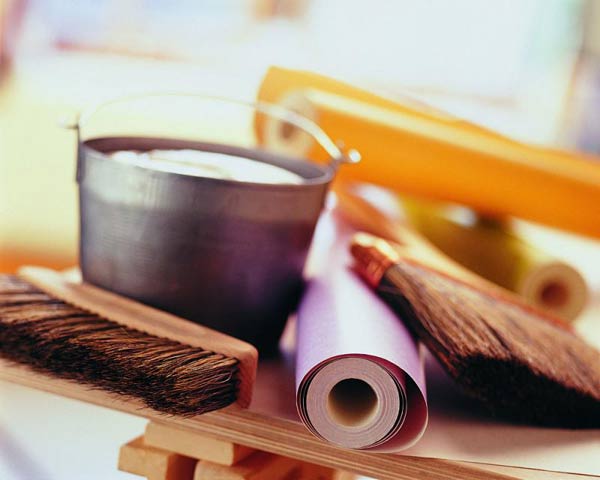
If the walls have old wallpaper, they need to be torn. If you are not lazy - it's easy to do, butlaborious. We soak the walls with water using a sponge or rag, wait for a while and begin to rip off with a spatula. Sometimes, if the glue used to adhere wallpaper is strong, you need to take a special terpug (it is sold in construction stores). But you can make it yourself - in a board with a thickness of about 30 mm, nails with a length of 60 mm are punched, and then the old wallpaper is ripped off with this patter. You can not invite masters to this work, saving n-th amount of money.
If the walls of water-based paint - do about the same: soak the paint with water using a sponge, give itswell, and then remove it with a spatula. To remove the old oil paint, if the new finish does not again have oil paint or there are very noticeable flaws in the surface, an industrial hair dryer or a blowtorch should be used, observing the safety rules, respectively. It is also desirable to remove the old glue and putty plaster.
After peeling the walls and ceiling, you will see that they become dark if the house is paneled. Then we ground the walls and ceiling. Primer is needed in order to de-dustThe surface of the wall and improve the adhesion of the new putty. Now we carry out electrical works, if this is necessary (for example, you need to transfer the sockets, switches, or conduct the wiring again in another place), so that you do not choke the walls when they are put in order.
Next, proceed to leveling the floor, if necessary. We make a coupler. Do not forget that your sex is the ceiling of neighbors. When the builders will make you a screed, pay attention that the joints between the walls and the floor are waterproofed. For this, it is necessary to cover joints with cement-sand mortar or other waterproofing material (for example, silicone) - this is necessary so that when the screed is poured, the water from the solution does not leak to the neighbors from below at the joints. Further on the walls we beat off the hydro level marks of equal heights. Then they are placed relative to the marks of the hydro level of the "lighthouse" (height - h 6-12mm), along which the solution is poured.
Begin the installation of coatings (linoleum, carpet, laminate, parquet) on the floor can only after 28 days - aging is necessary to ensure that water fromThe solution completely came to the surface of the floor and evaporated. At a temperature of + 20 ° C, you can walk on the floor before - about 3-4 days, but it's too early to cover it with a coating. For a laminate and a parquet the floor should be ideally equal, differently on a laminate the differences will be visible. For these purposes, sometimes, if the screed of a cement-sand mortar (and this happens quite often) was still not very even, fill the floors with a self-leveling mortar before laying the laminate or parquet.
Next step: start to putty and level with puttywalls and ceiling, if irregularities are minor. If the differences are about 5-8 cm, then it is better to level the surfaces with gypsum board. Puttying walls and ceiling must be at least two times: first with the starting putty, and then with the finish. This order is necessary, first of all, in order to completely eliminate all the vertical and horizontal differences, and secondly, in order to make the tone of the walls light - most of the color solutions in the rooms are light, whether it's wallpaper or painting. And besides, if you want to change the wallpaper next time or paint the walls, this operation will not be done. When the putty on the walls and ceiling dry, once again we treat them with a primer.
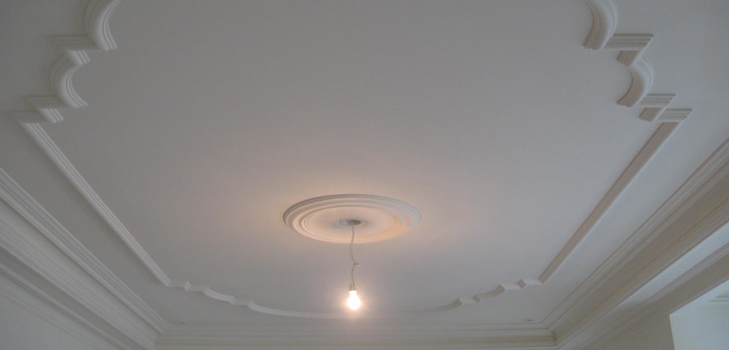
The final stage of our repair is the installation of skirting on the ceiling, after that we paint the ceiling of water-emulsionpaint. Walls, who as they wish, pasted wallpaper or painted. Only after that, we cover the floor and mount the plinth. The room is ready! Good luck in your endeavor! Do it yourself, if you can! Share your secrets and knowledge in the sequence of repairing walls, floors and ceilings!

Do you need a building portal or a building blog? Please contact WebStudio2U web studio!