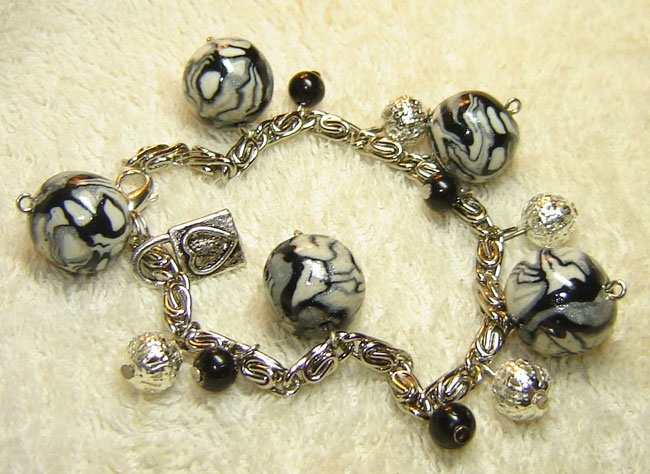
Casket for jewelry by own hands, photo

Caskets and cases are indispensable attributes in a cozyhouse mistress, because without them in cabinets and cabinets, chaos from small, but important things would be created. Hairpins, ornaments, sewing accessories, stationery items - all this needs a constant place and order, otherwise there is a possibility that all this good is quickly lost. That's why this article is written, in order to come to the aid and create not only a useful, but a beautiful casket with your own hands for small household items. Follow the step-by-step recommendations and in just an hour you will make the original and necessary thing.
Materials and tools that will be needed to make the casket
The most necessary thing that we will need issheets of thick cardboard (the size depends on which box you intend to make), stationery scissors, glue time, thick tape (1 cm wide), colored paper or cotton fabric, lace or beads for decoration.
It is also desirable to properly prepare the workplace, to lay the surface of the table with an oilcloth or a towel, so as not to blot everything with super-glue.
The course of work in the manufacture of the box with their own hands
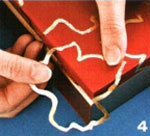
To begin with, we cut out a template, along which we willto cut the future casket. In our case it will be a small heart. After we did this, we cut out the bottom, the lid and the side panels from the cardboard using these patterns. After that, we glue the obtained parts together.


In order to secure the lid to the sideWe glue two small ribbons (length about 4 cm). For a more aesthetically pleasing appearance, we recommend after sealing the tapes, glue the side panels with colored paper or cloth.

At the bottom of the casket also paste the cover. Try not to feel sorry for the glue and carefully smear the inner walls, then the paper or fabric will hold tight and will not lag behind in time.
Now proceed to fixing the top cover. As you have already understood, tapes should serve as binding elements for the main and upper parts. The lid is connected with ribbons using the same technology as the box itself, the edges of the tapes are also sealed with a cloth or decorative paper
. 
Actually, the main work is completed. Now we proceed to the most pleasant - decorating. Here you can completely trust your imagination or the advice of this article. If you do not know how to make the received box not only practical, but also beautiful, then there are several options:
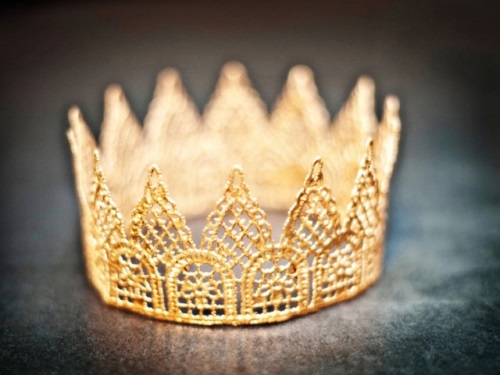
Make the outer walls and lid in a gentle style. For this, laces, ribbons, beads and artificial flowers are perfect. It is desirable that the materials were pastel colors and combined with each other.
You can decorate the box in the Disney style. In this case, you will need a colored paper of bright colors (light green, pink, orange, lemon). Glue the outer walls with this paper (for example, the cover can be made pink, and the sidewall orange). Completion of this box can give such elements as bows, cartoon stickers, bright buttons or beads.
Excellent will look a variant of darkcaskets with rarity motifs. For example, the base and cover can be pasted with red silk or cotton cloth, and the edges are decorated with black lace. It would be superfluous to look an old black-and-white photograph of the pre-war years (this may be your relatives or celebrity).
As you can see, there is nothing difficult inmake a cozy "house" for small things. By the way, caskets made by own hands are an excellent gift for any holiday. Invent, make and make happy your loved ones with your creativity!