How to sew a pillow-stand for books with your own hands

Reading lying before going to bed is very nice, but uncomfortable- the hands get tired of holding the book for a long time, and the usual bookstands in the bed are not suitable: they are hard, uncomfortable, they fall all the time, and then you need not forget to remove it, or at night it will get in the way. The solution in this matter is a pillow-stand!
What you need:
- Needles and threads (threads - as strong as possible);
- measuring tape;
- a tailor's pencil, soap or chalk to mark out the fabric;
- two bags of filler for pillows;
- fabric (lightweight fabrics for such a pillow are notsuitable, it is better to choose among more dense or at least medium-density tissues - for example, thin canvas or dense cotton. Suede will look good, but if you choose it, it will be more difficult to collect stitches, and you will not be able to sew a cushion on your hands - you will need a sewing machine. Remember this and attach the car to the list if you want to choose suede, velvet and other similar options);
- pins;
- bookmark - paper or metal, in the form of a suspension or a large flat clip, but always on a long cord.
How to sew:
The pillow is sewn in five steps.
Step 1. Mark and cut.
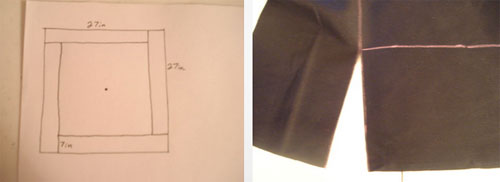
Arrange your fabric with the tailor's chalk or any of its substitutes. You need to draw two squares - the first with sides 66 cm, and the second with sides 56 cm. Then cut out both squares.
If you do not have a chalk or you do not want to dirty the fabric, cut out squares from newsprint, pin them to the fabric with pins and then cut out this paper pattern.


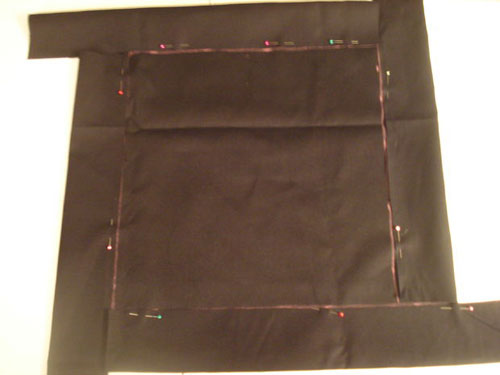
Then take that square that is larger bysize, and measure 15 cm from each of the corners - inward, to adjacent corners, so that you have an inner square framed by short, non-intersecting but very narrow rectangles joined together.
Carefully cut the connection points.

Step 2: Minimize
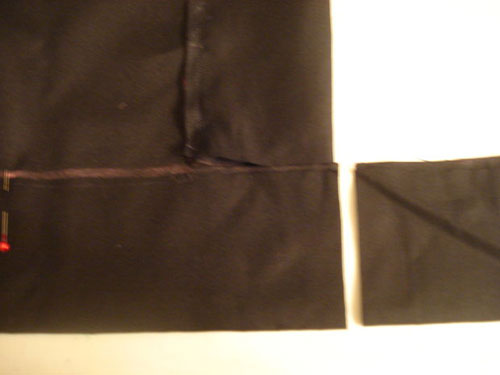
Fold each strip in half to the middle, and secure with pins. Cut off excess fabric at the ends, so that you again have a square.
The sides will look like a kind of open "tubes".


Step 3. Fill it in
Start stuffing the pillow by placing the materialstuffing in the "tube" on the sides - the denser they are packed, the better, but leave without packing their ends (about 1.8 cm in each "tube"). Continue stuffing until around the inner square you get a plump "frame", and then pound the ends of the fabric with pins and carefully sew them together in small stitches.

Step 4. Prepare the pyramid
After you fill the edges, put the whole structure aside and take the smaller square.
Embroider a large X in the middle,diagonals opposite corners - so you quilter fabric, and after packing, the cushion-stand will have a pyramidal shape, and not just the shape of an ordinary round cushion.

Collect each side of the square by a thread,so that it is equal to the inner square in the large workpiece. Attach it inwards with pins, and then sew in small stitches as close as possible to the stuffed sides, leaving a hole widthwise in the palm of one side - it is necessary in order to fill the pillow.
Then stuff it. The amount of stuffing material here should also be large enough to hold the book securely in an upright position, but remember that it is not only a stand, but a pillow too, so fill less tightly than the side edges.
Then sew the hole.

The last detail is the bookmark. Sew a loose end of the lace to the top of the center of the pillow.
Done. On this pillow you can read books until you get tired, and right after that - take a nap on it.


