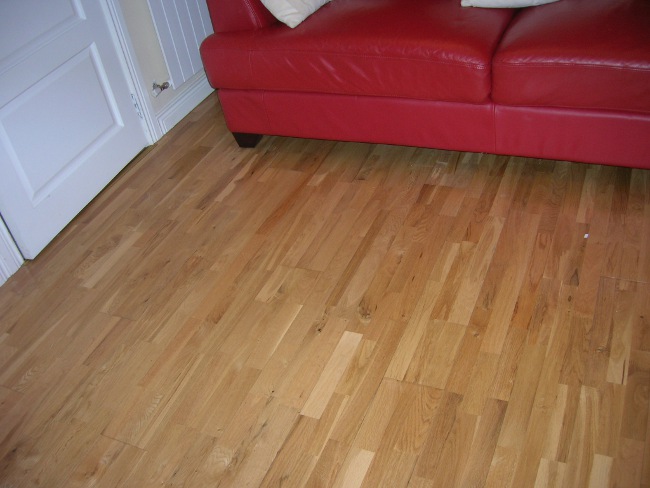
Restoration of the old wooden floor

Traditionally, it is believed that the old woodenfloors, be it parquet or boards, it is very difficult to restore, but this is far from the case. This misconception arose from the fact that it was difficult enough before to get the necessary tools and materials for the restoration of floors, such as a grinding machine and specialized solvents. Now there are effective means for removing old paint and varnish from wood coatings. A grinding machine can easily be rented for a small fee. Thus, the restoration of the old wooden floor can be much less expensive than the flooring of a new coating.
How to restore the floor?
All restoration works can be conditionallydivided into several basic stages: preparatory (cleaning the room, removing the old coating), the main (grinding and, in fact, restoration) and the final (coating painting or floor varnishing). Before you restore the wooden floor, you should remove all furniture from the room, remove the curtains and open the windows to improve ventilation. Next, remove the plinth, fix all the creaking boards, with the help of nails (it should be ensured that their heads are drowned to a depth of 3 mm) and replace those boards that are susceptible to recovery (strongly deformed, have large cracks or chips). Immediately before starting work, all heating, electrical and gas appliances should also be turned off, since the slurry generated during grinding is very easily ignited. In those cases where the floor was previously painted or varnished, the old coating can be removed with a special solvent.

The main stage - grinding and elimination of shortcomings
Now you can start to restore the oldwooden floor by grinding. By and large, grinding or, in another way, cycling can be done manually, but this will require a lot of time and effort, so it's easier to use special equipment. Grinding should be carried out along the boards, gradually removing the layer by layer, until they become the original color. In the event that somewhere there is no possibility to use the machine, you will have to remove the cover of the cycle or nazhdachkoy manually. If after grinding on the floor stains remain they can be removed with a simple bleach for washing, which should be applied to the stain, rinse and allow to dry.
Once the grinding is completed,carefully fill the gap between the individual boards. In the presence of large enough slots (more than 3 mm), they can drive in thin wooden slats of the same thickness as the boards. If the slits are relatively small, they are covered with a special putty or with a paste made of varnish and sawdust. When closing the slots, you should pay close attention to the fact that no protrusions form, and the floor remains flat. This completes the basic work and can proceed to the final stage.

The final stage is painting or varnishing the floor
At this stage, it is important to determine whichpaint and varnish materials you will cover your fresh floor. Theoretically, the boards can be left without coverage at all, but this can significantly shorten their service life. In this regard, it is better to cover them with stain or varnish, or both at the same time. An excellent option is the use of polyurethane varnish, which, unlike oil paints and other types of varnish, does not turn yellow over time, but remains transparent and wears less. Lacquer should be applied from the far corner of the room along the fibers of the boards, and the room should be well ventilated. After applying the first layer, allow it to dry for 8 hours, after which you can repeat the procedure.