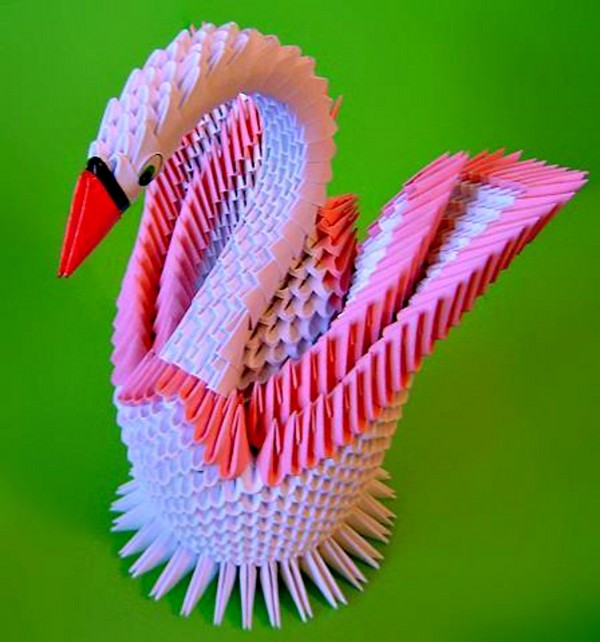
Origami bracelets with own hands
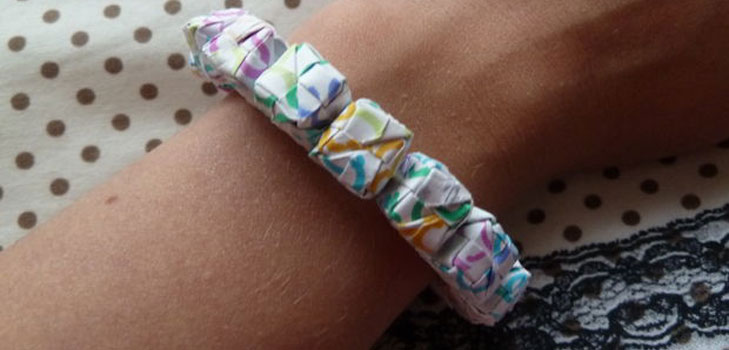
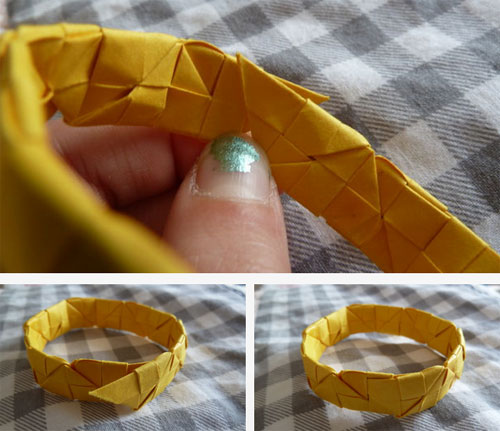
Origami has always been an art, but it can also be an everyday accessory. Here are two paper bracelets folded with this technique.
Origami bracelet from cubes
In one such bracelet, usually 15 cubes (or a little more).
What you need:
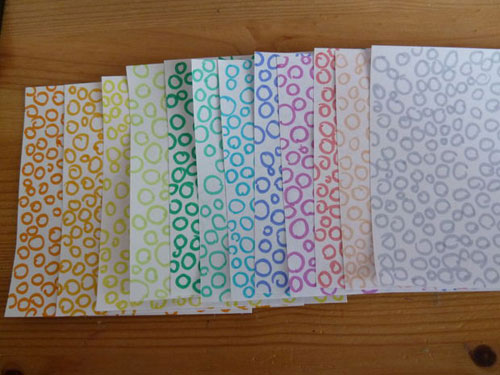
- paper (in order to get cubes with an edge of 1 cm, take a paper 2.4 cm long);
- yarn or lace;
- 2 connecting rings and lock;
- big needle
To make a bracelet:
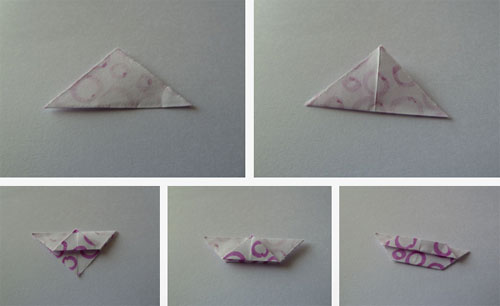
Step 1. Fold the module part.
The bracelet will consist of cubes, and cubes, in turn, consist of module parts. To make one die, you need 6 square squares of paper.
So, for the first module, take a square paper. Then:
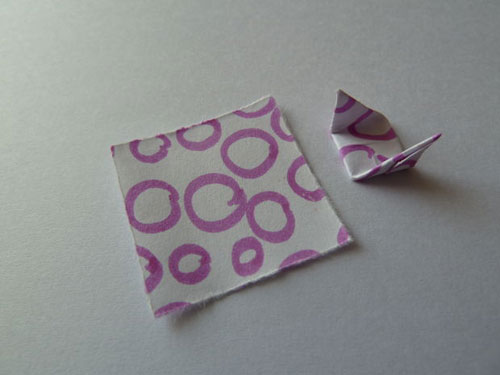
- fold it diagonally, the color side up. Spread back and repeat with another diagonal, and this one does not already lay out;
- bend the bottom (only the top layer) to the middle. Turn over and repeat on the other side;
- Fold the paper so that the edge from below converges with the fold line in the middle. Repeat on the other side;
- Spread the middle line of the fold;
- Corner the corners;
- bend the corners so that they come under the top layer;
- Unbend the corners.
Step 3. Add more modules
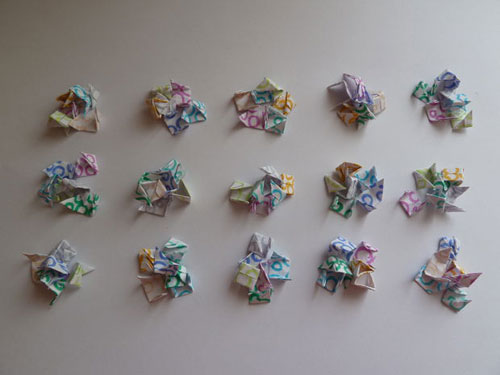
You will need 90 pieces (if you make a bracelet of 15 cubes). Multiply 6 by the number of cubes that you need for the desired length of the bracelet (or even a necklace made according to the same pattern).
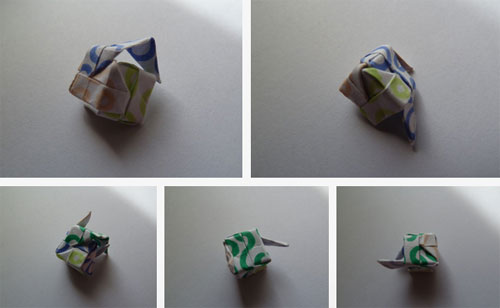
Step 4. Make a cube
The cube has 6 faces. Take the 6 modules and start to gently connect them together, sticking the angled corners of adjacent modules inside the layers. On the sixth, all angles should be closed in each other.
Collect all the cubes.
Step 5. Collect the bracelet
Thread the lace or yarn thread into the needle andpierce it all the cubes (each in the middle), stringing them on a string. After that, tie the connecting rings to the free ends, and they already fasten with the lock.
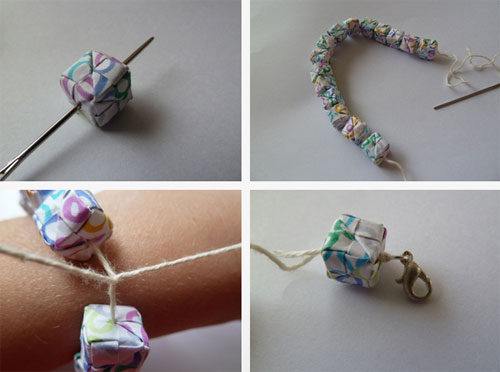
The bracelet is ready.
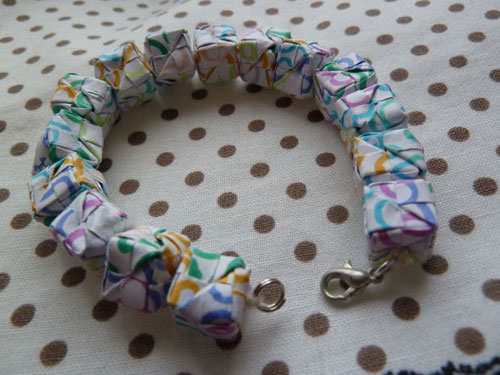
Origami bracelet from squares
This bracelet is a bit like the previous one in the addition scheme, however it is flat and looks solid, without losing the texture of the folded paper.
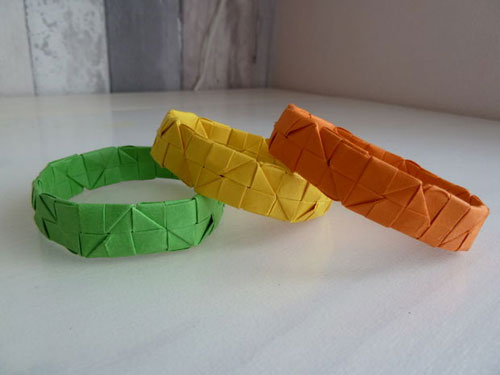
You will need:
- squares of paper (with a side of 5 cm.). On the middle hand they need to take 25 pcs .;
- Adhesive (bracelet can be made without glue, asusual origami, but origami rarely carry with them, and this for paper and its compounds is fraught with consequences. For a bracelet to be stronger, it's best to use glue).
To make a bracelet:
Step 1. Add the modules
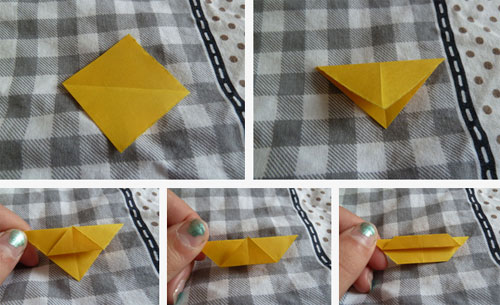
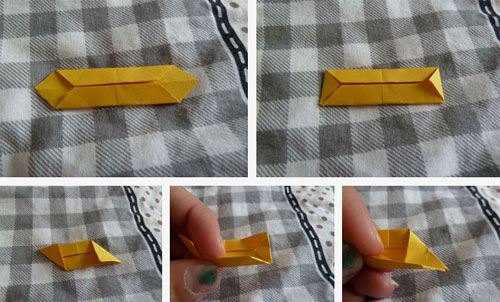
This bracelet also consists of modules, folded very similar to those that were in the first version.
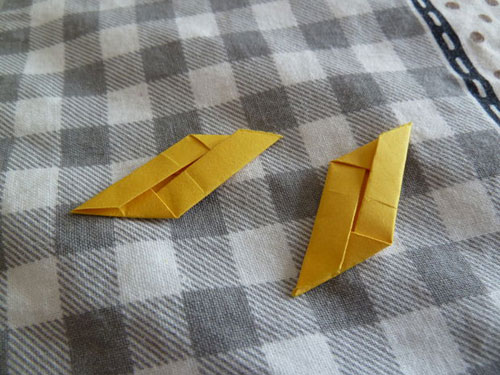
You need to bend the paper in half diagonally,bend the corners, then again bend the paper so that the bottom edge touches the top, and fold the entire structure in half. Then unbend it and fold the corners, - you will get an elongated "envelope". Fold the corners obliquely and "hide" them then under the free-folded edges.
Do the same with all the squares of the paper.
Step 2. Connect the 2 modules
Take two modules, put one on top of the other, and then hide the ends of the bottom inside the top.
Repeat this for everyone, breaking them into pairs.
Step 3. Connect the pairs
Just gently push the sharp ends of each pair into the next one. Add some glue to keep each segment firmly. Repeat the same for all pairs.
Step 4. How to make a castle
Method one: with an even number of segments
If you had an even number of segments, just close the bracelet by connecting the two extreme ones, just like all the previous ones, only with each other. Add the glue.
Method 2: with an odd number of segments
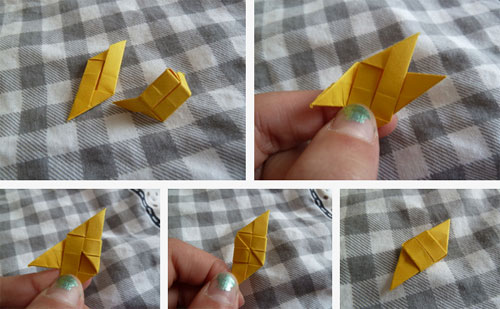
Connect two adjacent modules, and "superfluous" glue from above, bending its corners on itself. The length of the bracelet will be the same as if it were "inside".
Done.
