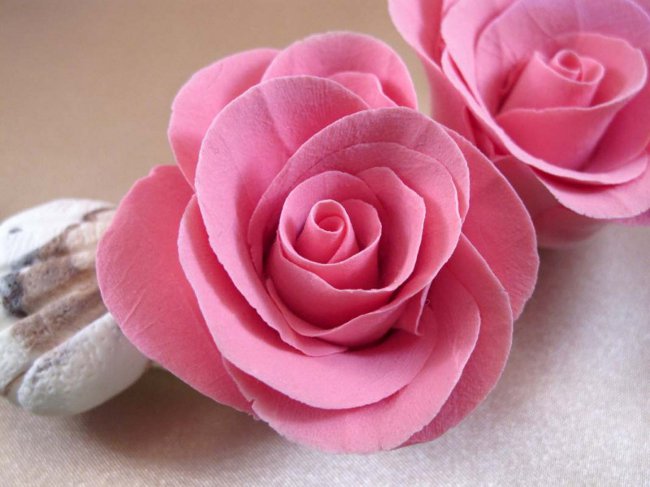
Roses from polymer clay
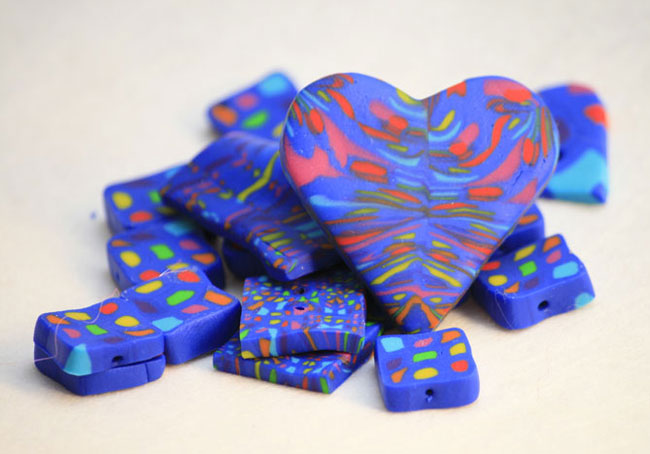
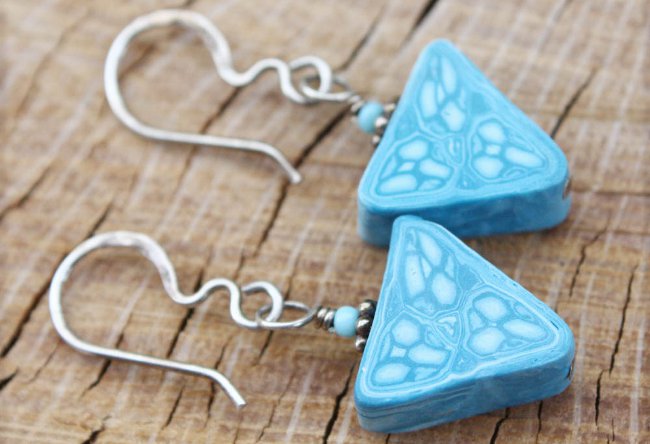
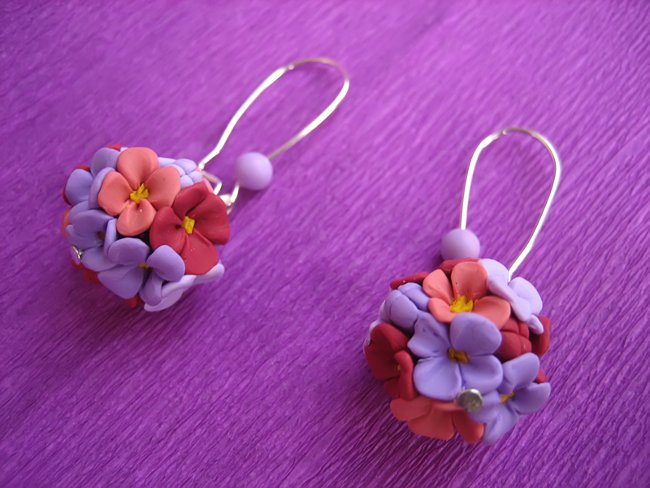
 From polymer clay it is possible to make variousornaments. It is much easier to work with than with cold porcelain, from which very beautiful flowers are obtained. Polymer clay is suitable for making both different decorations and simple colors, which you can then collect into bouquets. Very popular roses from polymer clay. The country of the Soviets will tell you how to make a rose from polymer clay.
 If you are just starting to work with polymer clay, you should not immediately start performing complex or shallow colors. Of course, I really want to make earrings frompolymer clay or any other decoration, but for the implementation of small elements need practice. Therefore, it is better to start out from fairly large flowers. You can collect flowers in beautiful bouquets. Each time you can try to perform more complex designs. And when molding from polymer clay will be familiar to you, you can proceed to the manufacture of more complex designs.
How to mold a rose from a polymer clay
So, for molding roses from polymer clay you will need:
- polymer clay of your choice of color
- stationery knife
- rubber gloves or fingertips
Before you start, wash your hands with soap and wipe them dry. You can also wear rubber gloves or fingertips, if you work in them. On the clay during work should not get dust or fat from your hands. When you have everything you need, you can start working. We offer you two variants of how you can mold a rose from polymer clay.
Modeling a rose: option one
Roll a ball of polymer clay. From one ball in diameter of 2,5 sm it will turn out a rose in the size about 5 sm. Divide the ball into 7 approximately equalparts. The smallest part roll on the hand in a flat plate in the form of a petal. This first petal will be your base. The first petal should be rolled up in the form of a bud. Fold the petal so that it is firmly pressed against the base, but the upper part should be more open.
The second ball of polymer clay also roll on the hand in the form of a petal. Make it slightly larger than the firstpetal, from which you made a bud. Roll out the petal so that at its upper edge it is much thinner than at the base. Wrap the base of this petal around the bud. Slightly turn the edge of the petal outward so that the bud has a realistic look.
Similarly, roll the other five rose petals. Each next petal should be slightly larger than the previous one. Turn each petal around the bud, creating a spiral. Do not forget to turn the edges of the petals outward..
Your rose is almost ready. Now, using a clerical knife, cut the rose and bake it as indicated in the instructions on the package.
Modeling a rose: option two
We offer you another version of how you can mold a rose. This time, the petals will be much thinner, and their number will increase substantially.
To begin with, roll the balls out of the clay. You will need about 15 balls with a diameter of 2 cm. First, from each ball, mold the petal. They are very convenient to do on the palm of your hand. All the petals should be slightly thicker at the base than at the top edge. To the upper edge was very thin, to do this, move your finger, as if smearing clay on the hand.
When all the petals are ready, you can collect a rose. From the largest petal make a tube. Attach a second petal to the tube,so that the seam of the first petal falls on the center of the second. In the same way, attach the third petal. Fasten both petals on both sides. Do not forget that each next rose petal should be fastened slightly higher than the previous one, so that the bud is inside the flower.
Then start attaching the other petals. Stick the rose petals counter-clockwise, while pressing them first from the top, and then from the bottom. Roll the petals only on one side. The second party must remain open. Under the open side, stick another petal, only then you can close it.
The last five petals will be extreme. They should not be attached from above, as in bud, but in the middle, then from below. Stick the petals also counter-clockwise, covering the unfastened side of the petal with the next petal.
From the finished rose cut off the leg, wrap a little petals, if it is required, and can bake the ready flower.