How to make earrings-sushi from polymer clay

You will need:

- glossy varnish for polymer clay;
- transparent glue for clay;
- yellow and red polymer clay (as bright colors as possible);
- a rigid brush for adding details;
- wire (any material, thickness of 20 points);
- nippers;
- round pliers;
- blade-separator for clay;
- glass cutting board;
- polymeric clay of rice color (it is made of a mixture of transparent and white clay, roll the layers until you get the shade you like, with a special machine or just with your hands);
- швензы for earrings;
- 2 connecting rings;
- bake.
Step 1. Make the top of the land ("salmon"):
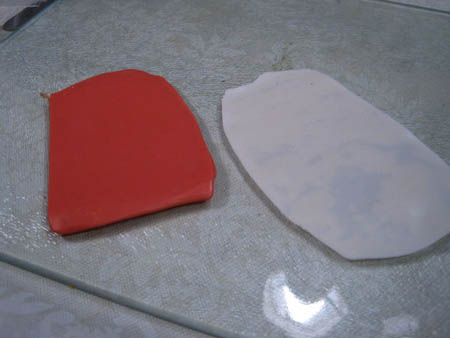
- First you need to mix the clay so that it turns outcolor of salmon. Take a piece of clay of rice color, add a little yellow and a very small piece of red. Roll out and knead until the color becomes uniform. If it seems to you that it already comes up - go to the next step, if not - add more red or yellow clay.
Do not add a large amount of red clay at once! Making the color paler is much more difficult than adding brightness.
- Roll out the layers of the resulting clay of salmon and clay rice color. Try to make rice rice 2 times thinner than salmon.
- Lay the layers on top of each other, gently press them so that all air bubbles are removed.
- Trim the edges with uneven edges, leaving a square in the center.
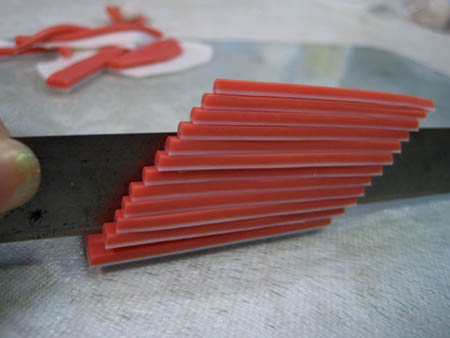
- Carefully cut strips from both layers. They should be about the same width (about 3 mm.), But detailed accuracy is not required - in nature the strips on salmon meat are also not perfectly even.
- Spread the resulting narrow strips one near the other. You will get a pink surface interspersed with very narrow white inserts. Press all strips to each other with your fingers.
- Carefully lift the resulting wide band.
- 1-2 times roll out.
- Cut 2 pieces for earrings. The optimal shape is a rectangle.



Step 2: Make the "rice" and collect the sushi:

- Roll a small clump of clay of rice color and add a drop of glue on top.
- Attach "salmon" to it. Make sure that it is not just flat on top, but slightly curved, its edges hang out, etc. - that is, it maximally simulates a real piece of fish on rice.
- Add the texture: several times, draw a hard brush along the top, following the direction of the strips.
Step 3. Furnishing and baking:
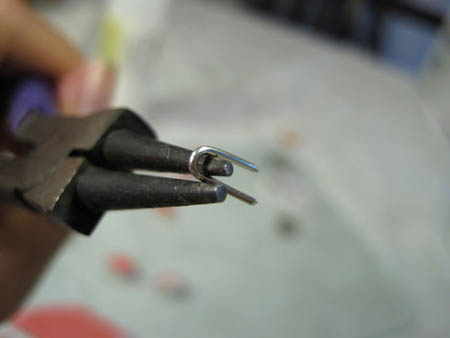
- Cut a piece of wire with wire cutters and, using round-nosed pliers, bend it in the shape of a hook.
- Now, holding this hook with round-nosed pliers, place it in the center of the "sushi" made before. From above there should remain a tiny arch from a wire through which the connecting ring easily passes.
- Bake sushi in the oven (in accordance withinstructions on the packaging of your chosen clay. Usually it takes about 30 minutes and 135 degrees Celsius, but time and heating depend also on how big the earrings you made). Bake better on cardboard, and not on foil - the latter entails the appearance of "shining" spots on the product.
- While the clay is baked, put in front of you a set of two schwenz and two connecting rings.
- Using round-nosed pliers, open the connecting rings, insert them into the schwenzy and again close. Do not stretch them too much - this weakens the wire and makes it more fragile.
- As soon as the "sushi" will be ready and slightly cool, lubricate them with varnish and allow it to dry.
- Secure the round-nuts with connecting rings in ready-made earrings. Now they can be worn.


Read more:
Molding of polymer clay

Costume jewelery from polymer clay
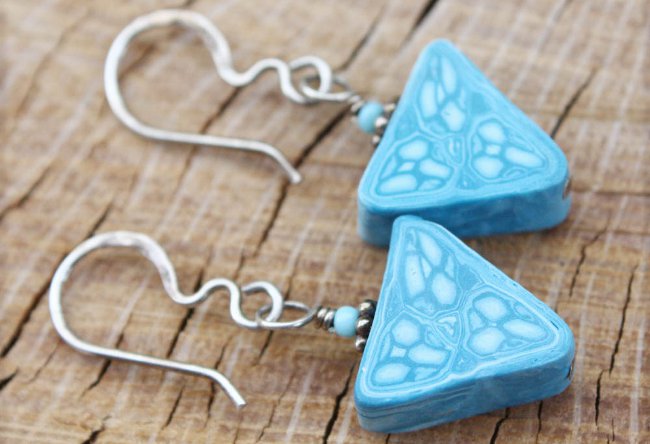
Earrings from polymer clay
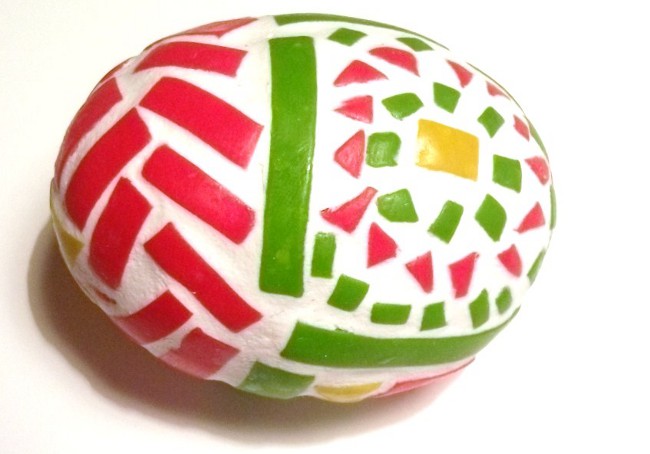
Easter Crafts: Easter Egg from Polymer Clay

How to make a necklace of polymer clay own hands Photo master class

Roses from polymer clay
Easter Crafts: Easter Egg from Polymer Clay

Molding of polymer clay
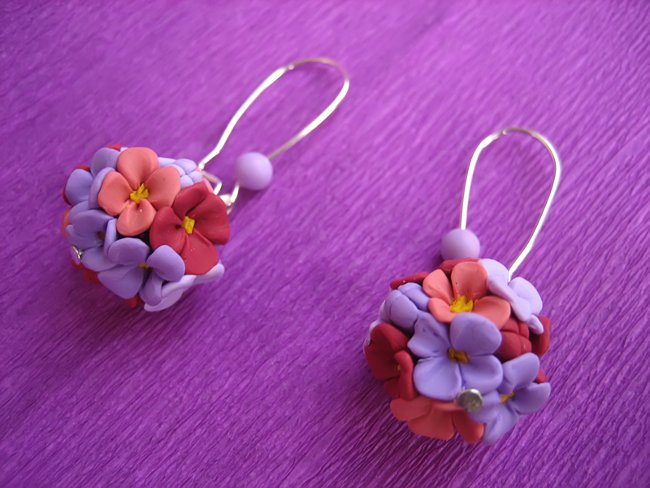
Costume jewelery from polymer clay

Earrings from polymer clay

Roses from polymer clay

How to make a necklace of polymer clay own hands Photo master class
Photo master class: beads of polymer clay own hands

How to make earrings-sushi from polymer clay