How to Diagnose a Hard Drive

Hard disk diagnostics are necessary in thosecases when strange and incomprehensible things occur with the computer. For example, if at the minimum of running programs your operating system starts to terribly brake or the "blue screen of death" often appeared. If you recently moved the operating system, and the computer continues to issue a "blue screen" and brake, then the diagnosis must be made without fail.
Diagnostics of a hard disk in Windows
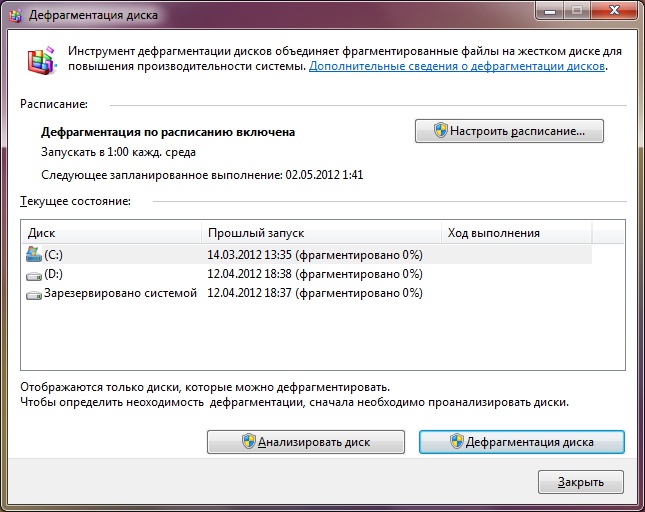
Hard disk diagnostics by means ofoperating system is the easiest and painless and fastest way to do it, so it should be done first. In order to do this, you need to go to My Computer and right-click on the shortcut of the disk that you want to check. Then select Properties in the context menu and go to the Tools tab in the window that appears. In this tab we are interested in the item "Checking the disk for system errors" (in different OS versions the wording may differ, but the meaning is the same).
In the event that you are going to check the harddrive on which the operating system is installed, a window will appear with a warning that it can not be done while the disk is being used. You can disable the disk (inexperienced users are not recommended) or click Cancel. In the second case, a window will appear prompting you to schedule a disk check the next time you reboot - that's what we were trying to achieve (this is the most optimal version of the test). You can do the same with all other disks and schedule them to be checked the next time you reboot. After a reboot and a successful check of all the disks for errors, if they were detected and not corrected by the system automatically, it is necessary to diagnose with special programs from the manufacturer or specialized utilities.
Hard disk diagnostics using programs
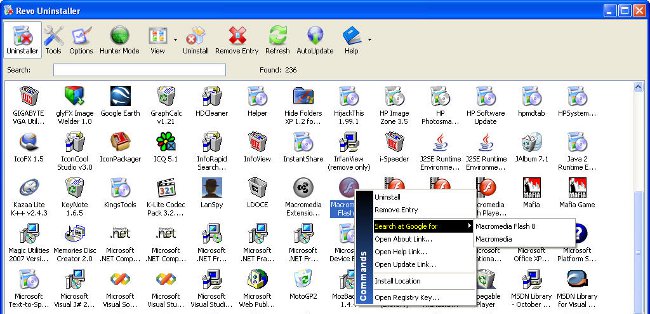
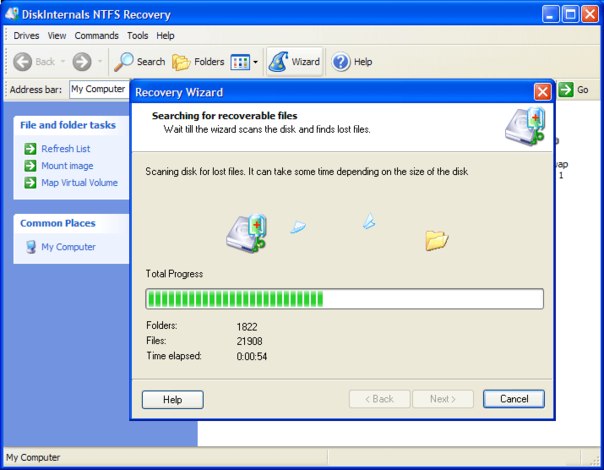
There are a large number of programs fordiagnosing the status of the hard drive, both from the equipment manufacturers, and created by third-party developers. Before using them, you must save all of the most important data on another media, since data can be deleted during disk recovery. Further, if you intend to use the software from the manufacturer, you need to establish who made your hard drive. You can do this by digging into the documentation for your computer or via Device Manager.
Once you know your manufacturer orIn the event that you decide to use a universal utility (for example, MHDD,) you need to download this program on the developer's site. If you use the software from the manufacturer, then you just need to install it on the computer, run and follow intuitive prompts.
If you use the MHDD program, then allwill be a bit more complicated. At the initial stage, make sure that the disk is defective. To do this, we connect it to another computer or laptop, for example, via a USB adapter, copy the data that is needed and format the disk (all information will be deleted). Next, we return the disk to its rightful place and re-install the operating system. We check the operability, if the errors have not disappeared - we proceed to the next stage.
Downloaded program MHDD, or rather its image in theformat (it is distributed free of charge), it is necessary to write down on a disk. Then reboot the PC and enter the BIOS, configure the boot so that the drive is first started. Again we go to the restart, during which the program menu appears before us. Press F4 to start scanning and wait for the results. Most likely, after the completion of work, the program will display a picture on which will be depicted individual sectors with a very slow response to the request (more than 500 ms).
In the next step, execute the Erase command in the menuprogram to completely erase the disk and format it. After that, you need to scan the disk again, however, at the same time, enable the function Remap, which will block all the damaged parts of the disk and prevent their use during operation. Now you can go back to the usual boot settings and install Windows.
Author: Vyacheslav Kinko