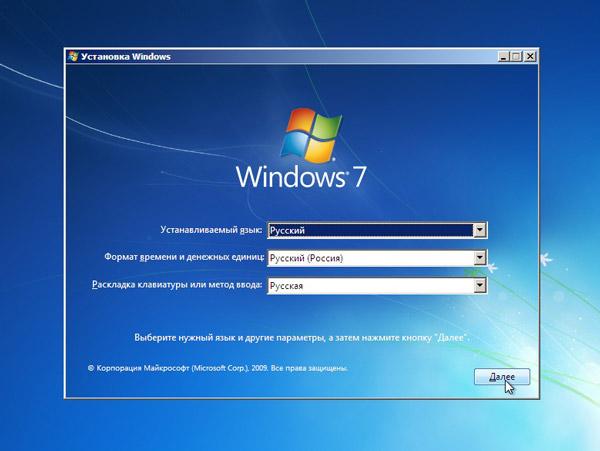
Bootable USB flash drive Ubuntu: how to create?
 Despite the fact that Microsoft Windows stillremains the most popular operating system, more and more people want to look at at least one glance at free alternatives, for example, Linux Ubuntu. But I do not want to install the system only for acquaintance. In this case, bootable USB flash drive Ubuntu.
Bootable USB flash drive (Live USB) Is a USB storage device that containsoperating system with the ability to download. This allows you to familiarize yourself with the operating system without installing it on your computer's hard drive. If you have a bootable USB flash drive, you just need to plug it into the USB port, select in the BIOS settings boot from USB and - voila! - You can get acquainted with the new system. Naturally, the system loaded from the Live USB system is cut in capabilities compared to the system installed on the hard drive. But for an initial acquaintance, this is quite enough.
As an alternative to Live USB, you can useLiveCD - bootable disc. Many people prefer it, because creating a boot disk is much easier than creating a bootable flash drive. You just need to burn the ISO image to "blank" or order a free disk with the operating system by mail. But the bootable USB flash drive Ubuntu, unlike the disk, allows you to save the data created during the work. Also, speed of the system boot from the flash drive faster than from the disk (although slower than from a hard drive).
So, the main difficulty that lies in wait for you, if you wanted to boot Linux Ubuntu from a USB flash drive, is to create a Live USB. For this you will need special programs, for example, Linux Live USB Creator (or simply LiLi). This program is convenient and simple, with an intuitive interface (by the way, Russian-speaking). Where can I get this program and how to create a bootable USB flash drive with it?
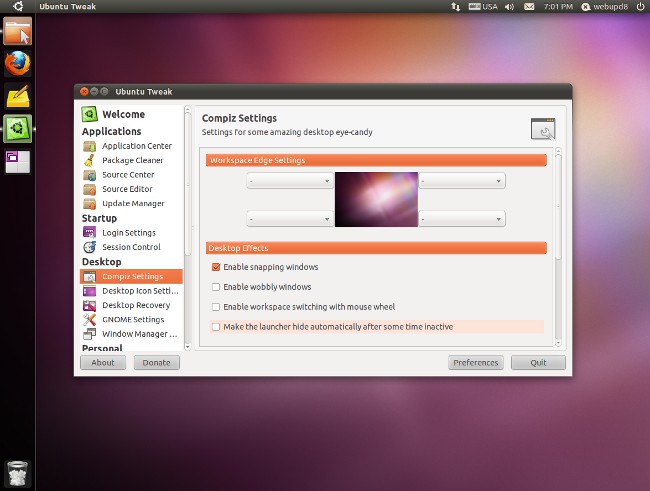
Program LiLi is free, it can be done without problemsdownload from the official site, the size of the distribution - only 4.5 MB. After downloading the installation file, double-click it and install the program. Running LiLi, you will see a window with five points for step by step boot flash drive creation. Near each item there is a traffic light icon: if you have not made the necessary settings, the red color lights up, and when all settings are made, the green light comes on.
To start, insert the USB flash drive into the port and select in the first paragraph necessary type of carrier. Note that the file system of the flash drive must be FAT32. In the second paragraph, you must select LiveCD image location - a boot disk, on the basis of which the bootable USB flash drive Ubuntu will be created. You have three options:
Specify the location of the ISO image of the disk on the hard drive;
insert into the drive LiveCD and specify it as a source;
download the disk image directly from the program.
If you chose the latter option, you needwill select from the list the operating system (the program supports not only Ubuntu, but also Fedora, Mandriva, Linux Mint and many other distributions) and boot mode - Automatic or manual.
Next step - setting persistence. This function allows you to save thetime with the operating system changes to the settings file. This means that created files and folders, some installed programs will remain in place, and you do not have to create / re-install them after the next boot from the USB flash drive. But this function does not allow you to install drivers and update the kernel of the system.
In the third stage, you can determine the size of the settings file. The maximum size is 4 GB (will no longer allow the FAT32 file system). But for a superficial acquaintance with the system you with a roof will have 300 MB.
Next stage - tincture of additional options. The first option is to hide the programs created by the programfiles. The second is the formatting of the flash drive in FAT32 (if the flash drive is not formatted in this file system, the program will do it itself, but keep in mind that all the data recorded on the flash drive will be lost). Third - the ability to run Live USB for Windows, without rebooting. The program downloads from the Internet a portable version of the virtual machine VirtualBox, which will automatically boot when you connect the USB flash drive.
After checking the required options, click the zipper icon in the fifth paragraph. A little waiting - and Your Ubuntu boot drive is ready!! As you can see, there is nothing difficult to create Linux Live USB.