How to create a virtual disk
 The use of virtual disks is resorted tomany PC users. The reasons for using virtual disks can be many, so there is simply no point in listing them all. And the question now is completely different: how to create a virtual disk?
 Before discussing the creation of virtual disks in more detail, it should be noted that under the same name there are a few different actions hiding. Some users want to create a virtual drive, others - a virtual hard drive. Their purpose, of course, is different. Therefore, they are created in different ways.
How to create a virtual disk: virtual drive
Often you can download a disk image on the network, for example, some kind of game. Of course, downloading is only half the battle. Now the toy has yet to be launched. Here, all have two ways: to burn the image to a DVD-ROM, or use a virtual disk. With the help of the latter, the game will start as from a disk. In this case, it will always be stored on the computer. Agree that it is very convenient.
Create a virtual drive is very easy, but this requires a specific program. At the moment there are so many different free programs. The most popular among them was Daemon Tools.
Daemon Tools Is a free CD / DVD emulator thatsupports many protection systems. With the help of CD / DVD Daemon Tools, you can emulate both normal drives and disks with protection like Laserlock, Securom, BACKUPcopies. If you are only aiming to create a couple of virtual drives from which you will run different disks, then this program will be very convenient for you.
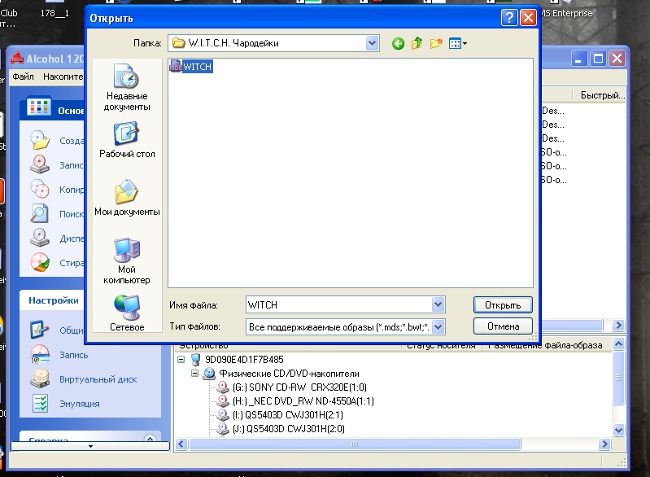
Another very popular program for creating a virtual drive is Alcohol 120%. But it is worth considering that this program is paid. Of course, to evaluate all the possibilities, developers give the program free of charge for a certain period. Then, naturally, you need to purchase a license. The main difference between Alcohol 120% and Daemon Tools is in functionality. Alcohol 120% allows you to create and use up to 31 images at a time. This provides a much higher data transfer rate than with a conventional drive. Also Alcohol 120% is good because it can create disk images itself, but Daemon uses only existing ones.
How to create a virtual disk: virtual hard disk
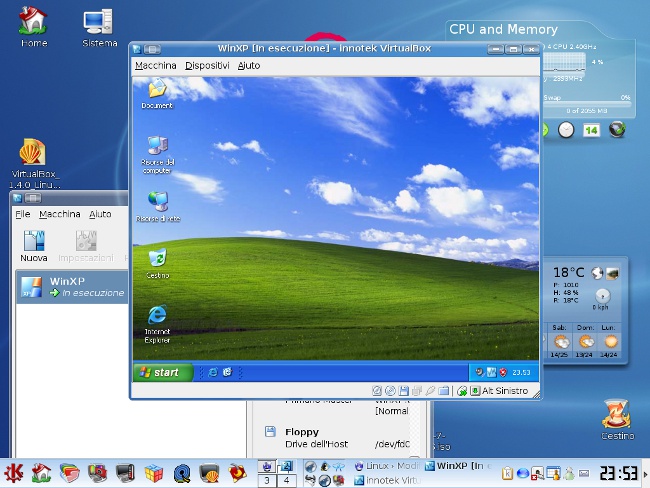
A virtual hard disk may be useful if you want to store data in a single image file. To open such an image file, you need programsvisualization and virtual machines. Well, that in Windows 7 has everything you need to create such a disk! And a virtual hard disk can be used to put another OS on it.
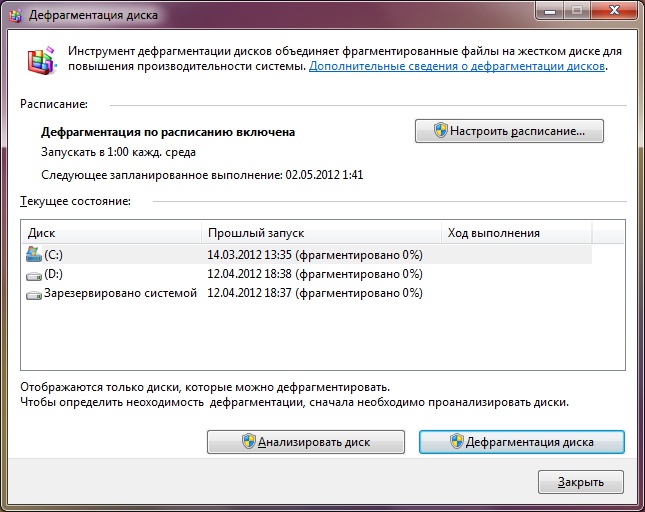
So, how do I create a virtual hard disk for Windows 7? It will not take you very long to create a virtual disk. To start, on the search bar of the Start menu, type diskmgmt.msc and press Enter.. Before you open the "Disk Management" window. In the "Action" menu, select the "Create virtual hard disk" option.
Now you you should select the place where your virtual hard disk will be stored ("Overview"). After selecting a location, click Save. Also you need to set the capacity of the virtual disk. Here everything will be at your discretion. But do not forget that you can also assign the format of a virtual hard disk. Dynamic expansion gives you the ability to increase the capacity of a virtual disk as you add and store data on it. But the fixed size will not allow you to increase the capacity of the disk. Click OK and now you just have to wait for Windows to create a virtual disk. It will be automatically mounted, so immediately after its creation you will see it in the list of all disks that are installed on the system.
But that's not all. To start using the disk, you should initialize it and create a partition on it. To initialize a disk, open the PanelManagement -> Administration -> Computer Management. In the left menu of the console, click Disk Management. Select the disk that you want to initialize. In the Initialize disks window that opens, select the drive, also select the Master Boot Record (MBR) and click OK. Now wait until the end of the initialization.
So that you can see your disk and use it, After the initialization is complete, you will need to create a volume (section). Right-click on the initialized disk and select "Create a simple volume". Before you open the Create a simple volume wizard. Click Next and specify the partition size in megabytes. The next step is to assign a drive letter. Click Next and select the formatting options for the volume (NTFS recommended). In the next wizard window, check all the settings you made and click Finish. Now your virtual hard drive is ready for use.